I have so many little projects that I want to do once I move into our new home. I also have so many things that I want to try before we move. This is one of the projects that I was able to get finished (with a lot of help from my handy dad). Giving him little projects has been a win-win situation for all of us!
I had found this great little coffee table on Pinterest a while back and was waiting for the opportunity to work on it. Michaels had a great 40% off your entire purchase sale a couple weeks ago that I jumped on. Buying all the crates at one time was so much easier than buying them one at a time, making multiple stops here and there. Again, I'm not great about taking step-by-step pictures because my dad moves so fast. here are the ones I was able to capture. It was really pretty simple to put together.
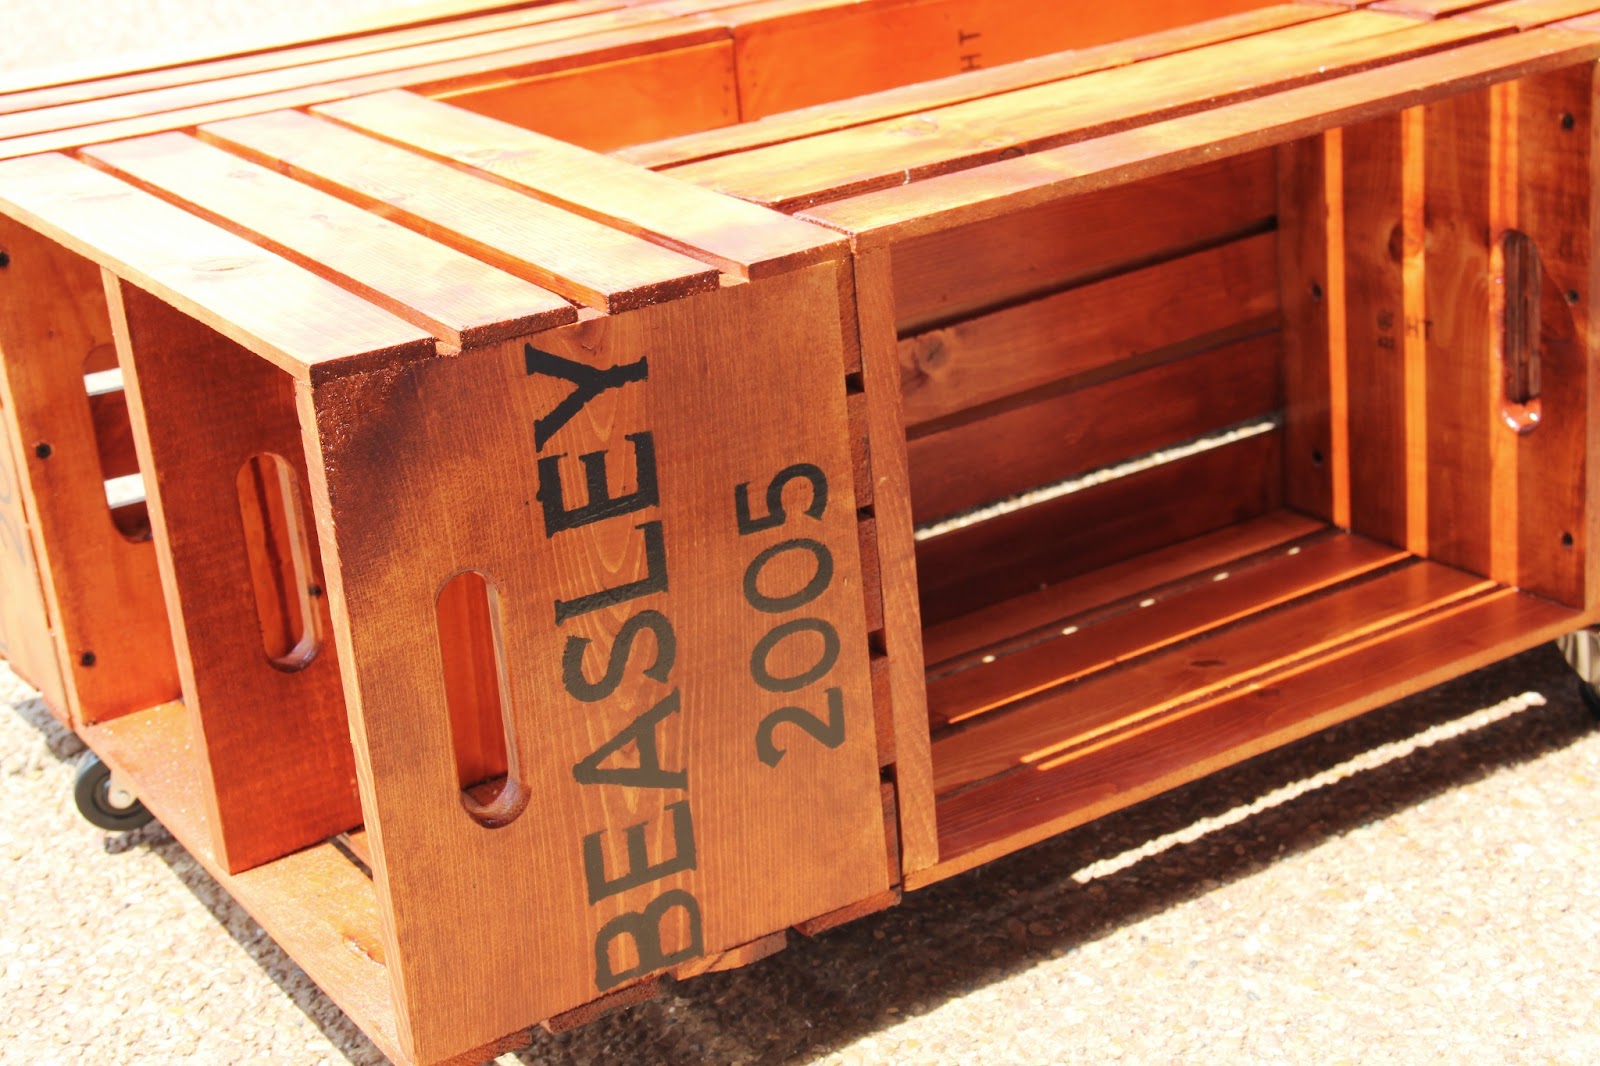
I was just going to stain the crates as-is, but at the last minute I decided to add our last name and the year we were married on the end of each crate to add a little interest. Using my trusty Silhouette, I made a stencil and used black craft paint that I had on hand.
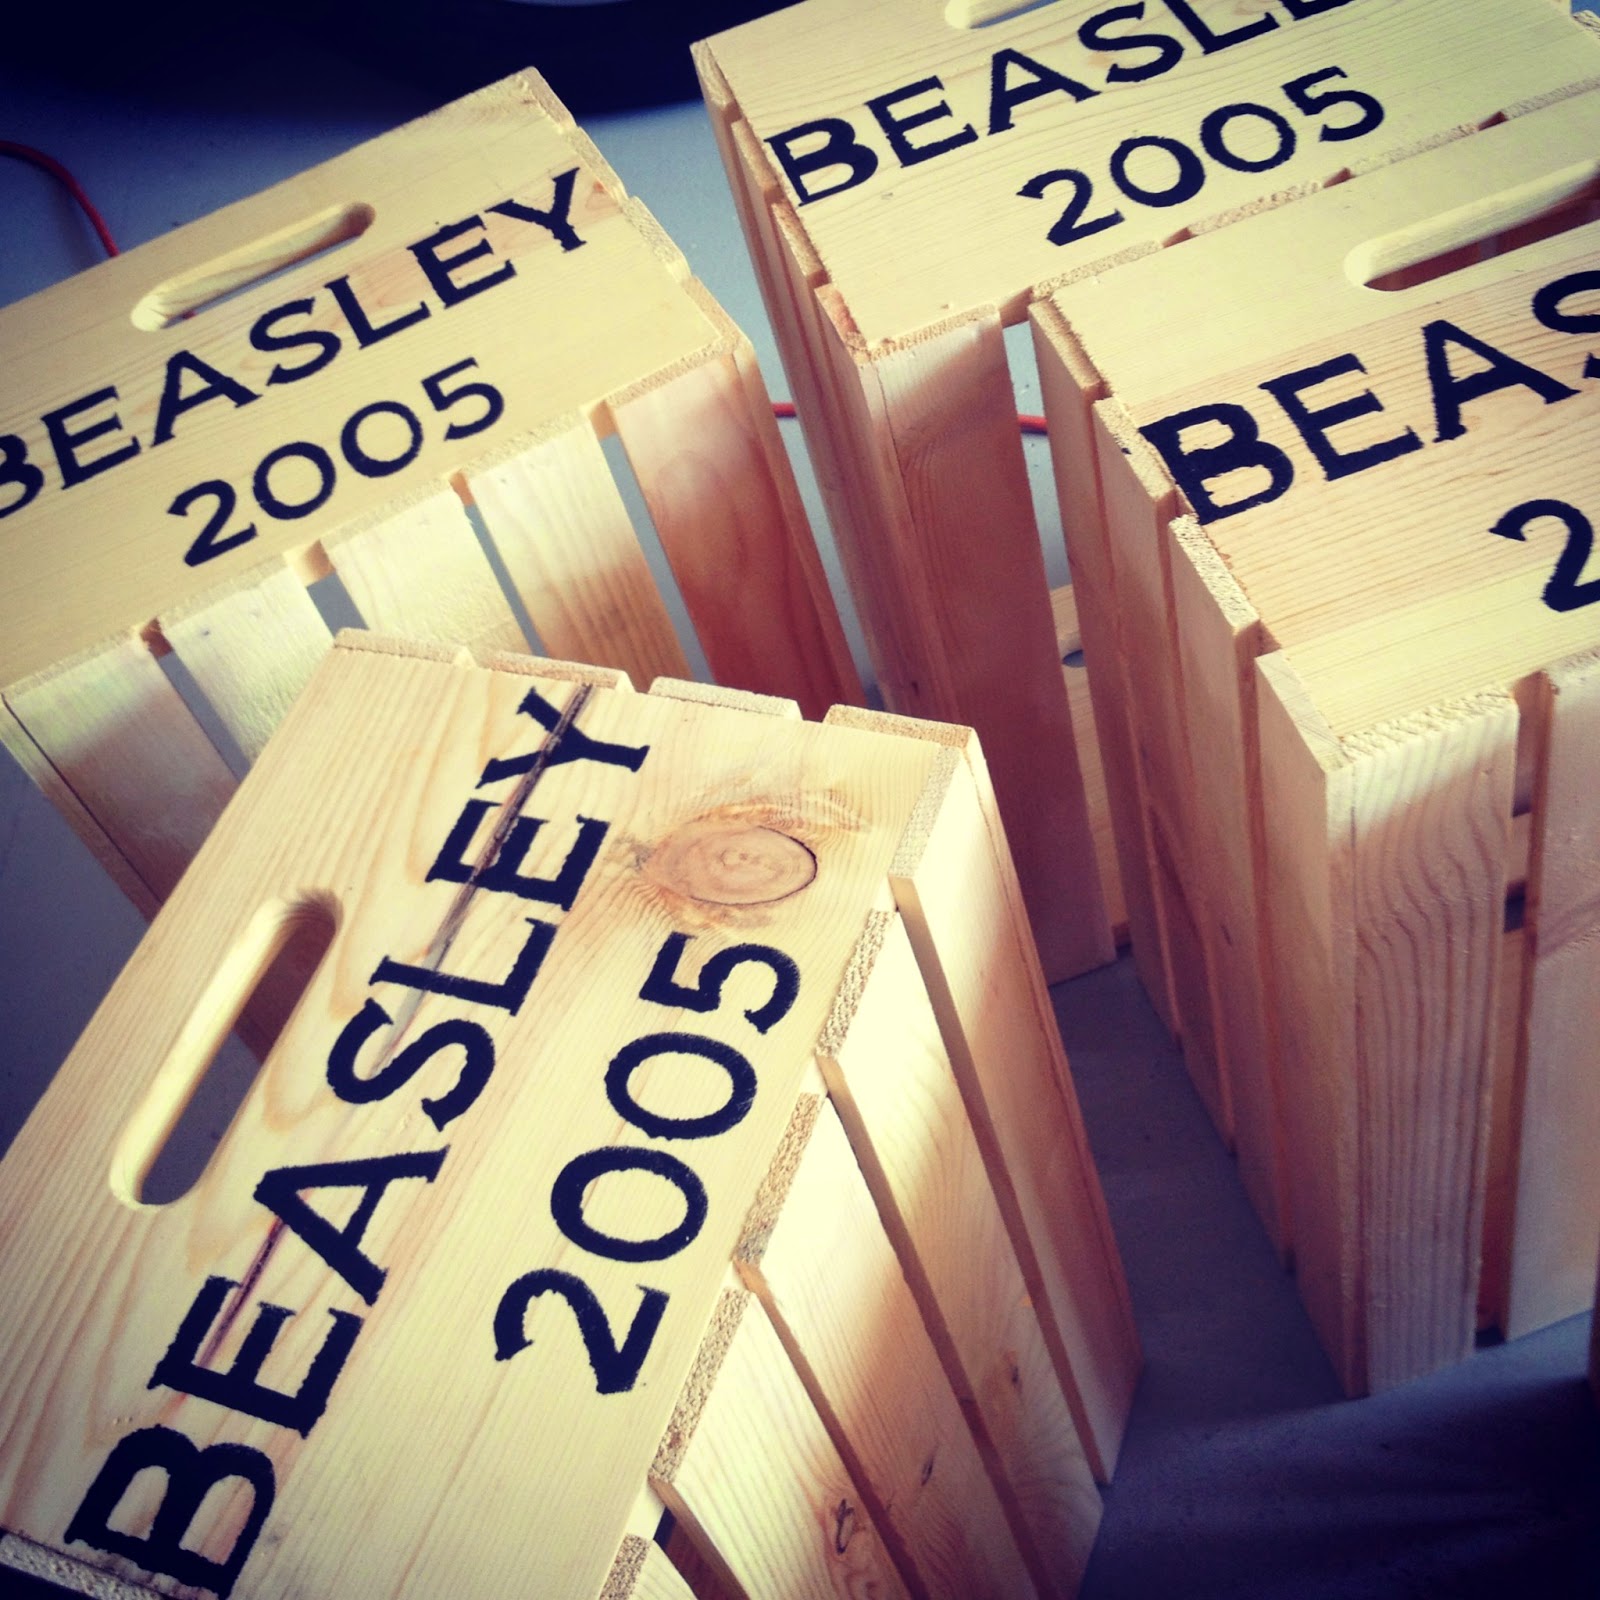
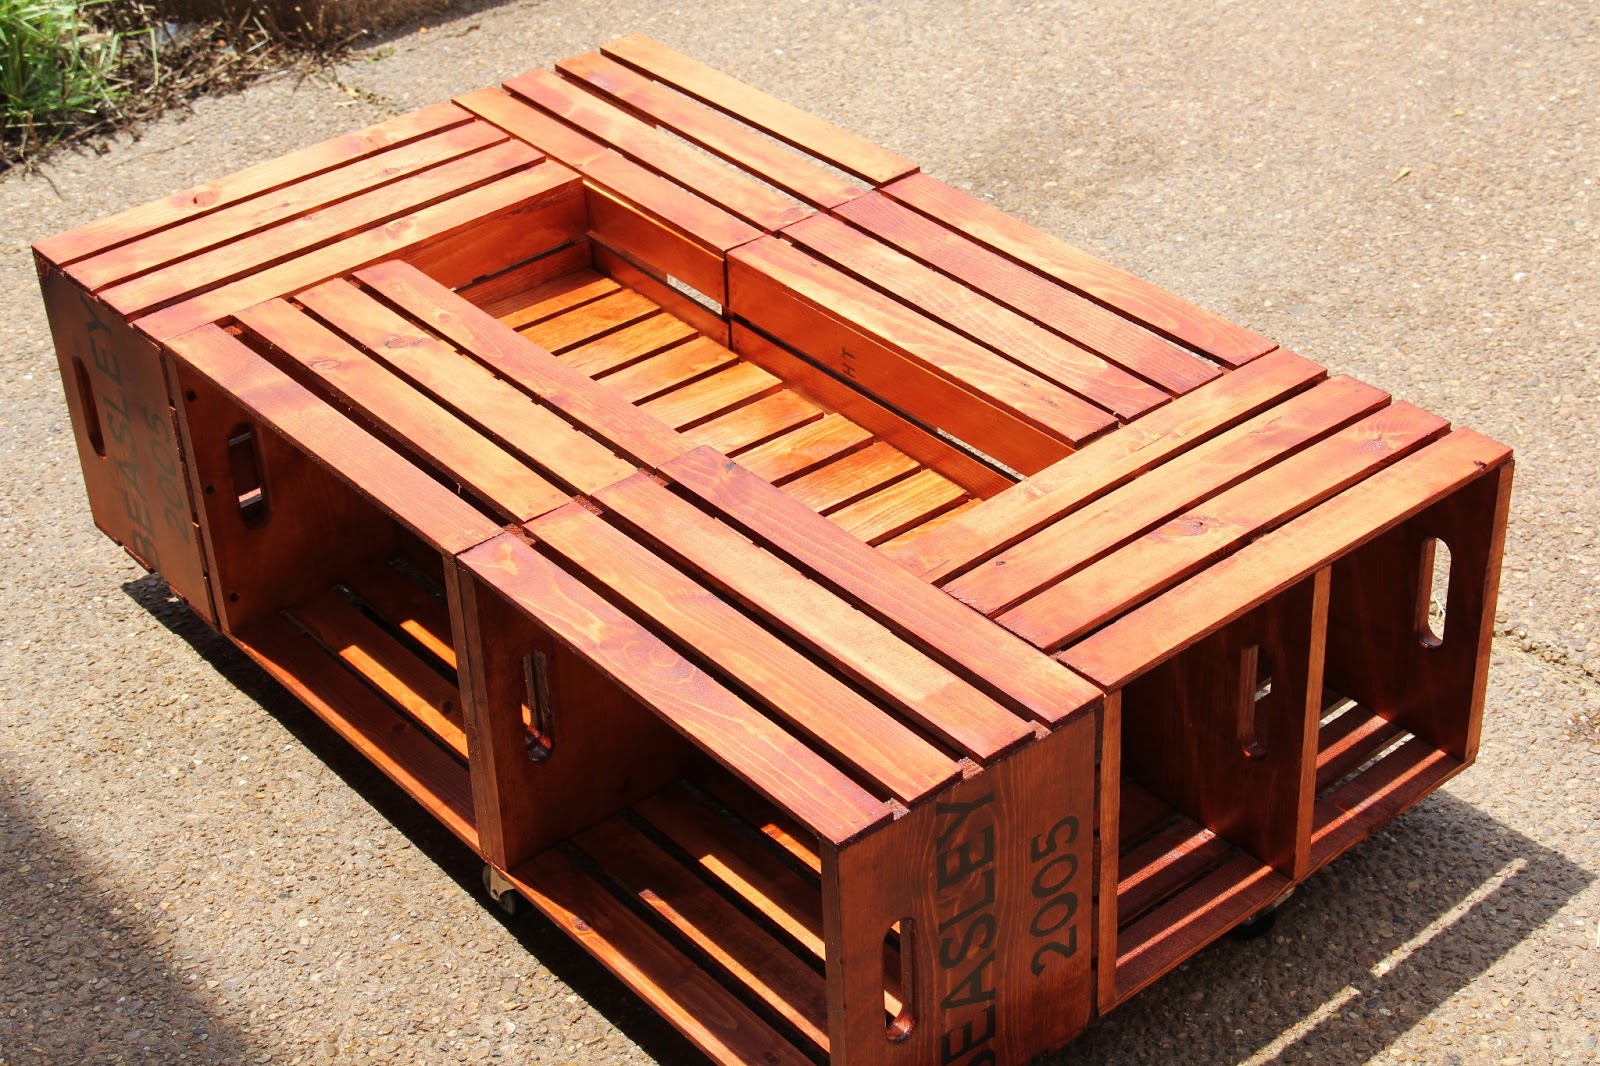
I originally bought only four crates to make the square table that I had seen in the Pinterest posting. My husband thought a longer table would look better in our living room along our couch. I went out and bought two more to see how it would look all put together. This was what we came up with. We both decided it would be good and we could proceed from here.

The next step was to stain all the crates. We had an electric paint sprayer on hand so dad sprayed each crate and it was my job to make sure everything got wiped down and fully covered.

After staining, we put them in an "assembly line" and put two coats of polyurethane on each crate. This was probably the most time consuming part of the project due to the dry time between coats.

Once everything was dry, we put everything together. First, we used a pin-nailer and later for stability, we used the screw gun and put it all together for the long haul.

My sons are inspecting what will become the middle of the table (filling the massive hole where I know remote controls and a myriad of toys would end up eventually).

I even took a turn with the nail gun.

Our finished coffee table. I'm so happy with the way it turned out. We put five casters on the bottom of the table as well so we will be able to move it around easier.