Showing posts with label picture frame. Show all posts

Wednesday, November 7, 2012

Halloween Craftiness

The month of October was crazy around here. My son wanted to do "Halloween Stuff" all month long. He decided he is the "Biggest Fan of Halloween." I'm not sure what the fascination with the holiday is, but I indulged him when I could.
Roundup of some of the stuff we did.

Painting a picture frame.
Mine is on the left. His is on the right. He designed it all by himself.

"Vampire Teeth"


When I dragged out all the fall decorations, I had some bats left over from Trunk or Treat last year.
I surprised my little guy with decorating his room with them.
It's really the small things that make him so happy!

More paint.

Halloween masks and "spooky birdhouses." Thank goodness for the $1 isle!

Jack-O-Lantern quesadilla for lunch.

Frankenstein rice krispie treat for the preschool Halloween party.

Of course, we had to decorate a pumpkin. The choice was obvious....a storm trooper from Star Wars (my four year old was a Jedi Knight and the 18 month old was Yoda). My life revolves around Star Wars right now.

Monday, May 28, 2012

Oh, the Places You'll Go!


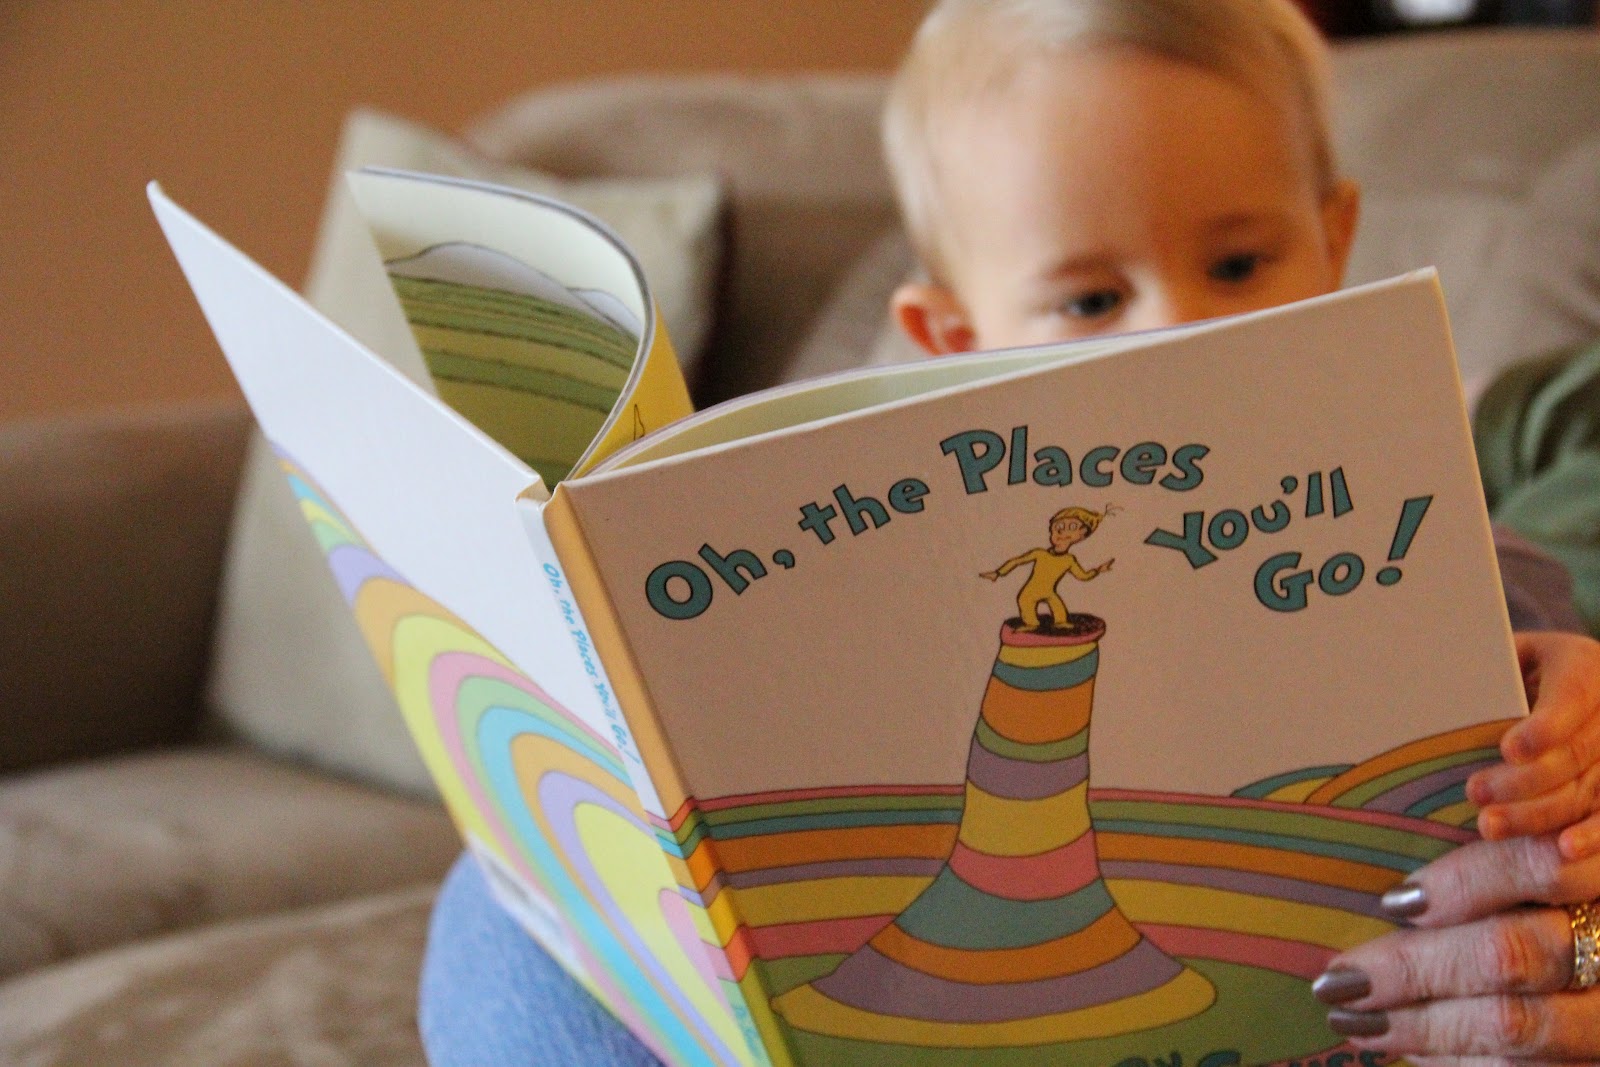
My son turned one back in April. It was a really low-key event, therefore not too many decorations went into the extravaganza this year. I did, however, make his cake. The theme I chose was from Dr. Seuss' "Oh, the Places You'll Go" book. When my first son was born, his 1st birthday theme was Dr. Seuss' "Green Eggs and Ham." I thought it only fitting that we did something along the same line for the youngest. Who knows, maybe when he graduates (way off into the future), we will do another one of these themed parties.
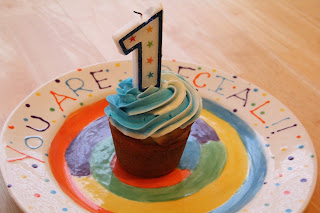
On his actual birthday, I made giant cupcakes. This picture doesn't really do the size of the cupcake justice.
It is sitting on a plate that I made especially for occasions like birthdays and other special events.
I got the idea from a friend of mine who had this tradition growing up in her family and it sounded
like it was right up my alley as well!
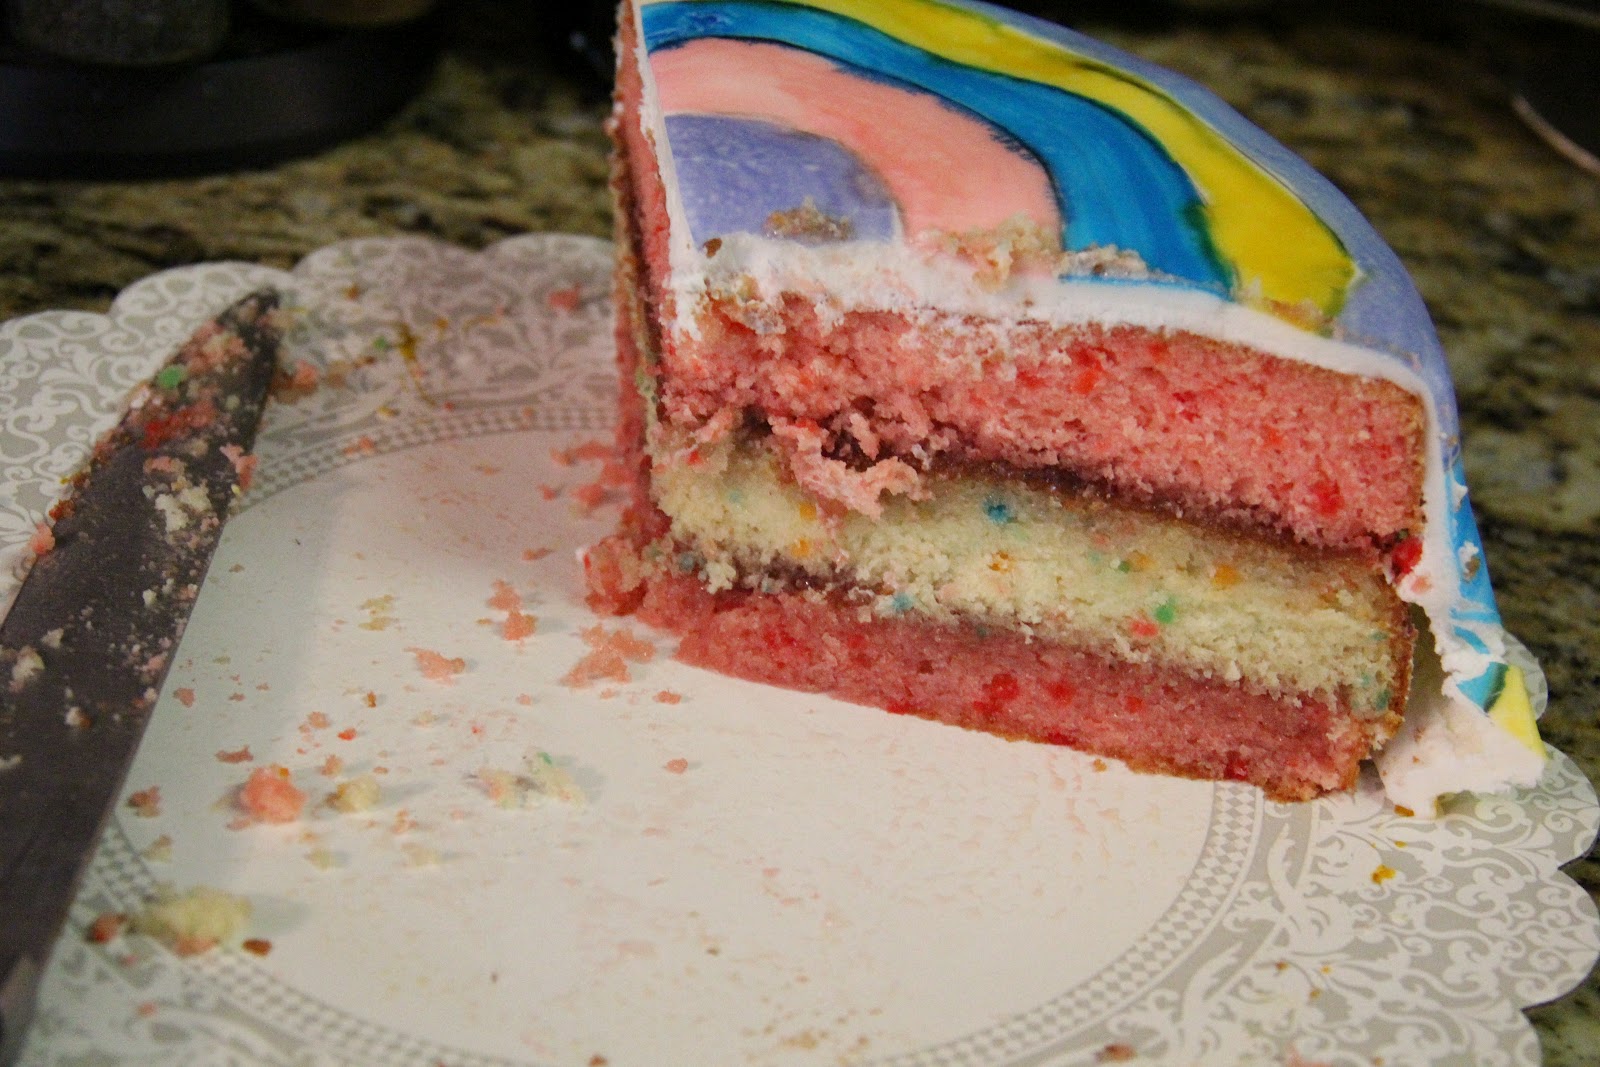
I made the birthday cake for him this year. I wasn't super happy with the way the cake turned out, but the concept still worked for what I was going for. I didn't count on the color dripping down the fondant the way it did every once in a while. Lessons learned for next time around! I always seem to learn something about cake decorating with birthday party time rolls around (kind of an inopportune time if you ask me).
I ordered a couple extra books from Amazon that were not in the best shape (so that meant I got a good price) and deconstructed them for decorating with for the party. This is actually from the jacket cover of the book. I cut out the pieces and just stuck them on the top of the cake.

I designed the cake based on the cover of the book. I made the bottom layer out of cake and covered it with fondant. I used a food marker to make my swirl outline and then painted the fondant from there. For the top of the cake, I actually used a floral styrofoam form. I didn't want to mess with trying to carve a cake and panic if it fell over, which, with my luck would have definitely happened. I just covered the styrofoam with fondant as well and followed the cake design.


As you can see, the cake was loved by all!

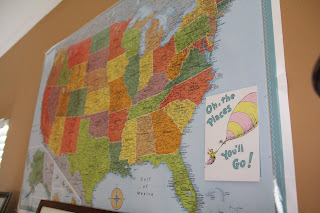
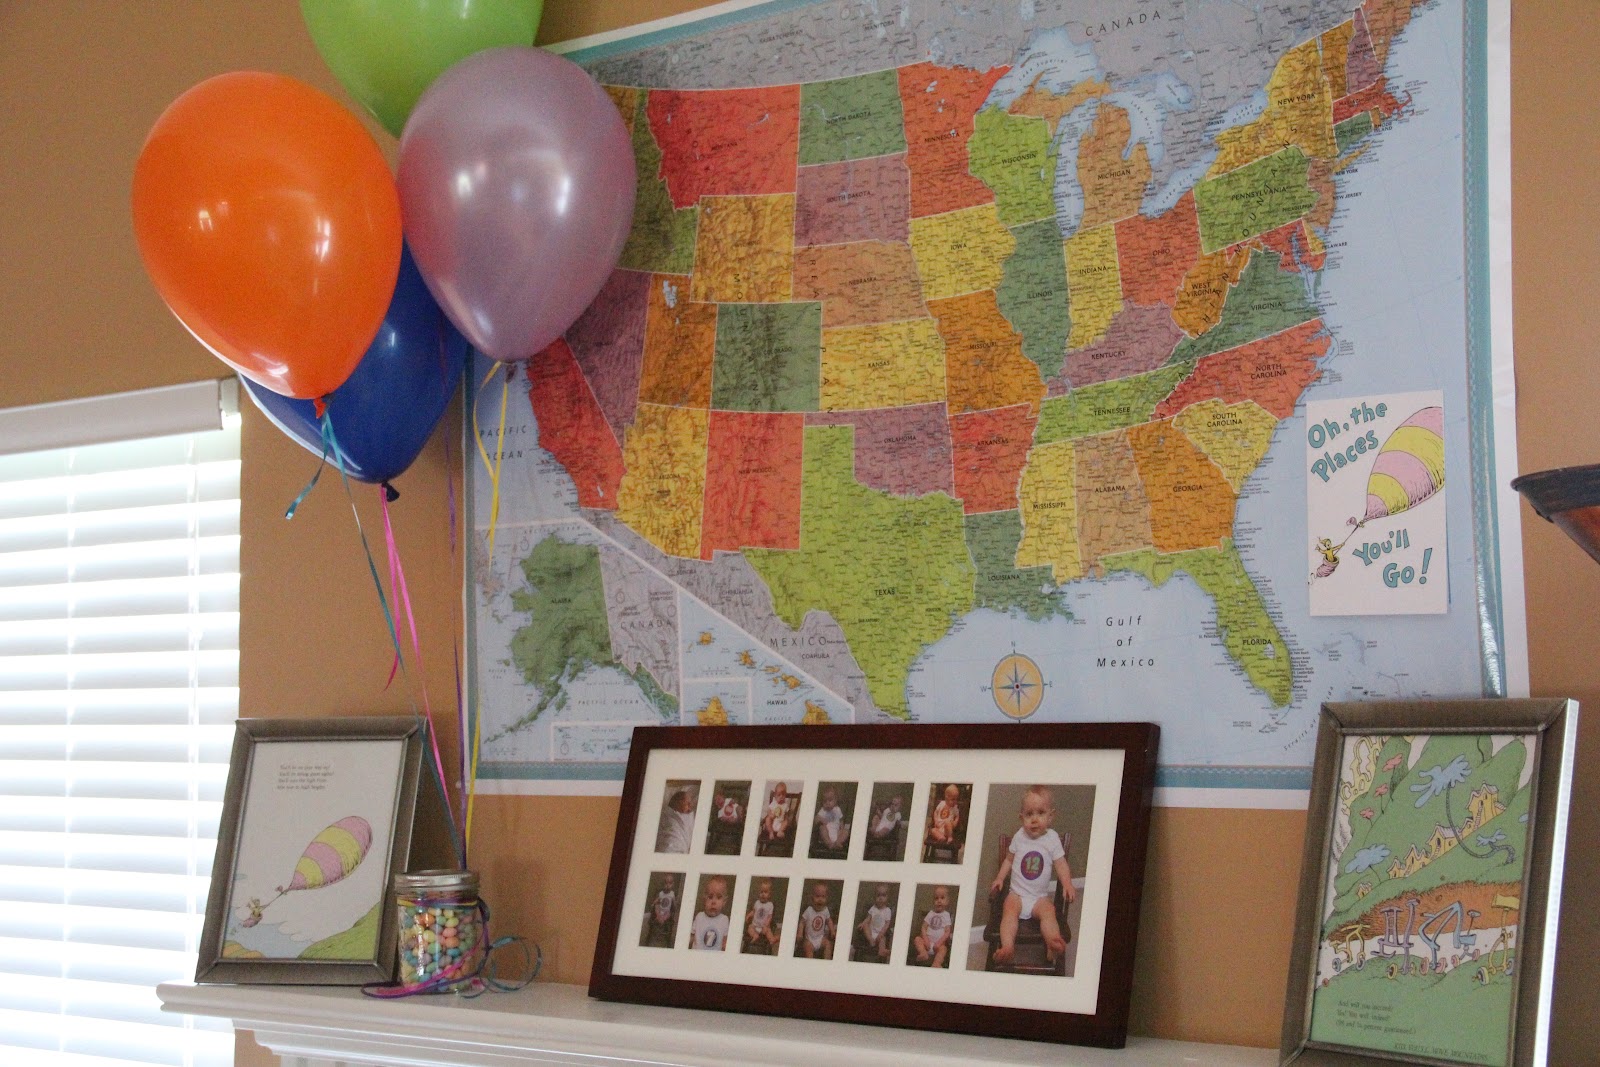
I had a grand idea to make a map using the pages of the actual book. Cutting each state out from the page and piecing it all together. I soon decided I was NOT up for that particular challenge given the fact that I wanted to have a big map. I opted for a purchase at the store instead. I have other uses for the map in the near future anyway.

Each month, I took a picture of my son in a rocking chair to see how much he had grown from month to month. I put all the pictures in the frame above to give everyone an idea of how big he has grown. It was fun to put this part together to reminisce myself. The picture now hangs in his bedroom (I love projects that serve dual purposes!)

The mantle above the fireplace, some balloons, pages from the book framed, the map and collage of his pictures.

Wednesday, February 1, 2012

QR Code Picture Frame

The other day I was surfing Pinterest and I ran across this cute Valentine's Day card. Immediately I thought....I can do something like that. This is what I came up with....something that can sit on my husband's desk at work and him know we are thinking about him. You see, my husband is very much a tech guy. He could really care less if I make him some kind of frilly love note declaring 366 reasons why I love him (believe me, I only recently came to this realization). I thought this might be more suited to him and his love for technology---and the fact it is a little bit on the geeky side.


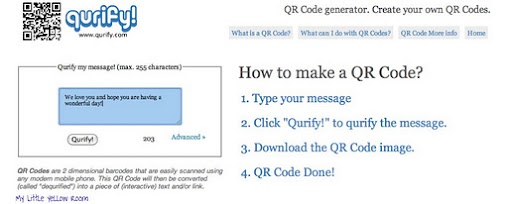
I started to do a little research because honestly, I'm not a techie in comparison to my husband. The first search was how do I make one of the QR Codes by myself. Let me tell you, Google is a wonderful tool! I'm sure there are many great QR Code generating websites out there, this happens to be the one I found first and it was user friendly enough for this girl that doesn't know enough about computers and tech stuff. I went to quirfy to generate my own code. Below are a couple screen prints showing how easy this process really is!


Step one, type in the message you want to display with the QR Code.


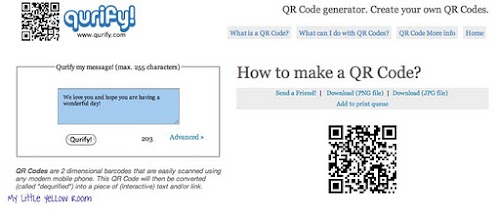
Once you hit "qurify," the code is displayed to the right. You have the option to print the
code from there or save it as a file. I chose to save the file that way I could resize it if I wanted to.


I resized the image (careful to keep it a square).
This resizing was perfect for an 8x10 frame.

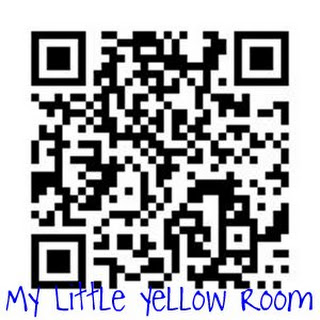
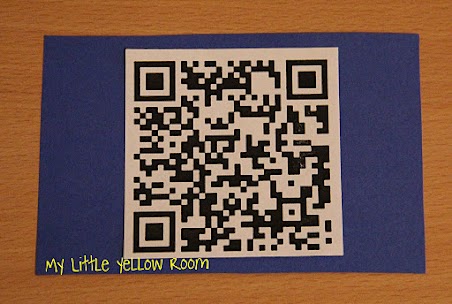
Here is the code itself. So easy!! I know there are other programs where you can link a photo to the code.
I plan on playing around with that some in the future too. If you have a scanner on your phone,
just scan this box and you will be able to see the "secret" message!

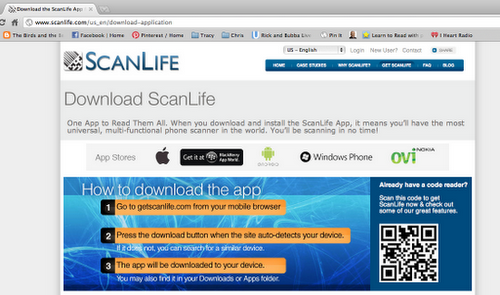
To be able to scan the code, you need an app to do it. ScanLife is the one I happen to
have on my phone that I use for other codes I come across. Again, I think there are
SEVERAL out there to pick and choose from.


I just cut a piece of card stock to fit into a 5x7 frame and cut out the
QR Code to attach to the card stock.


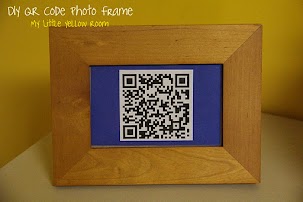
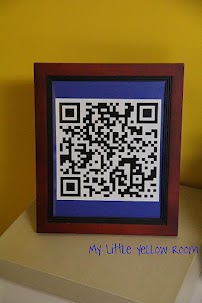
Here's the finished product. Here in an 8x10 frame.

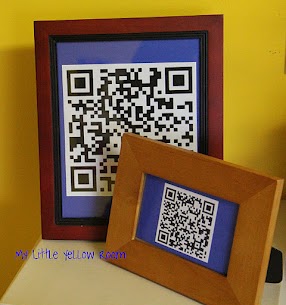
Here in an 8x10 and 5x7.

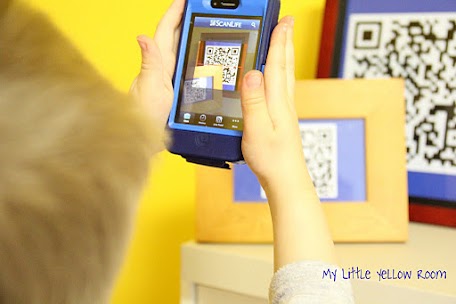
My son scanning the code to see if it really works.

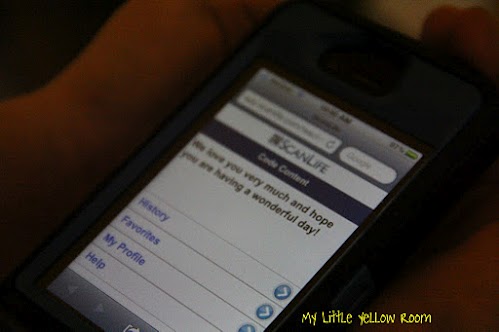
It does work! It says "We love you and hope you are having a wonderful day!"

I think the next version(s) of this will have pictures and codes meshed together to make it even more meaningful. What a fun and pretty unique gift to make/receive! Have fun playing around! The possibilities are endless!