Showing posts with label birthday. Show all posts

Thursday, April 25, 2013

Train Cake Fail

My youngest son turned two this week and I had GRAND plans to make him a train cake. I have a really cool cake pan that is in the shape of the various train cars and engine. I tried to make a cake using this pan once before (several years ago) and it was a fail at that time. I figured that since I have some clue of what I'm doing with cakes/decorating these days, I would not have the same experience. Not so much I'm afraid.

First of all, I apparently filled the cake pan too full and this is what I found in the bottom of the oven. 
Cake was all over the place. What a mess.


 The idea is that you let the cake cool in the pan for at least 10 minutes and invert it and the cake will pop right out.


 That really didn't happen for me. Cake stuck everywhere. It looked like there would not be a train cake after all.

Plan B went into effect. Looking in the pantry, I found everything I needed for Rice Krispie treats. I cleaned out the cake pan and greased it well and went to work stuffing sticky Rice Krispies in the pan and praying that the end result would look something like train cars. In the end, it wasn't what I originally envisioned, but that is okay. It turned out just fine for my little one and he loved it!

I died coconut flakes green for the grass and piped chocolate pudding for the track. I used Life Savers, Fruit Roll Ups and other candies for decorating the actual train cars.


Monday, November 19, 2012

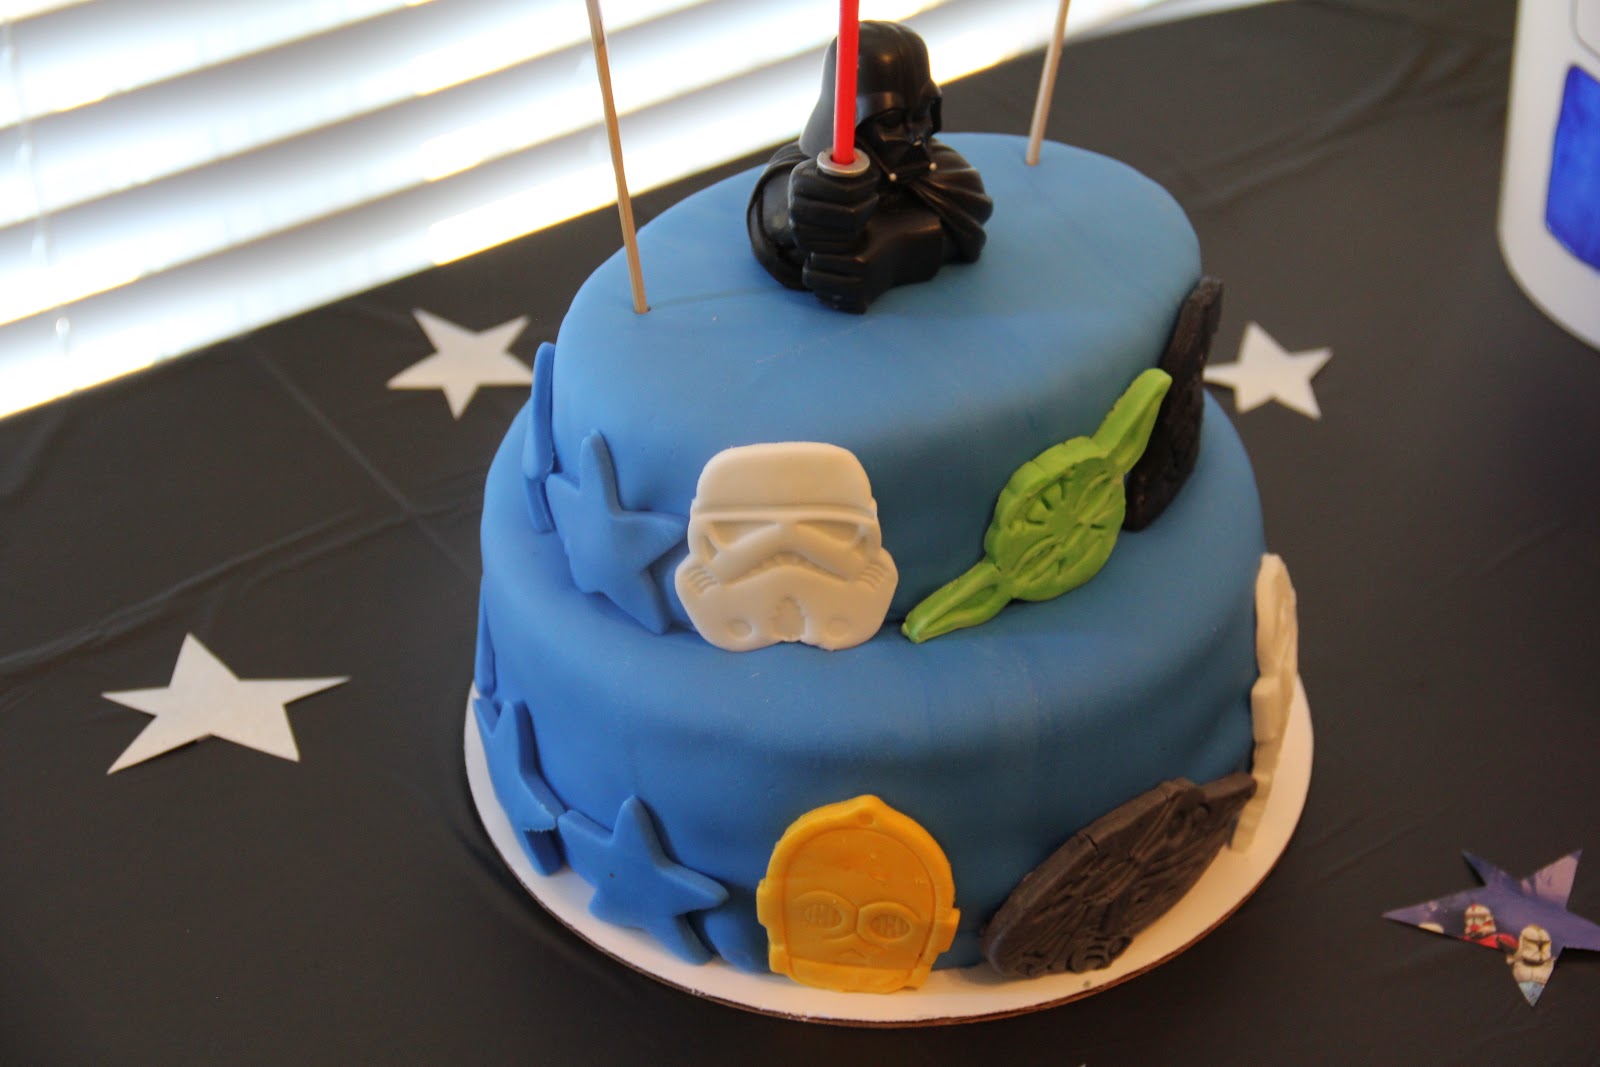
Star Wars Cake and Goodies

Sometimes, I just get tired of making cupcakes. I have these wonderful cookie cutters from Williams Sonoma and this was the time to use them! I made cookies for my son's preschool class. I was going to leave them undecorated but at the last minute decided to ice them. For no real prep time on these, I thought they turned out pretty good.


 For the party, this is the cake table. All we had was cake, cupcakes, punch and chocolate. 
What more could 4 and 5 year olds ask for??

I bought a Storm Trooper mold online to make the chocolates with.
I'm sure this will be reused for lots of things in the future!

Green "Yoda Soda" (lime sherbet and Sprite).

The cake I made. I used the cookie cutters for this too. It made things so much EASIER!


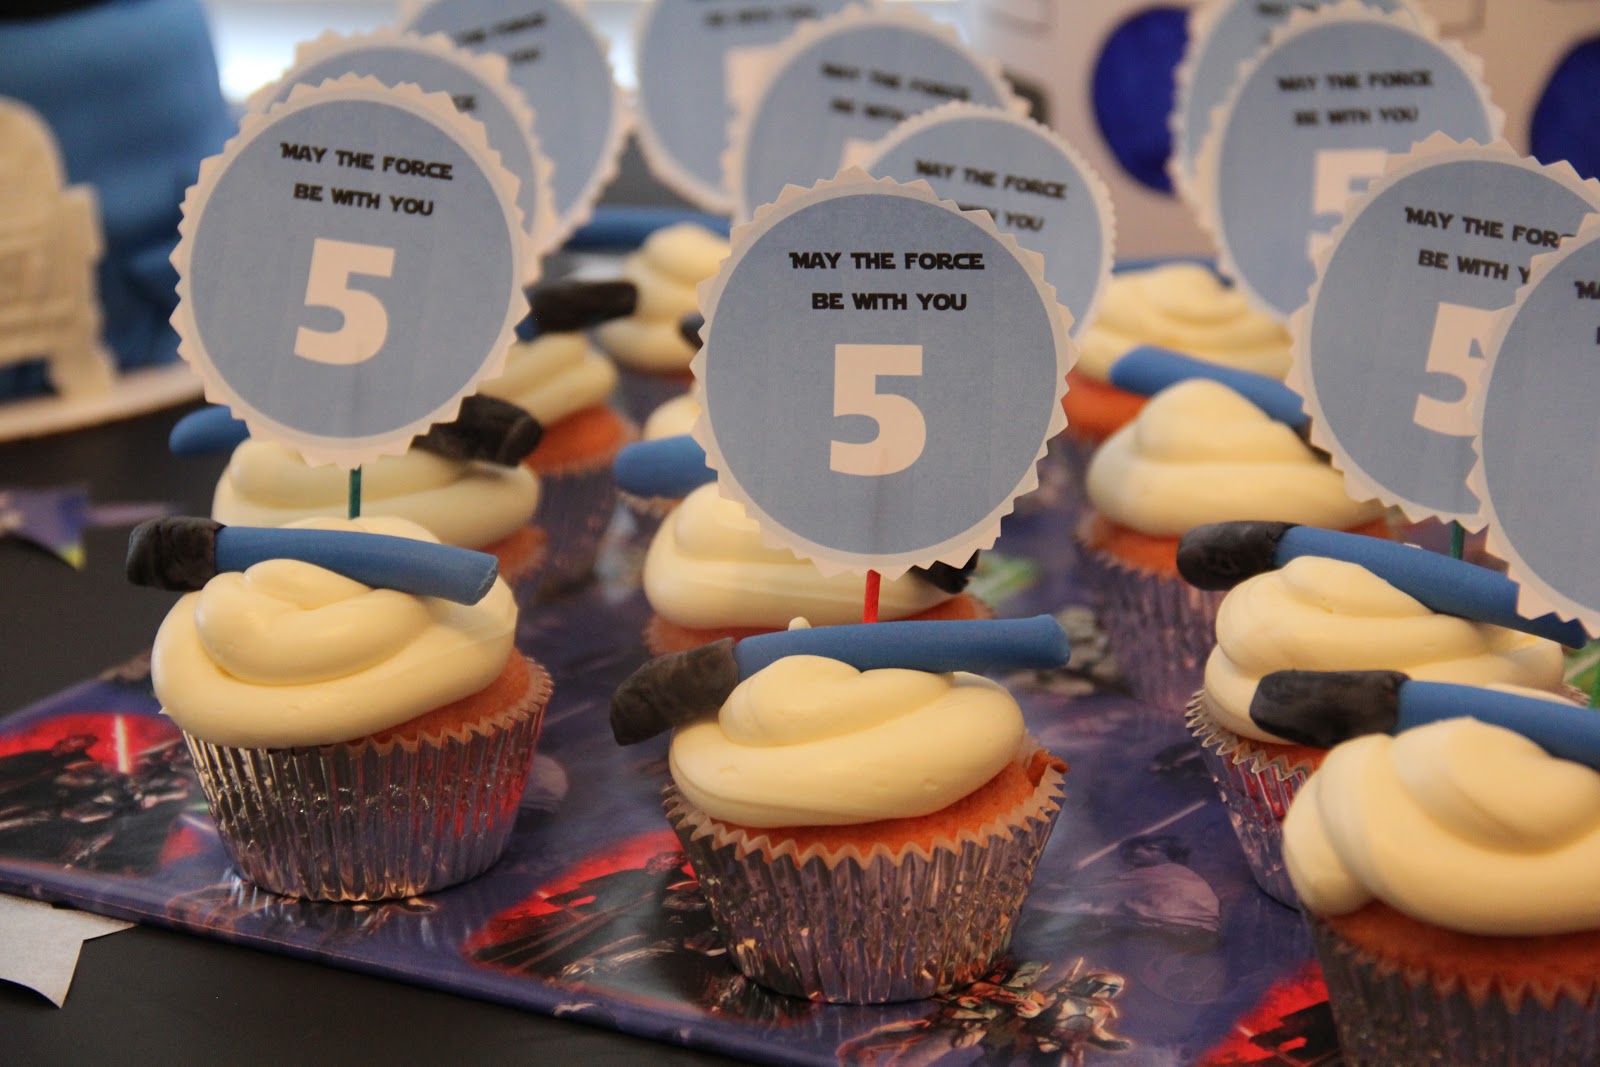
I decided (again at the last minute) that I should probably do cupcakes for the kiddos.
The whole fondant/cake thing doesn't always go over with them. So, the adults got cake and the kids got these.

I made blue light sabers and whipped up these cupcake toppers the morning of the party.
Here are my other posts about the Star Wars party....


Star Wars Decorations

We had such a good time at my son's birthday party! He had a great time and helped me everywhere he could in putting things together for his big day. Here is a sampling of what we did for his party. I got SO MANY ideas from other people that had done this before! This is probably the first year I have done something pretty "mainstream." It always seems that I plan parties that have no other ideas out there anywhere. Maybe one day I'll get around to posting about some of the parties we have done in the past.

Here is the invite that I came up with for the party. I tried my best to get the opening crawl incorporated and feel that it worked out pretty good. I made the back look like the hilt of the light saber and the other side has the actual wording. When you fold it up it looks like a light saber. It fit in a legal size envelope so I was a happy girl!

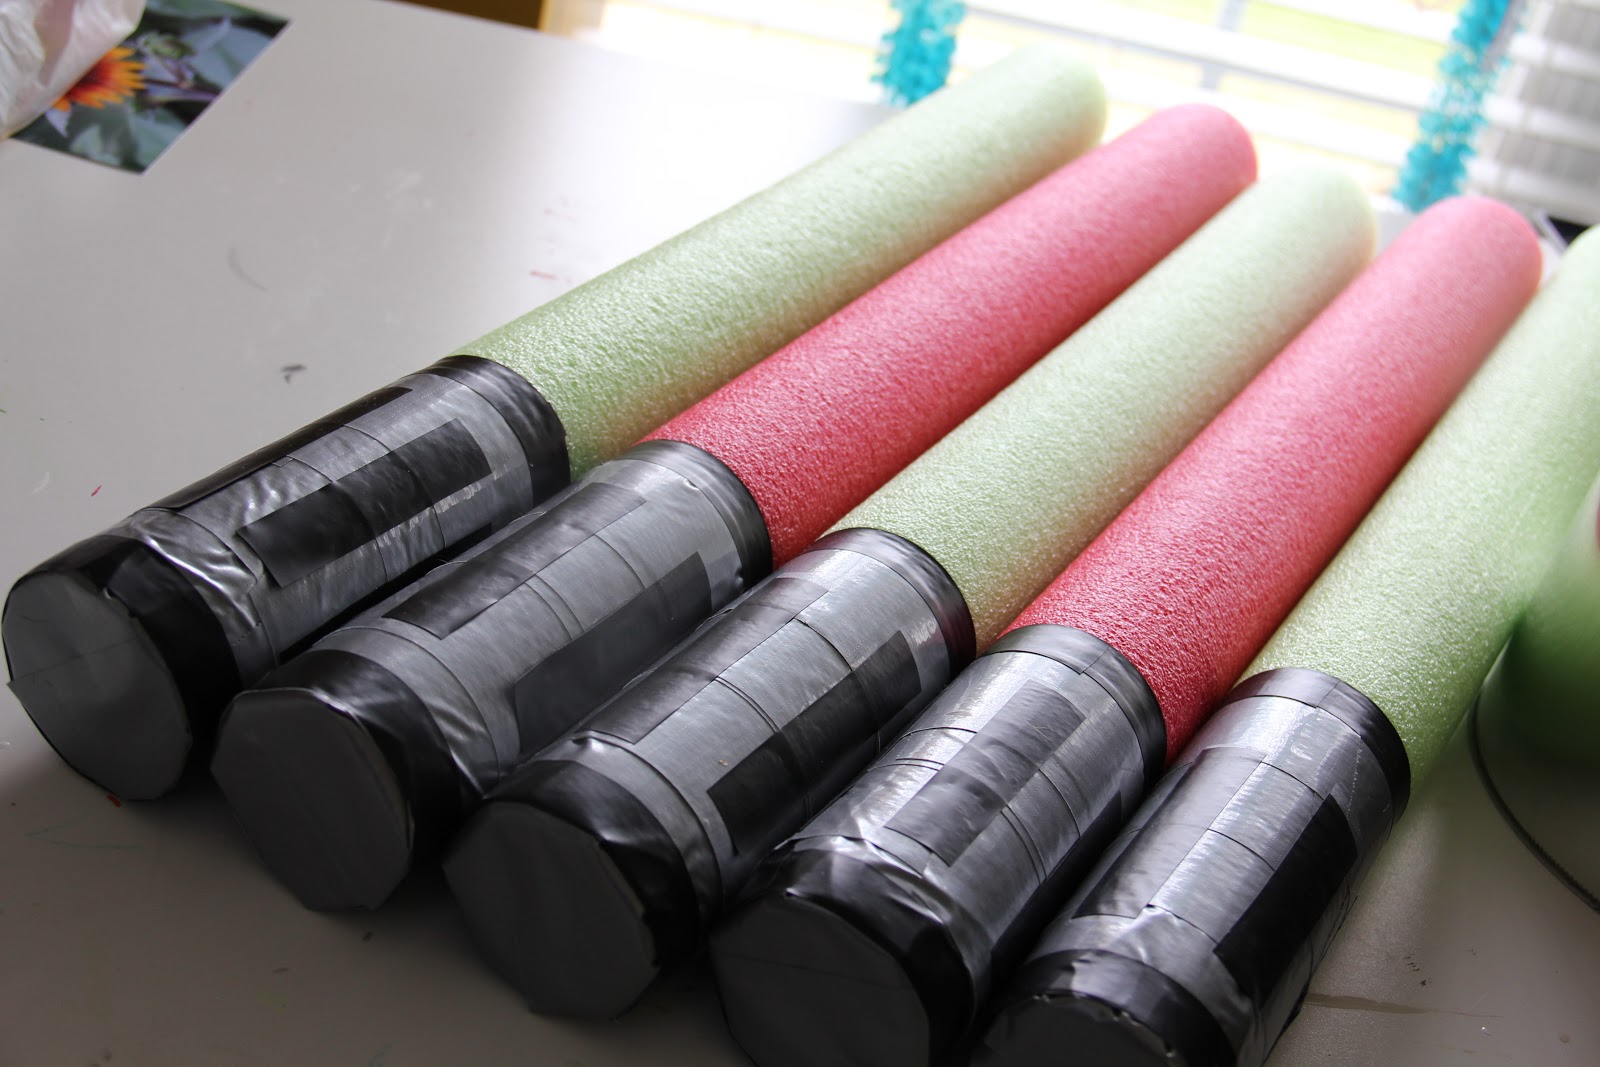
When I saw this idea, I knew I had to execute it. Granted we were entering the fall season and pool noodles would be just about gone. Somehow, I lucked into 6 pool noodles at the Dollar Tree just in the nick of time. When I went back for more, they were all gone.
We played a game with these jewels that could have gone on forever. Each kiddo got a balloon and they had to see how long they could keep it up in the air. Strict instructions were given that these bad boys were not to be used to hit others. I'm proud to say that there were no injuries from this part of the celebration!


 I knew that I wanted to make these finger puppets when I saw them on Pinterest. Lots of cutting and an anxious little boy ready to get his hands on them. The next morning, he said that I need to make more ewoks and storm troopers so he can have an army of each. I agree, but it will have to wait for a while! This momma is tired!

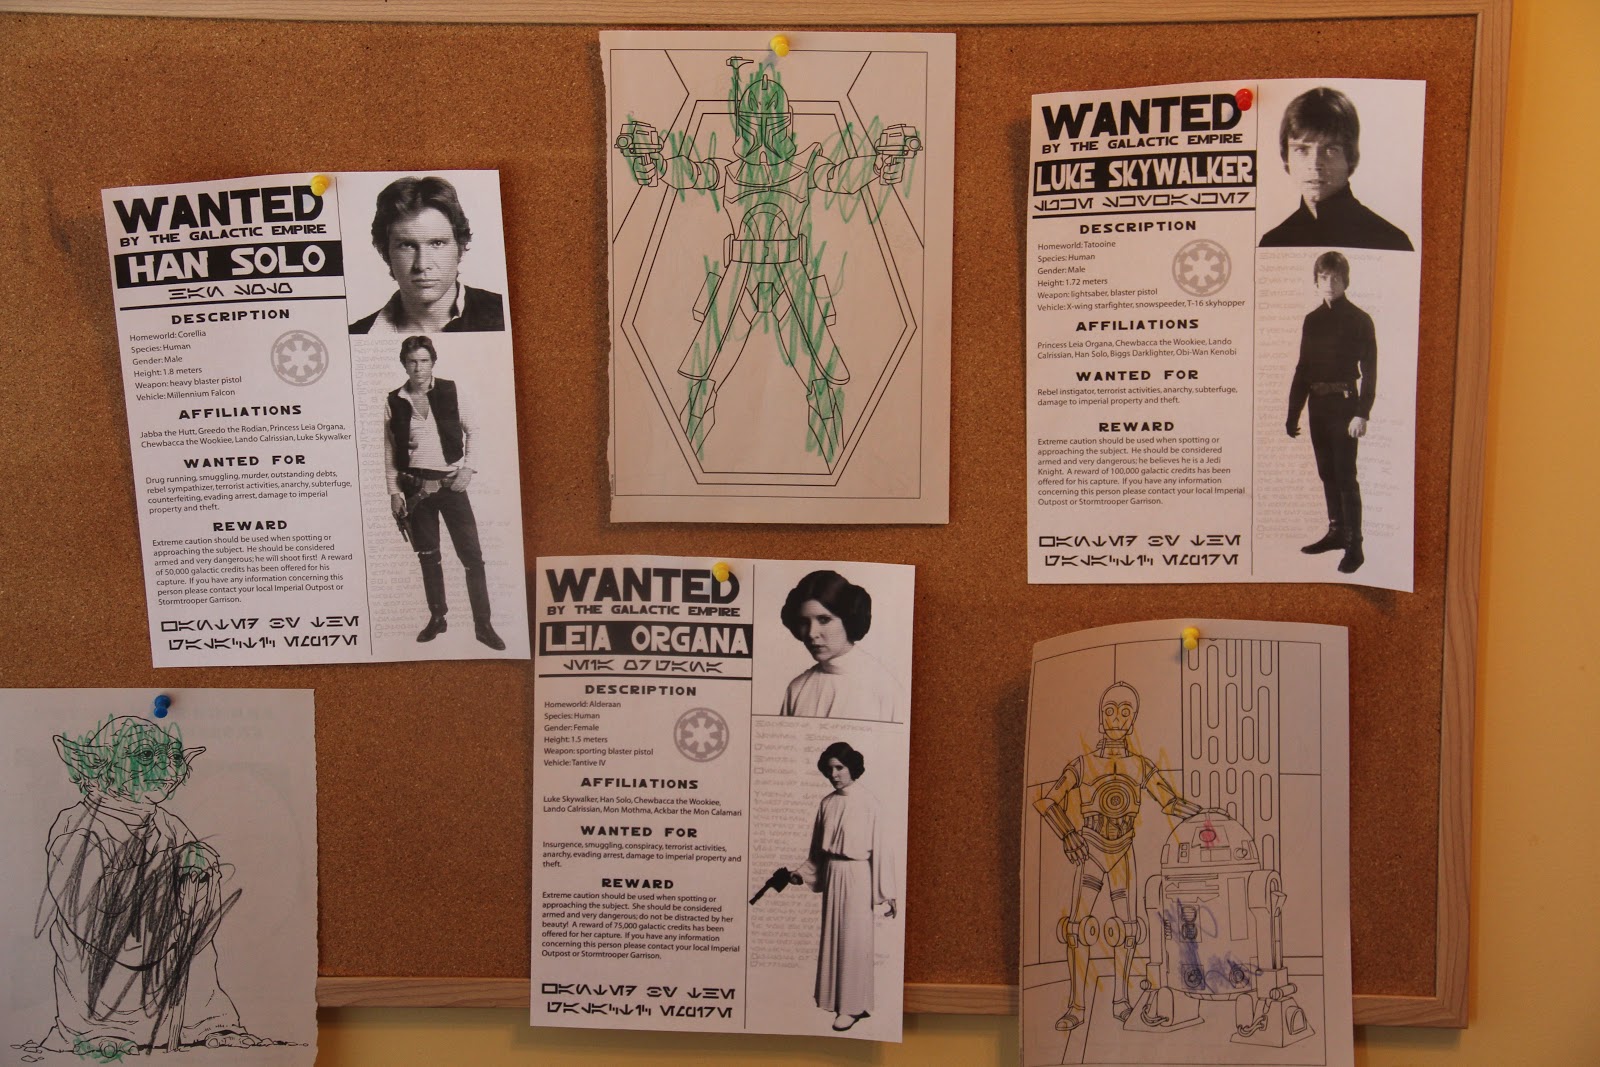
This is where my son helped with decorating. Next to the cake table, we posted these "wanted posters" that I found online and he wanted to display some of his artwork as well.

The kids table. Black tablecloth, stars cut out of Star Wars wrapping paper and silver wrapping paper, napkin light sabers, Star Wars crepe paper (found at Party City) and Darth Vader/Storm Trooper rings ordered online.
 These light saber napkin rings were a big hit. I found the original idea here. I didn't have much ink in my printer at the time so I improvised. Using the same duct tape and electrical tape I used for the pool noodles, I made the napkin ring holders. Again, really easy. I covered a piece of card stock with the duct tape then cut out rows. On the rows, I then put several pieces of electrical tape to resemble the sabers I made with the pool noodles. Just wrap each around the napkin and silverware and voila!


I found the banner at Party City. I couldn't resist. It had all the characters on it and made my son very happy (which was the entire point anyway).

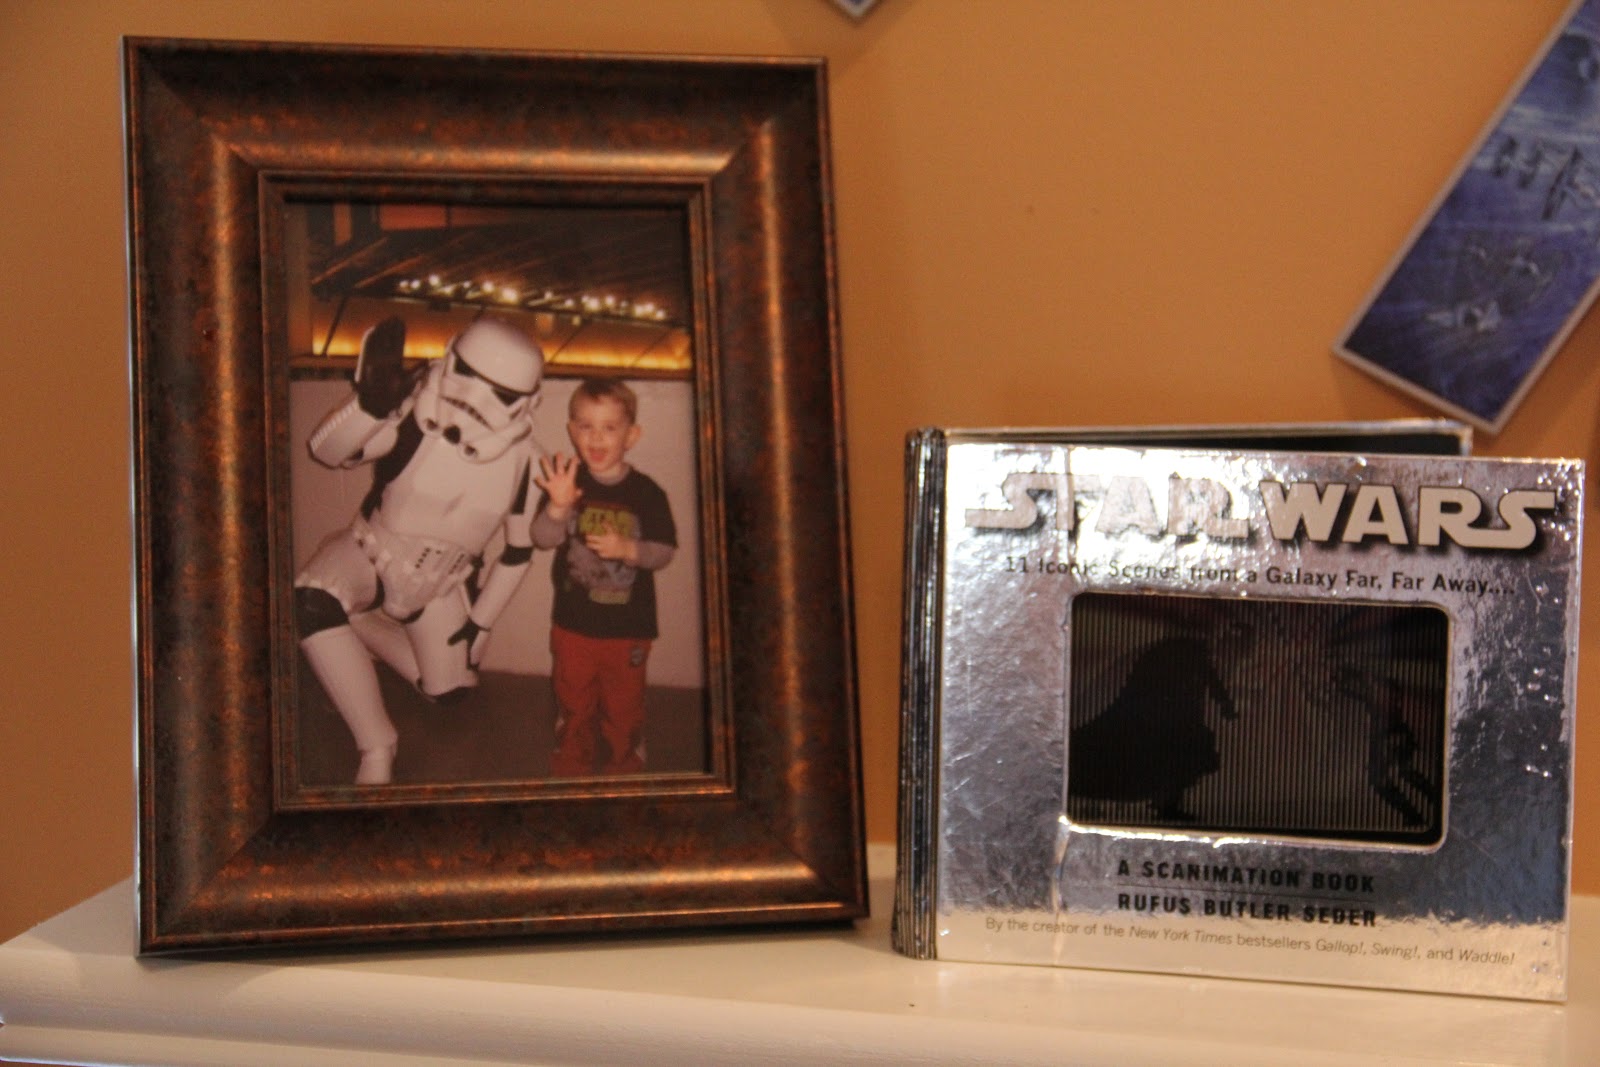
I displayed pictures of my son on the mantle. This was him as a Jedi Knight this Halloween.

This was a picture of him with a Storm Trooper we took a couple years ago at a local basketball game. Again, my son wanted to help decorate....so one of his Star Wars books made it to the mantle as well.

What's a party without some legos hanging around?
 I'm proud to say that I did have at least one idea of my own that I didn't get from Pinterest. I came up with this Star Wars wreath. You can read about it here.


At the last minute, I saw a piece of art that hangs in the dining room. I had the wrapping paper out so I decided to temporarily wrap the art up for the party. It just added a little something to the room.

I saw these cute stickers and knew that I had to use them somehow for the pinata.

 R2D2....probably the funnest thing I made. I saw lots of ideas on the internet for this little guy. I used a small trashcan for this project and lots of free handing. I was never able to find an exact template that I could use so I just went with the flow and made it up as I went along. I was very happy with the final product. It proudly sits in my son's room as I type!
I'll have one more post to share about the cake and other food goodies I made for the day.

Star Wars Wreath

My son celebrated his fifth birthday this past weekend. I spent a couple weeks putting everything together for his Star Wars party. This is one of the things I came up with. I always like to have something on the door welcoming our guests. I came up with this Star Wars wreath. I will tell you that in putting together this party, the Williams Sonoma Star Wars cookie cutters were a LIFE SAVER to me. I discovered I could do so much with them. I used them for this wreath, for my son's birthday cake, actual cookies for his preschool class and I'm sure somewhere else along the way.

I was reading one night about salt dough ornaments for Christmas. I suddenly thought....I could do that with the Star Wars cookie cutters and I was right. I went into the kitchen immediately and baked up a batch. Over the next week, I took some time (not a lot) in painting each of the ornaments. I found this wreath in the Halloween clarence isle and thought it would be just right for the occasion.

When I baked each ornament, I punched a hole in the top so I would be able to string them to the wreath. I figure I will give the ornaments to my son for his own special Christmas tree which will send him over the moon! Such a super-simple project to get done. Hope you enjoy it!


 Stay tuned for more from our Star Wars extravaganza!
Decorations
Cake and other food goodies

Monday, May 28, 2012

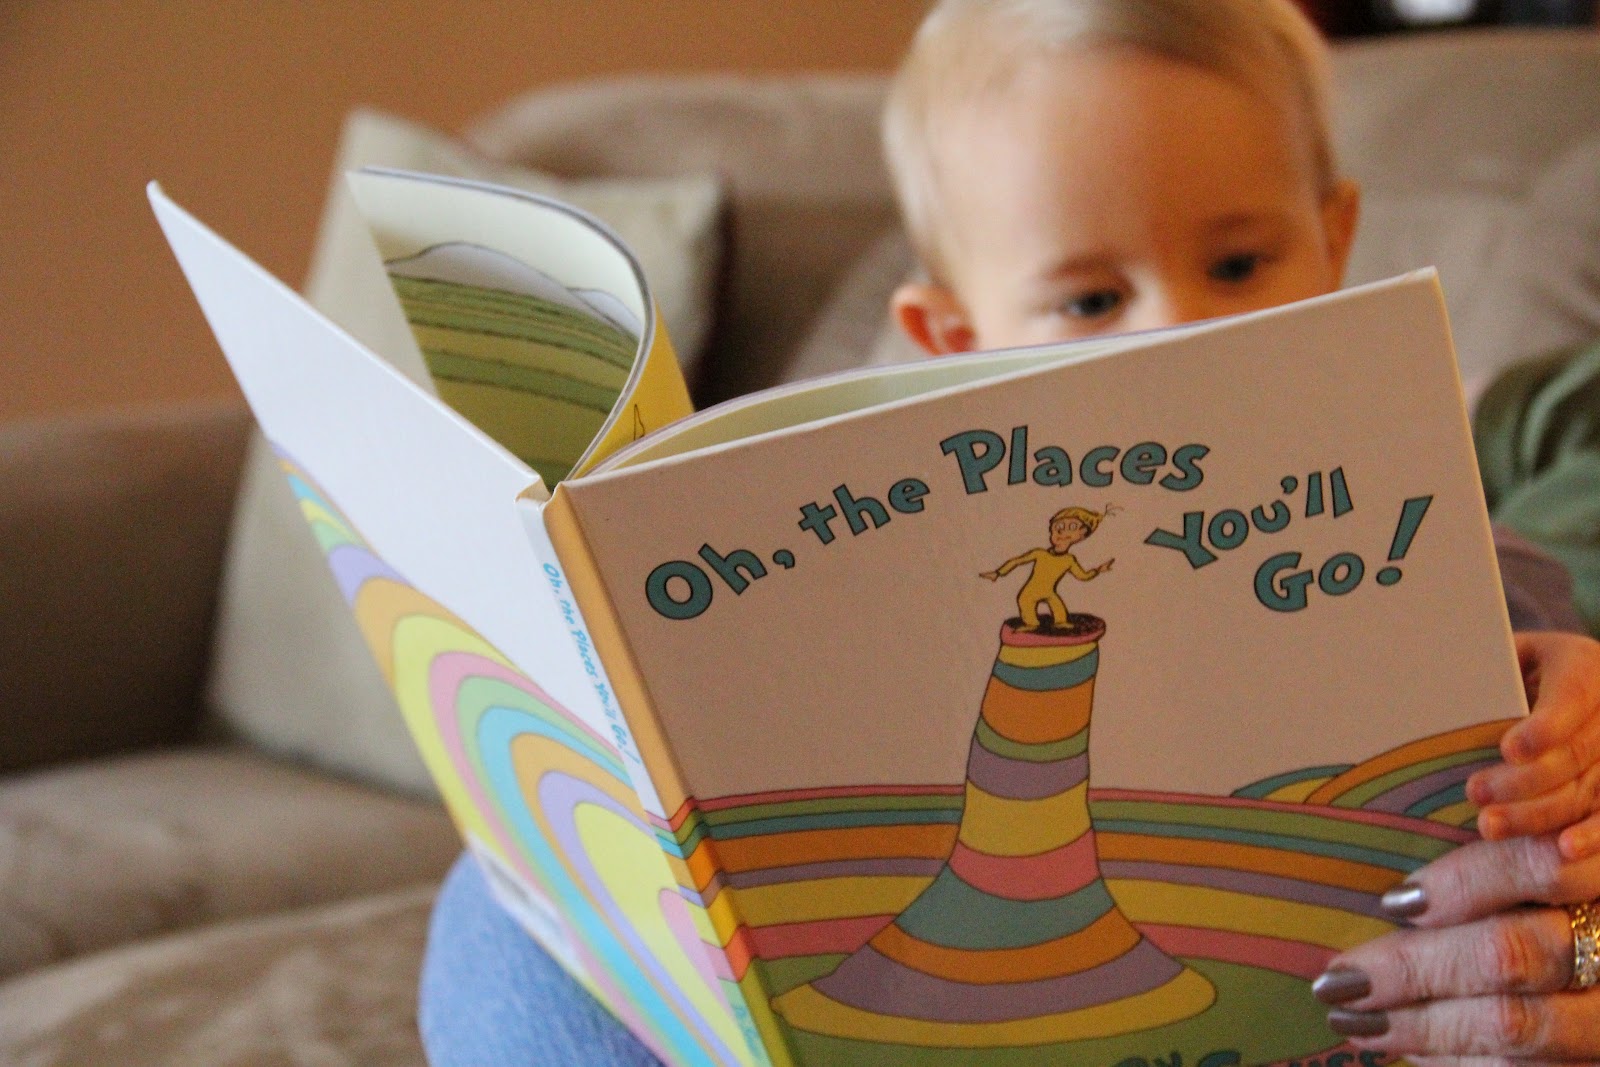
Oh, the Places You'll Go!


My son turned one back in April. It was a really low-key event, therefore not too many decorations went into the extravaganza this year. I did, however, make his cake. The theme I chose was from Dr. Seuss' "Oh, the Places You'll Go" book. When my first son was born, his 1st birthday theme was Dr. Seuss' "Green Eggs and Ham." I thought it only fitting that we did something along the same line for the youngest. Who knows, maybe when he graduates (way off into the future), we will do another one of these themed parties.

On his actual birthday, I made giant cupcakes. This picture doesn't really do the size of the cupcake justice.
It is sitting on a plate that I made especially for occasions like birthdays and other special events.
I got the idea from a friend of mine who had this tradition growing up in her family and it sounded
like it was right up my alley as well!
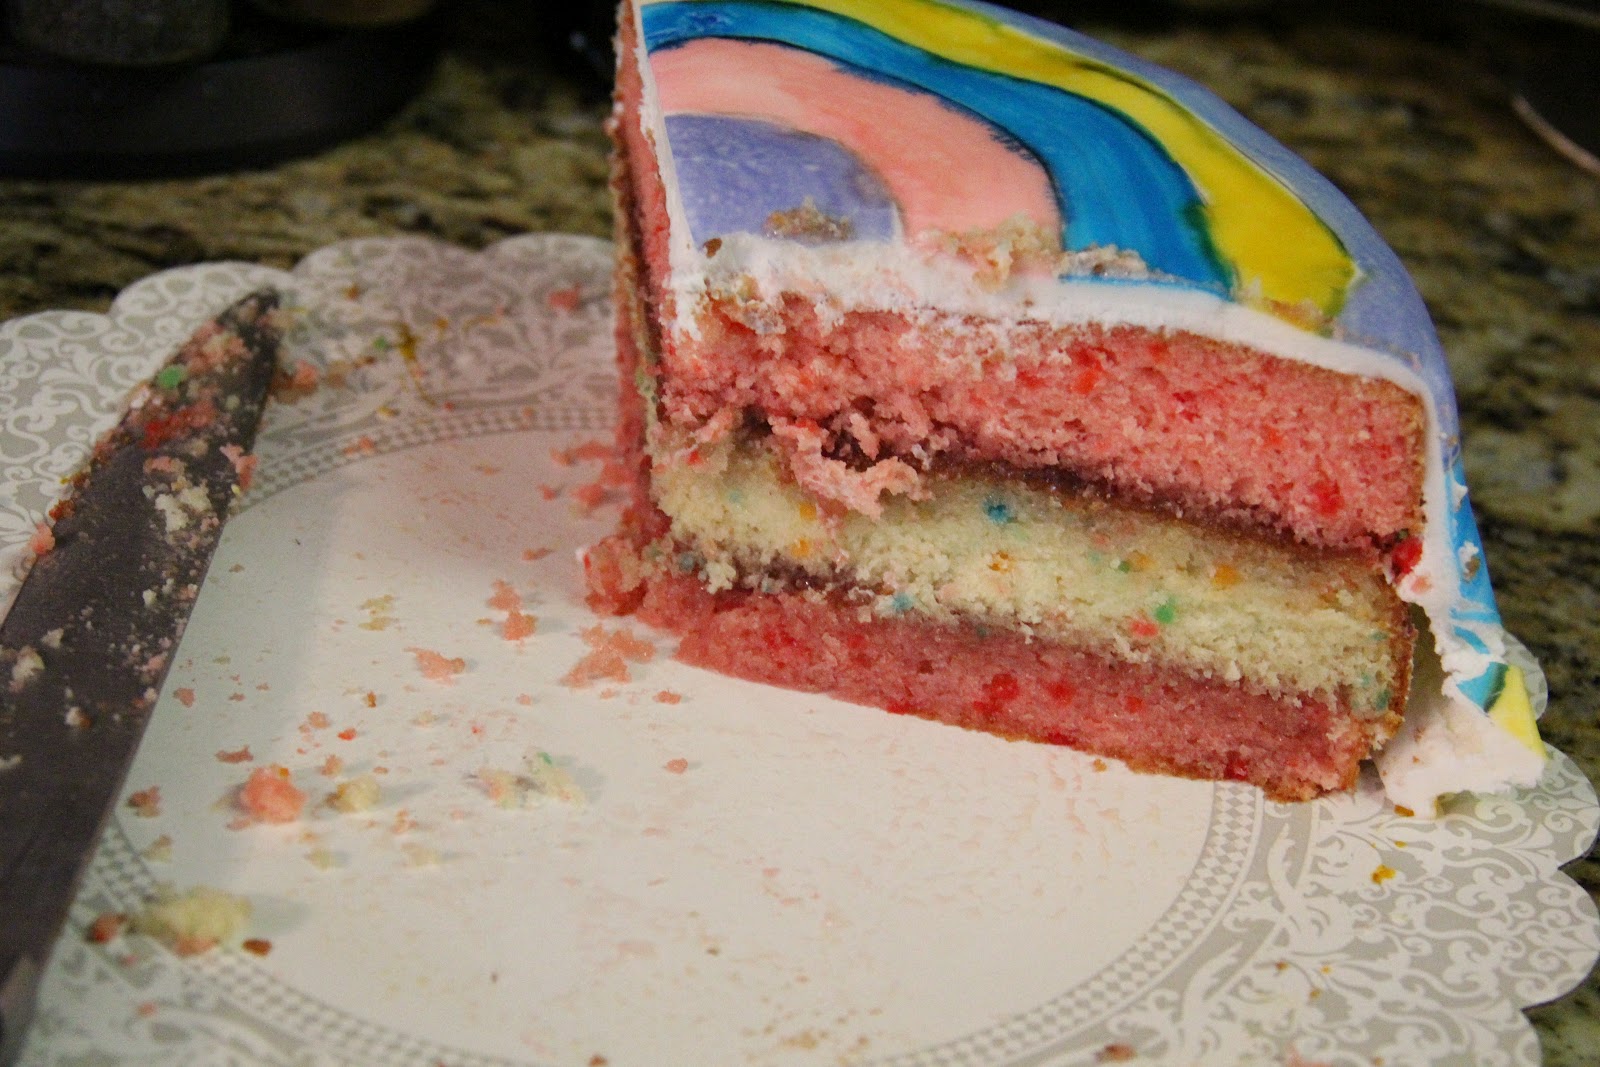
I made the birthday cake for him this year. I wasn't super happy with the way the cake turned out, but the concept still worked for what I was going for. I didn't count on the color dripping down the fondant the way it did every once in a while. Lessons learned for next time around! I always seem to learn something about cake decorating with birthday party time rolls around (kind of an inopportune time if you ask me).
I ordered a couple extra books from Amazon that were not in the best shape (so that meant I got a good price) and deconstructed them for decorating with for the party. This is actually from the jacket cover of the book. I cut out the pieces and just stuck them on the top of the cake.

I designed the cake based on the cover of the book. I made the bottom layer out of cake and covered it with fondant. I used a food marker to make my swirl outline and then painted the fondant from there. For the top of the cake, I actually used a floral styrofoam form. I didn't want to mess with trying to carve a cake and panic if it fell over, which, with my luck would have definitely happened. I just covered the styrofoam with fondant as well and followed the cake design.


As you can see, the cake was loved by all!

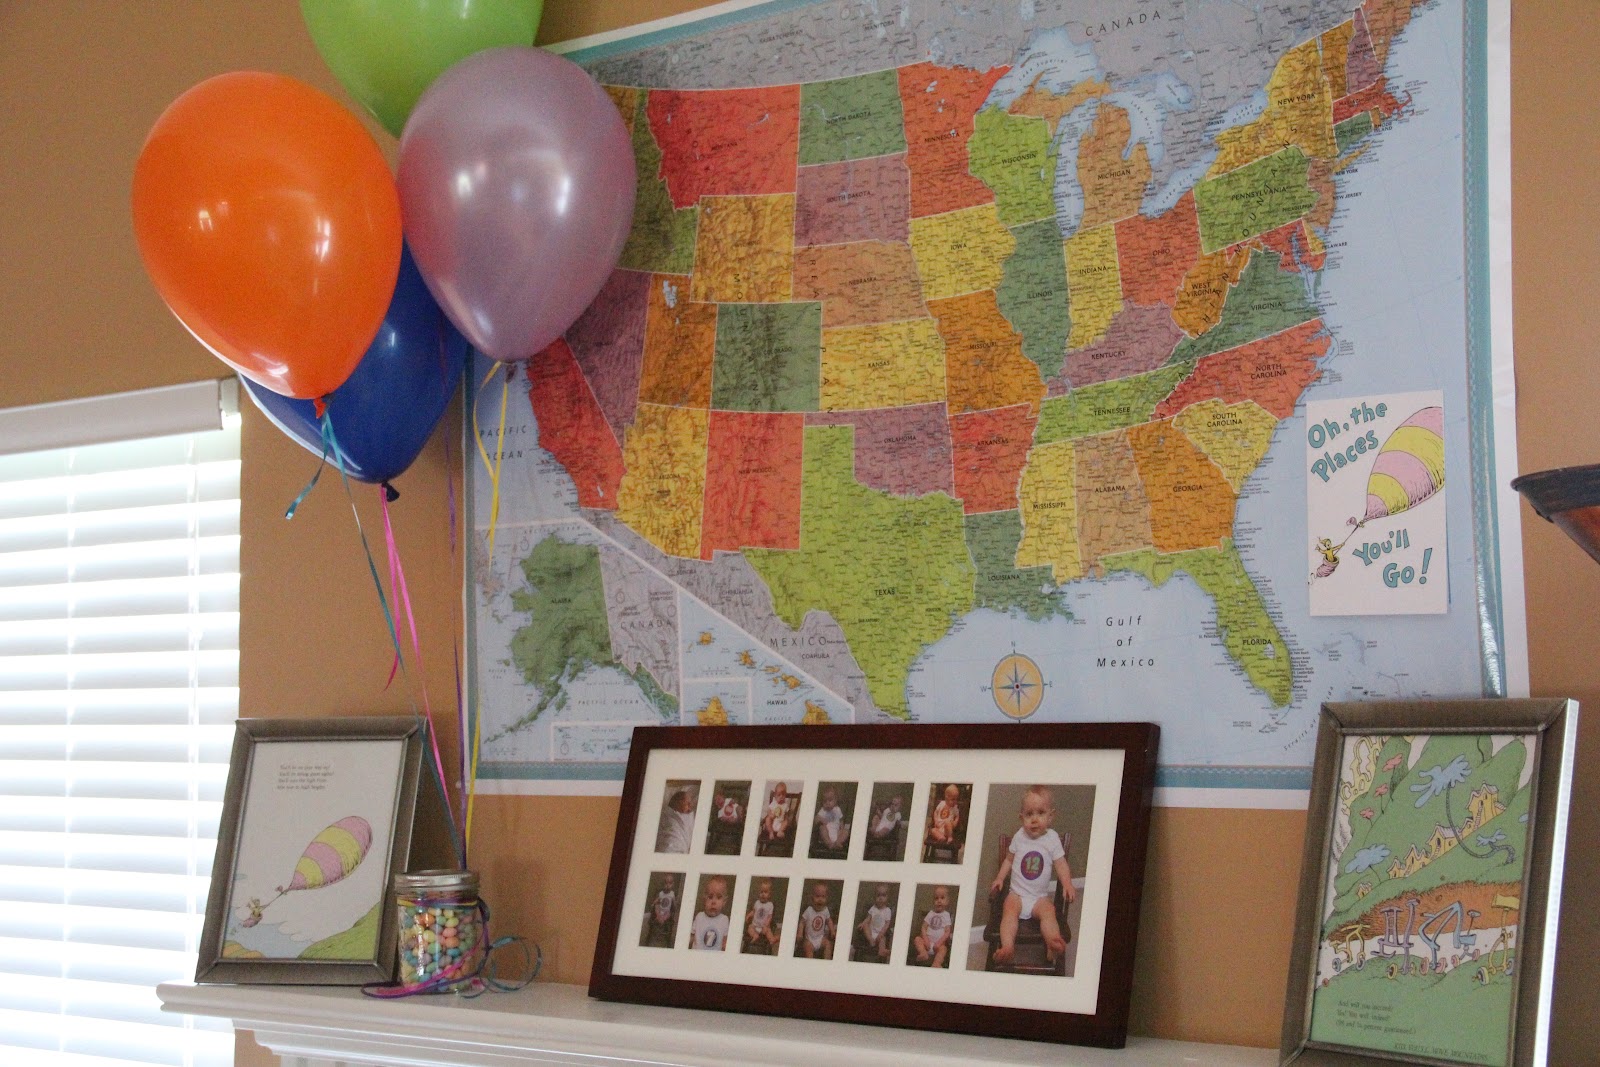
I had a grand idea to make a map using the pages of the actual book. Cutting each state out from the page and piecing it all together. I soon decided I was NOT up for that particular challenge given the fact that I wanted to have a big map. I opted for a purchase at the store instead. I have other uses for the map in the near future anyway.

Each month, I took a picture of my son in a rocking chair to see how much he had grown from month to month. I put all the pictures in the frame above to give everyone an idea of how big he has grown. It was fun to put this part together to reminisce myself. The picture now hangs in his bedroom (I love projects that serve dual purposes!)

The mantle above the fireplace, some balloons, pages from the book framed, the map and collage of his pictures.