Showing posts with label decorating. Show all posts

Sunday, July 14, 2013

Crate Coffee Table

I have so many little projects that I want to do once I move into our new home. I also have so many things that I want to try before we move. This is one of the projects that I was able to get finished (with a lot of help from my handy dad). Giving him little projects has been a win-win situation for all of us!

I had found this great little coffee table on Pinterest a while back and was waiting for the opportunity to work on it. Michaels had a great 40% off your entire purchase sale a couple weeks ago that I jumped on. Buying all the crates at one time was so much easier than buying them one at a time, making multiple stops here and there. Again, I'm not great about taking step-by-step pictures because my dad moves so fast. here are the ones I was able to capture. It was really pretty simple to put together.


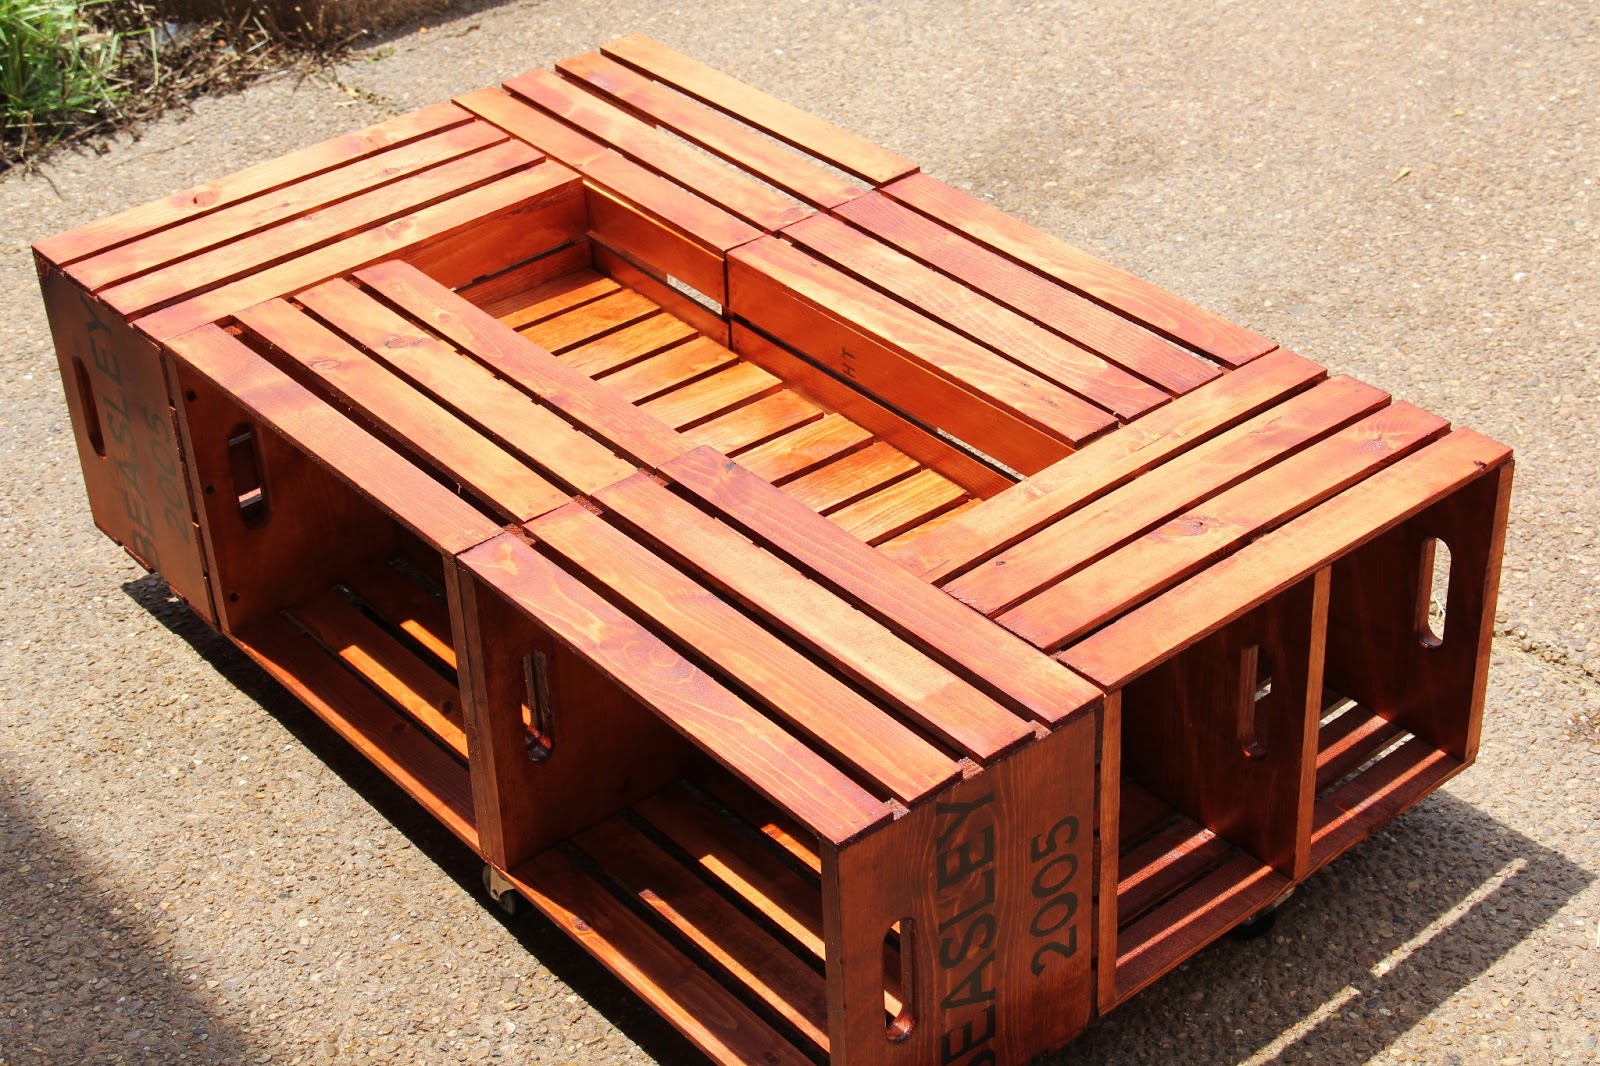
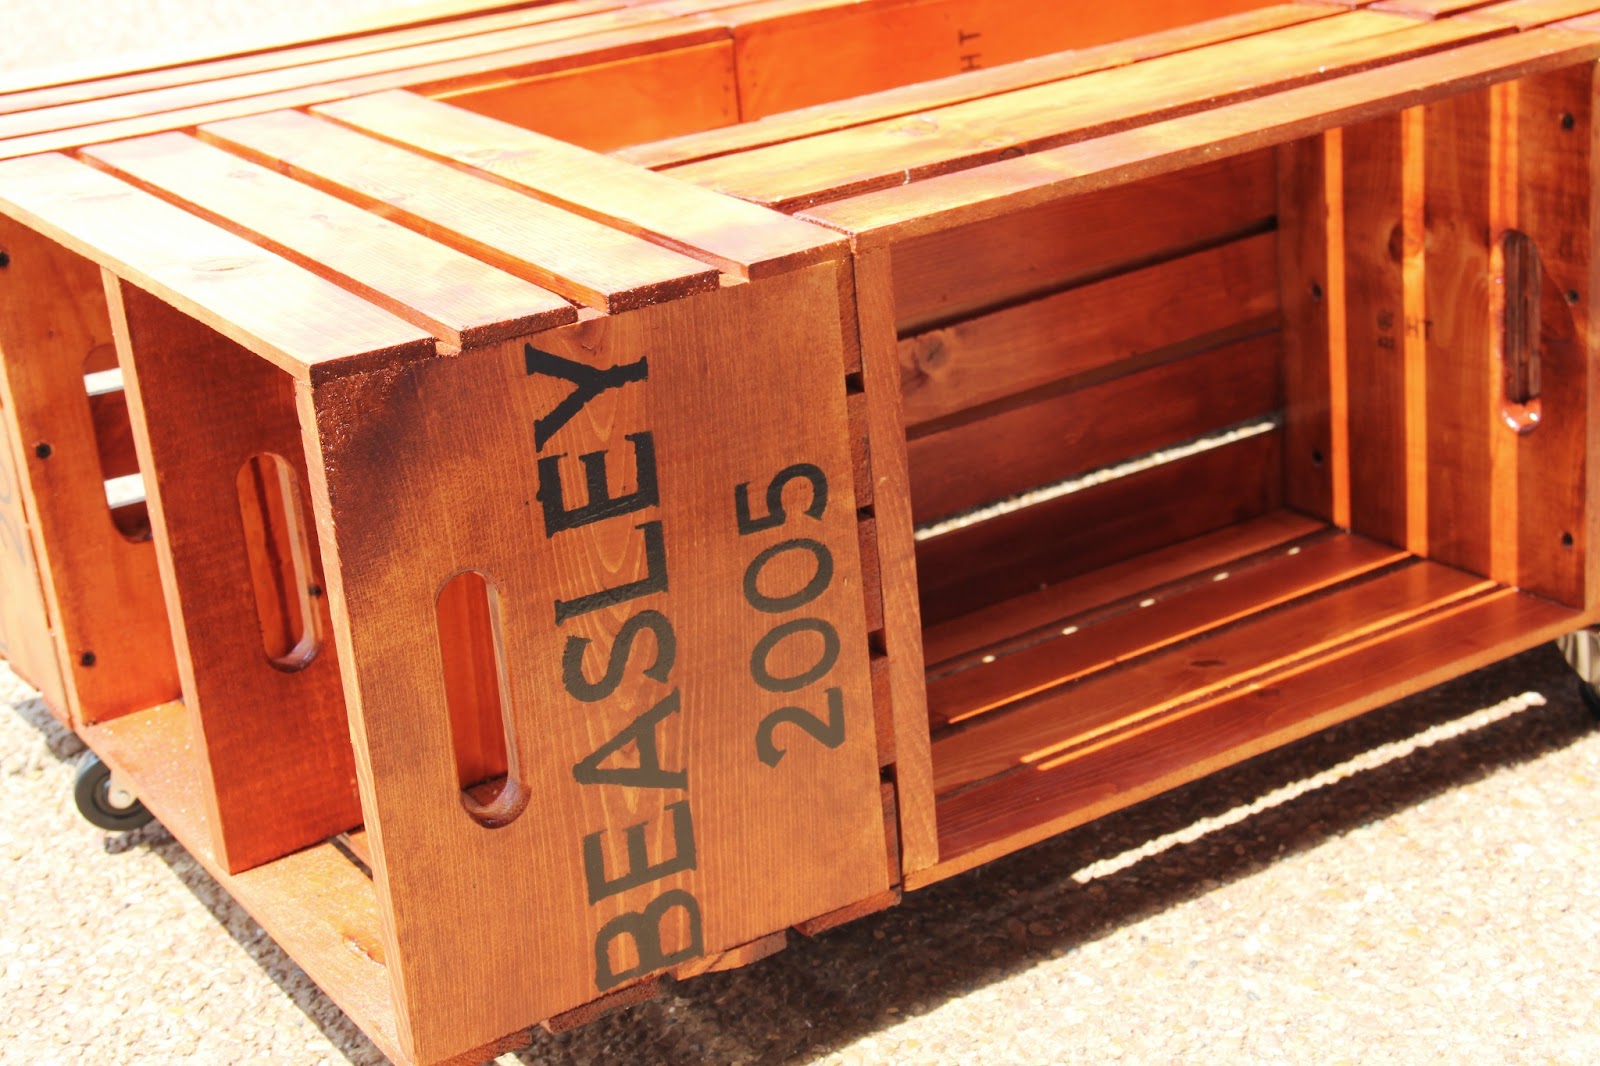
I was just going to stain the crates as-is, but at the last minute I decided to add our last name and the year we were married  on the end of each crate to add a little interest. Using my trusty Silhouette, I made a stencil and used black craft paint that I had on hand.
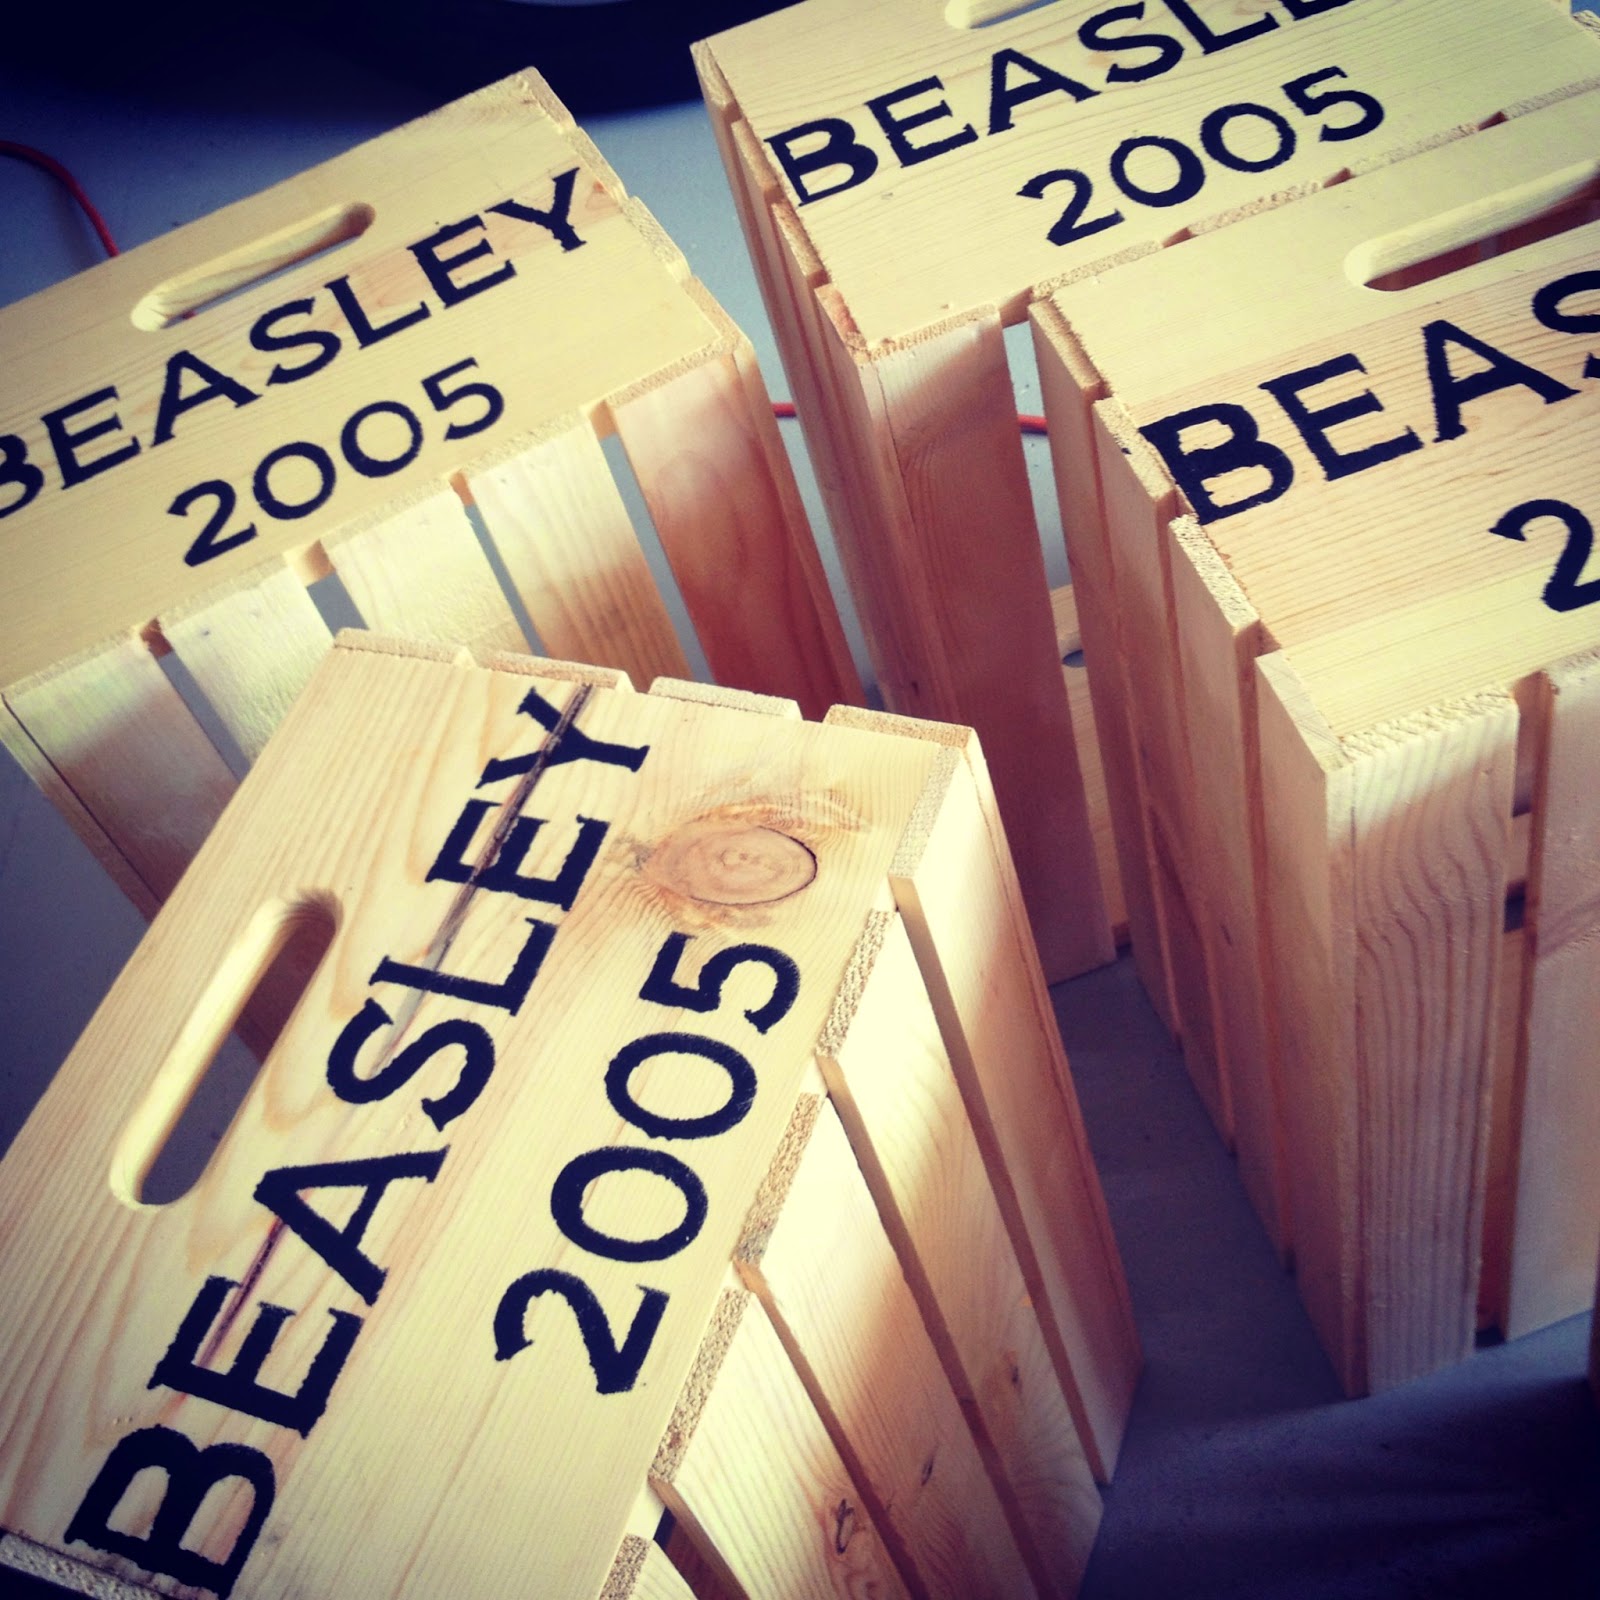
I originally bought only four crates to make the square table that I had seen in the Pinterest posting. My husband thought a longer table would look better in our living room along our couch. I went out and bought two more to see how it would look all put together. This was what we came up with. We both decided it would be good and we could proceed from here. 

The next step was to stain all the crates. We had an electric paint sprayer on hand so dad sprayed each crate and it was my job to make sure everything got wiped down and fully covered.

After staining, we put them in an "assembly line" and put two coats of polyurethane on each crate. This was probably the most time consuming part of the project due to the dry time between coats.

Once everything was dry, we put everything together. First, we used a pin-nailer and later for stability, we used the screw gun and put it all together for the long haul.

My sons are inspecting what will become the middle of the table (filling the massive hole where I know remote controls and a myriad of toys would end up eventually).

 I even took a turn with the nail gun.

Our finished coffee table. I'm so happy with the way it turned out. We put five casters on the bottom of the table as well so we will be able to move it around easier.

Friday, July 5, 2013

Phone Restoration

My grandmother had this old phone hanging in her dining room as decoration since I was a little girl. Several years ago, when my husband and I were first married I asked her on a whim if I could have it for our house. She said yes. It never got hung in our house and just sat in a box waiting and waiting. When we sold said house, I brought the phone with me in hopes of restoring it so I would DEFINITELY hang it in our new house when it is finished being built.

I need to learn to take more before pictures of my projects. Once we decide to do something, the project takes off quickly and normally finishes  quick too.

My dad and I decided to see if the black paint would come off the phone and we longed to see what was underneath. Therefore, my one "before picture" has the nice wood "stripe" down the side. 

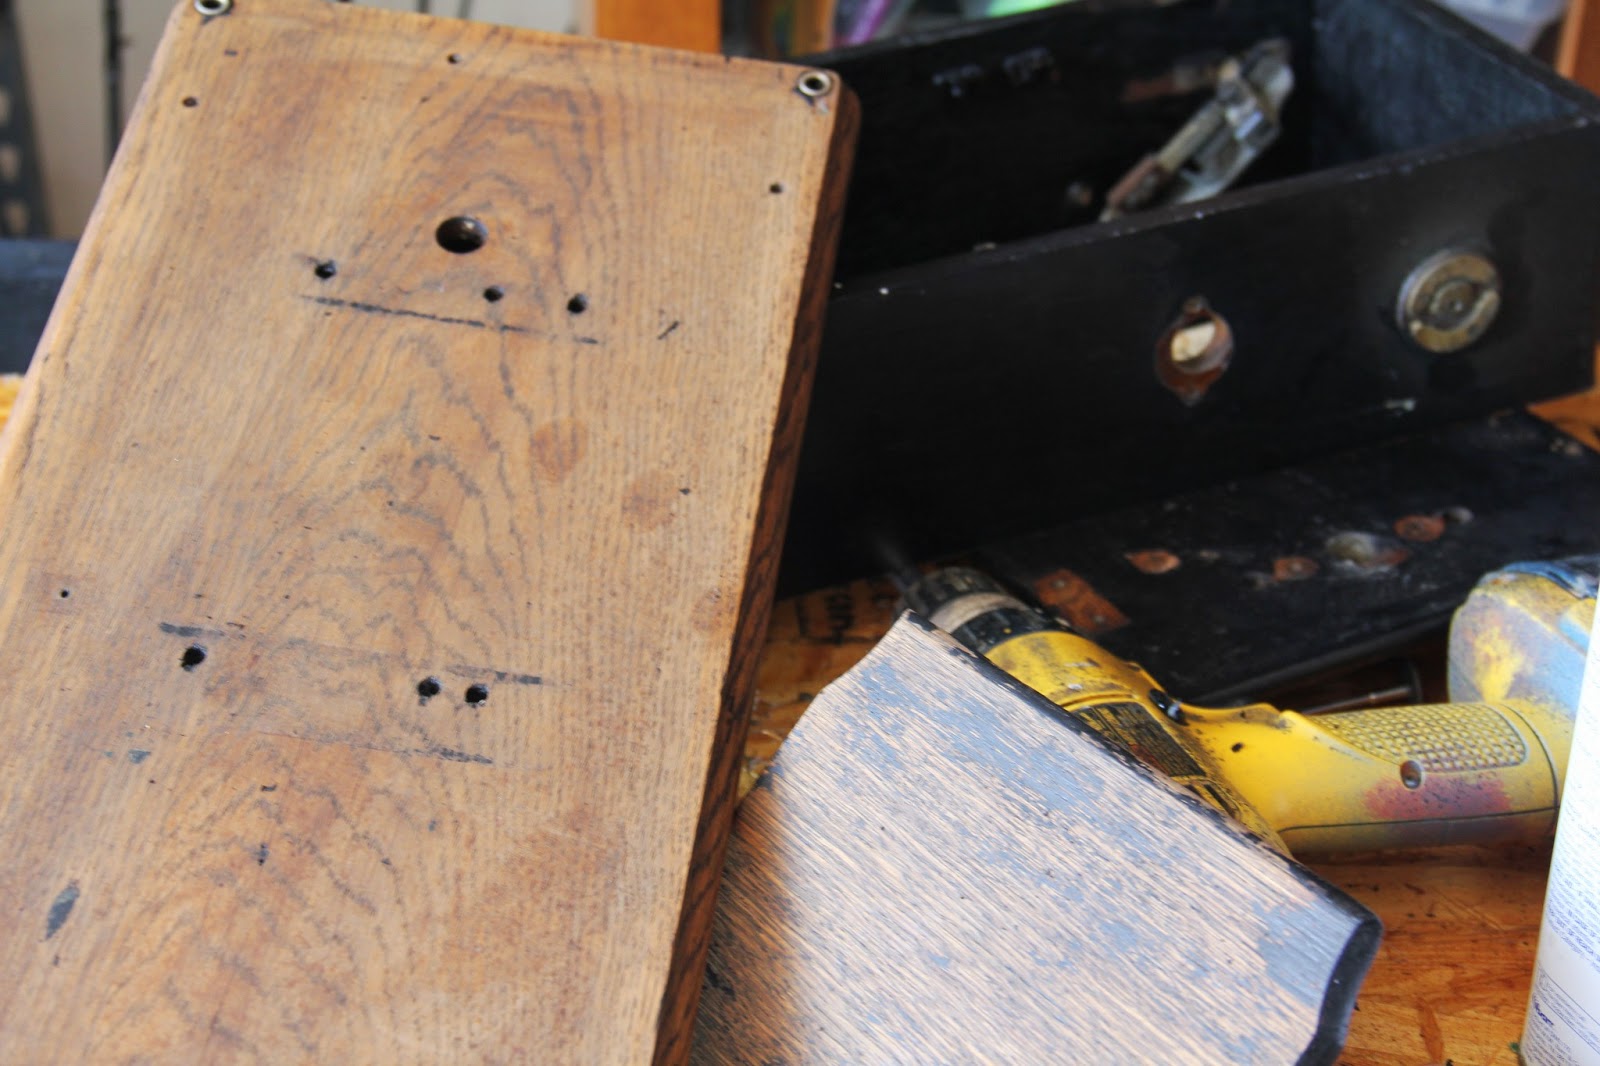
Dad took apart the phone for me. I was in charge of putting all the parts and screws in a safe place for later.
This was still inside the phone. I took tons of pictures of this because I was pretty certain that this part was not going to be able to be salvaged in the restoration process.

First step was lacquer thinner to get the black paint off. It started off well. Later, I decided to go with an actual paint stripper and that worked much better.


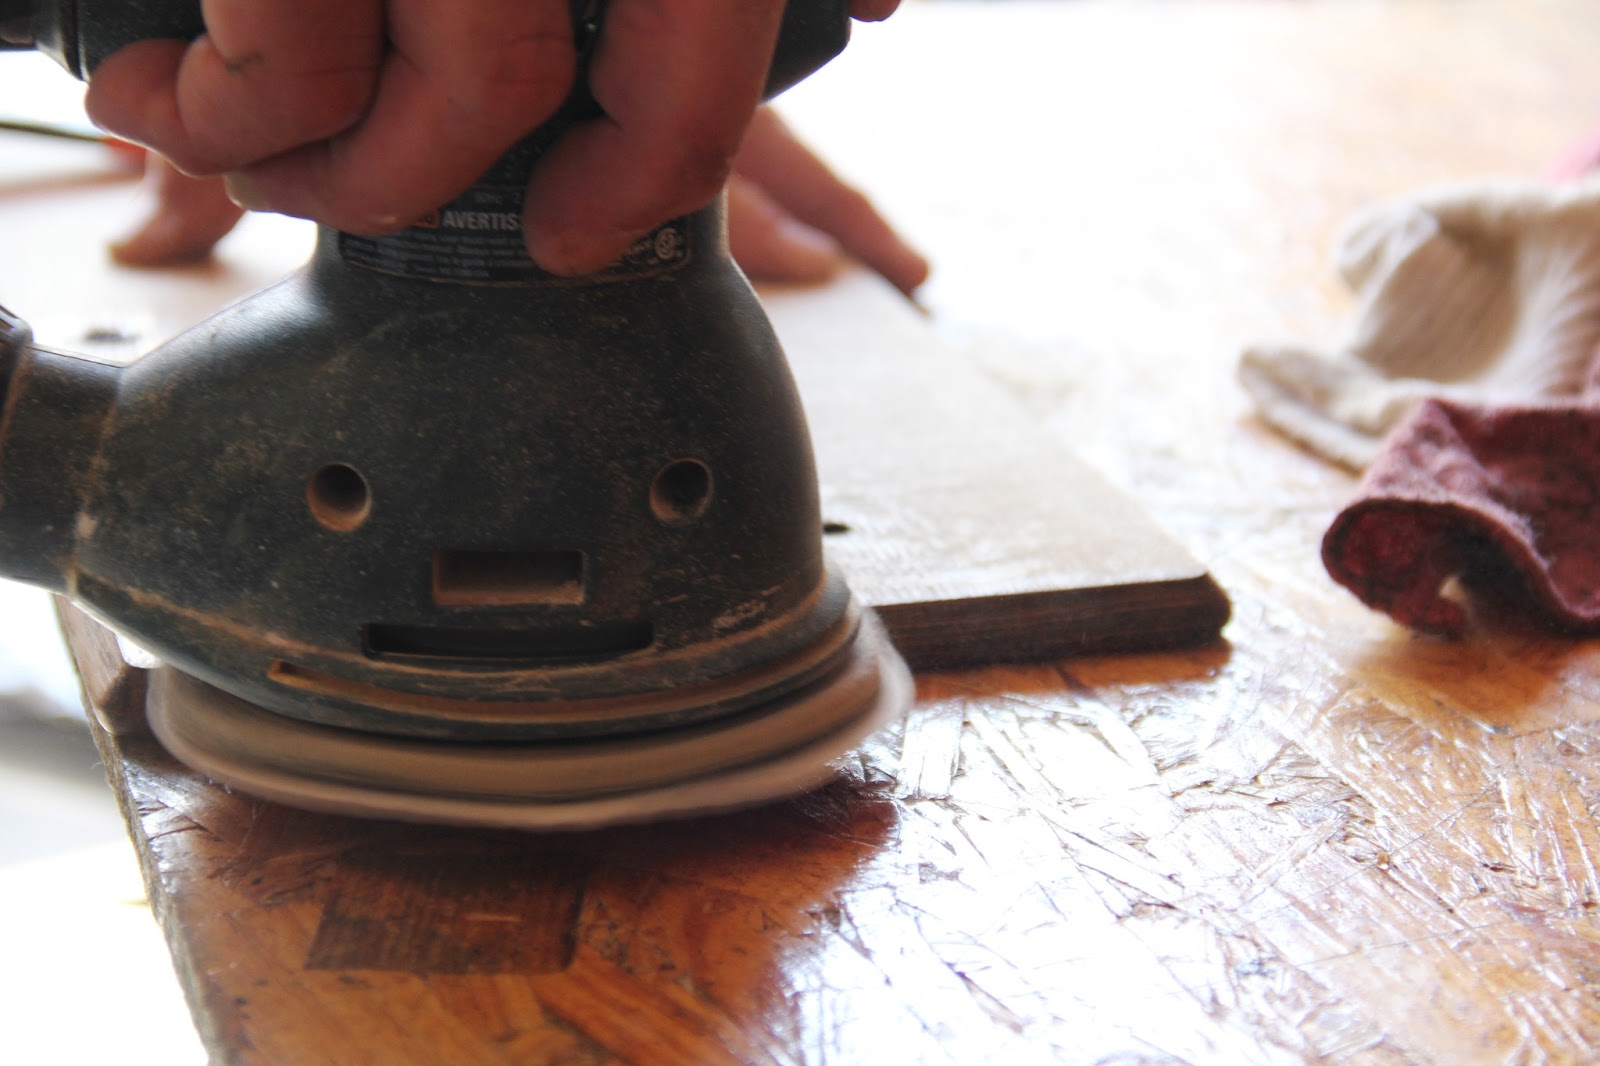
After all the paint was stripped, dad took the sander to the wood for me.


After the black paint had been stripped.

We decided it would be nice to stain the piece. I used the Gunstock stain for this project. I think it will go very nicely in our new home eventually.


I did about 3-4 coats of polyurethane all over the phone after all the staining was complete. 

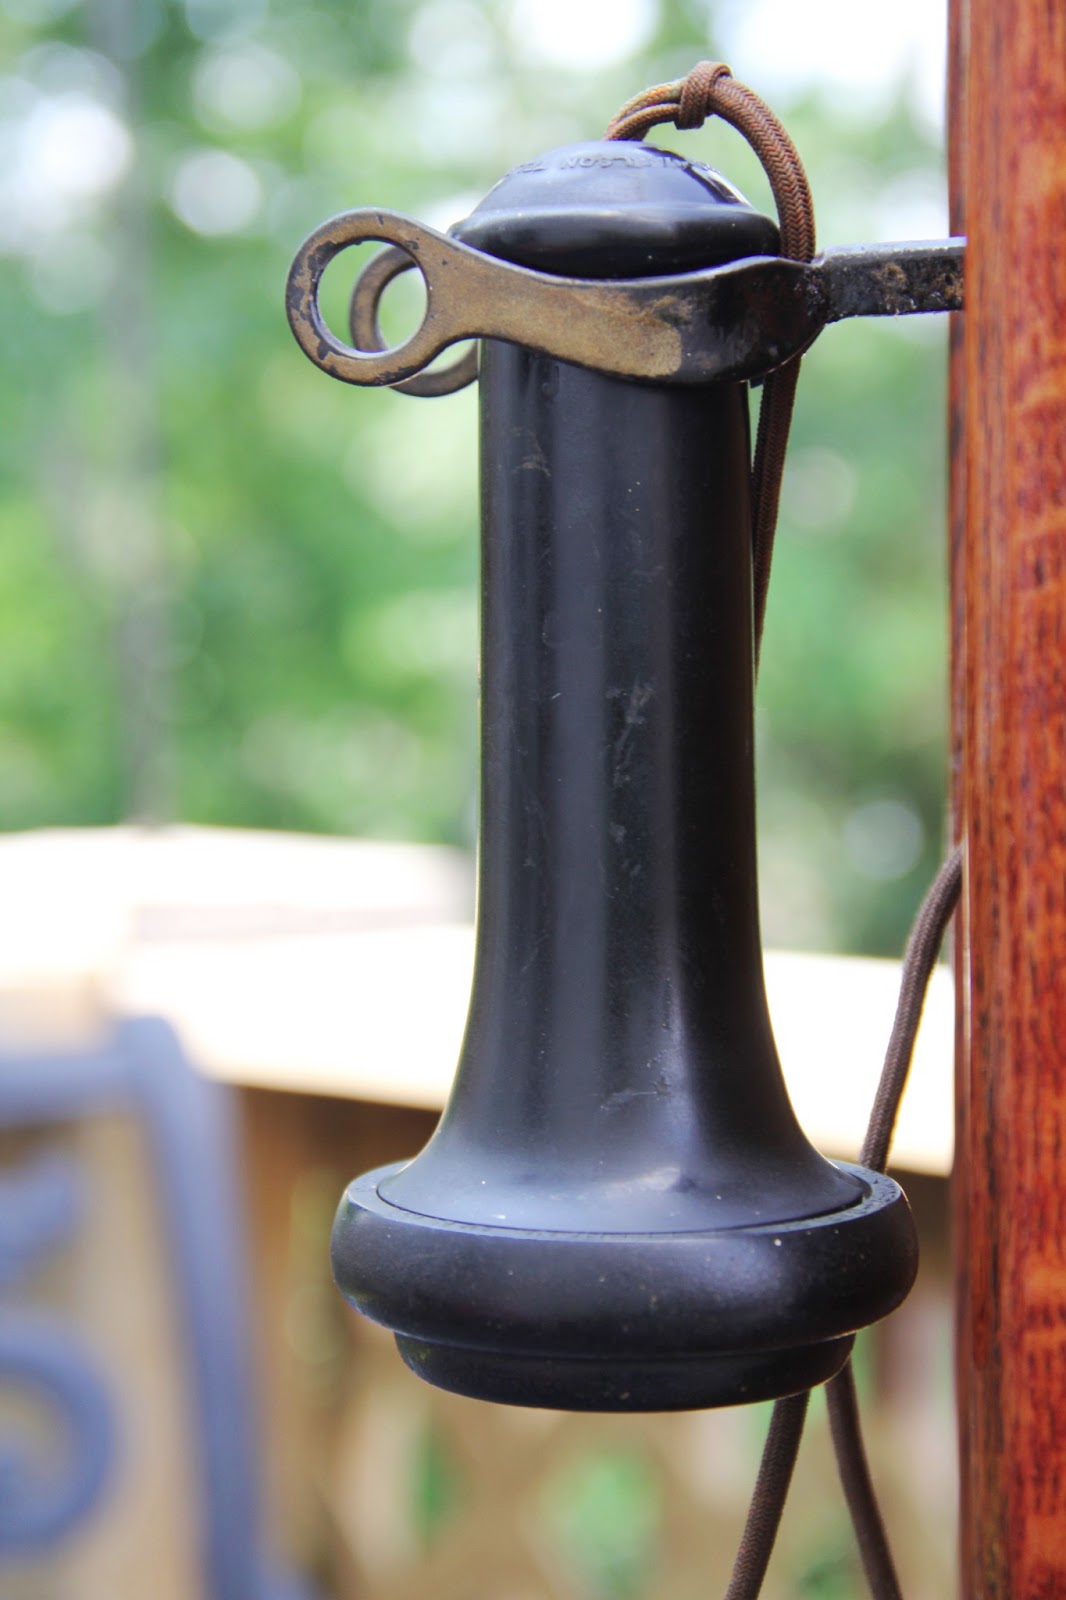
Here is the finished result. I am in love with it.

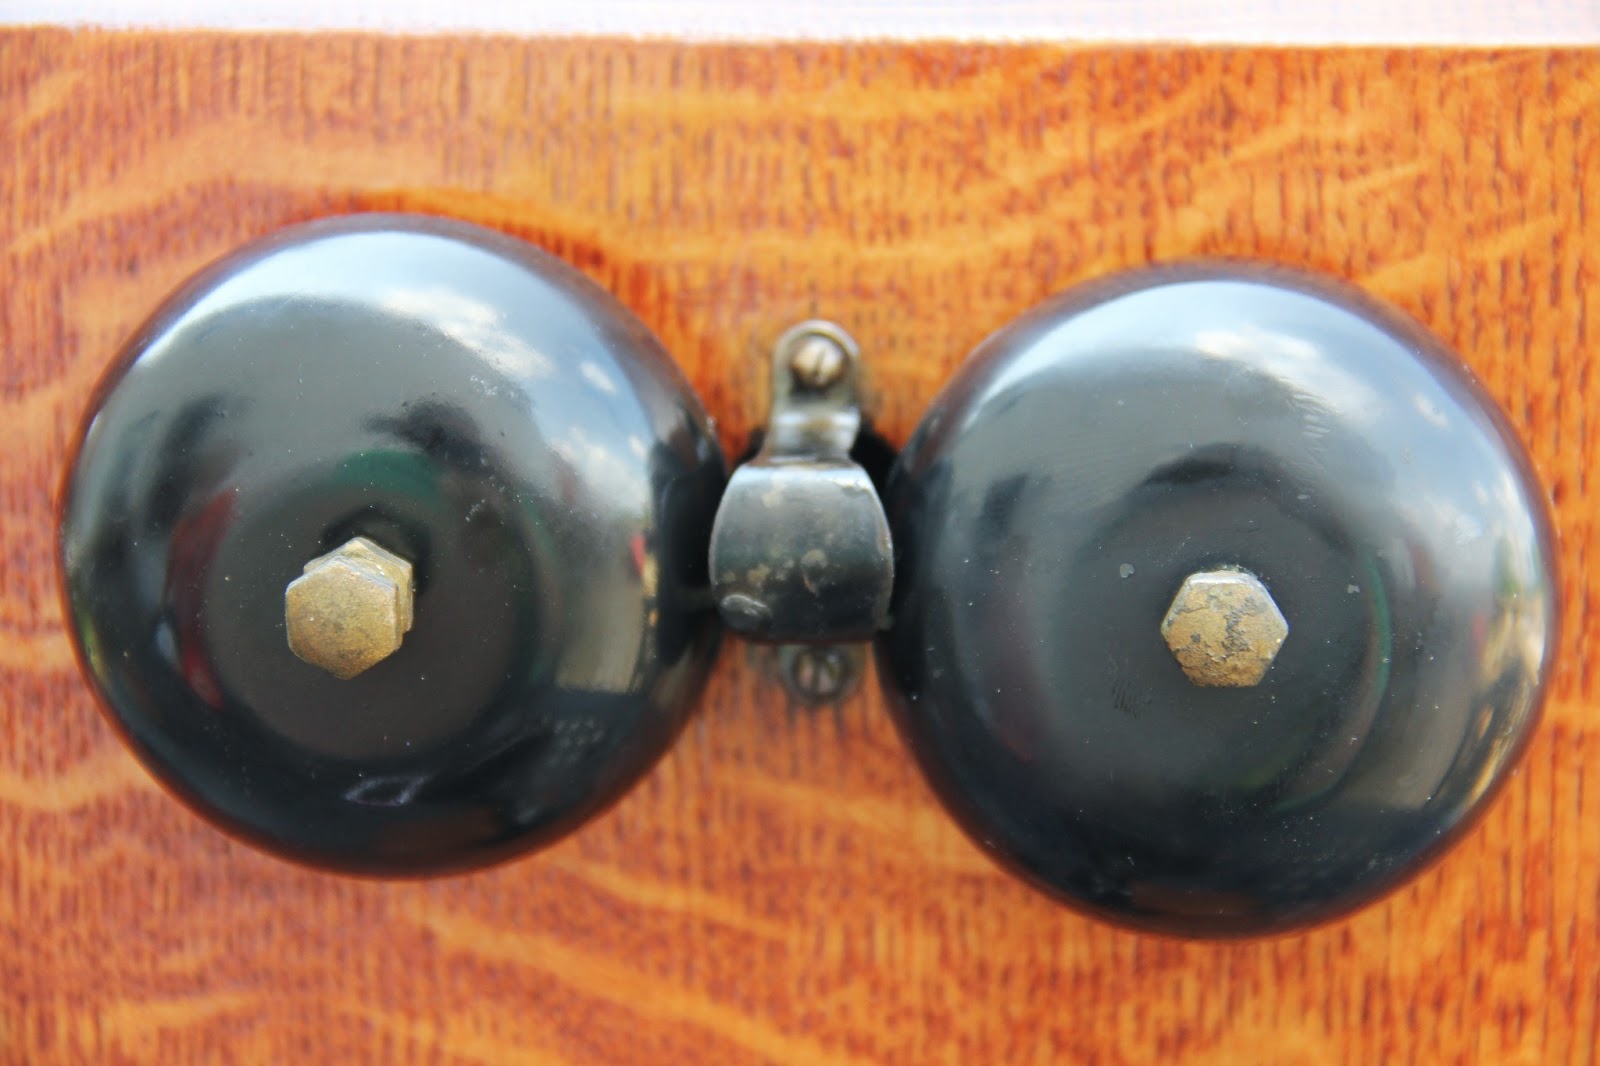
Dad shined up the bells the best he could for me.


I know EXACTLY where it will hang when we move to our house.
Now, I just have to store it once again till then.


Monday, November 19, 2012

Star Wars Decorations

We had such a good time at my son's birthday party! He had a great time and helped me everywhere he could in putting things together for his big day. Here is a sampling of what we did for his party. I got SO MANY ideas from other people that had done this before! This is probably the first year I have done something pretty "mainstream." It always seems that I plan parties that have no other ideas out there anywhere. Maybe one day I'll get around to posting about some of the parties we have done in the past.

Here is the invite that I came up with for the party. I tried my best to get the opening crawl incorporated and feel that it worked out pretty good. I made the back look like the hilt of the light saber and the other side has the actual wording. When you fold it up it looks like a light saber. It fit in a legal size envelope so I was a happy girl!

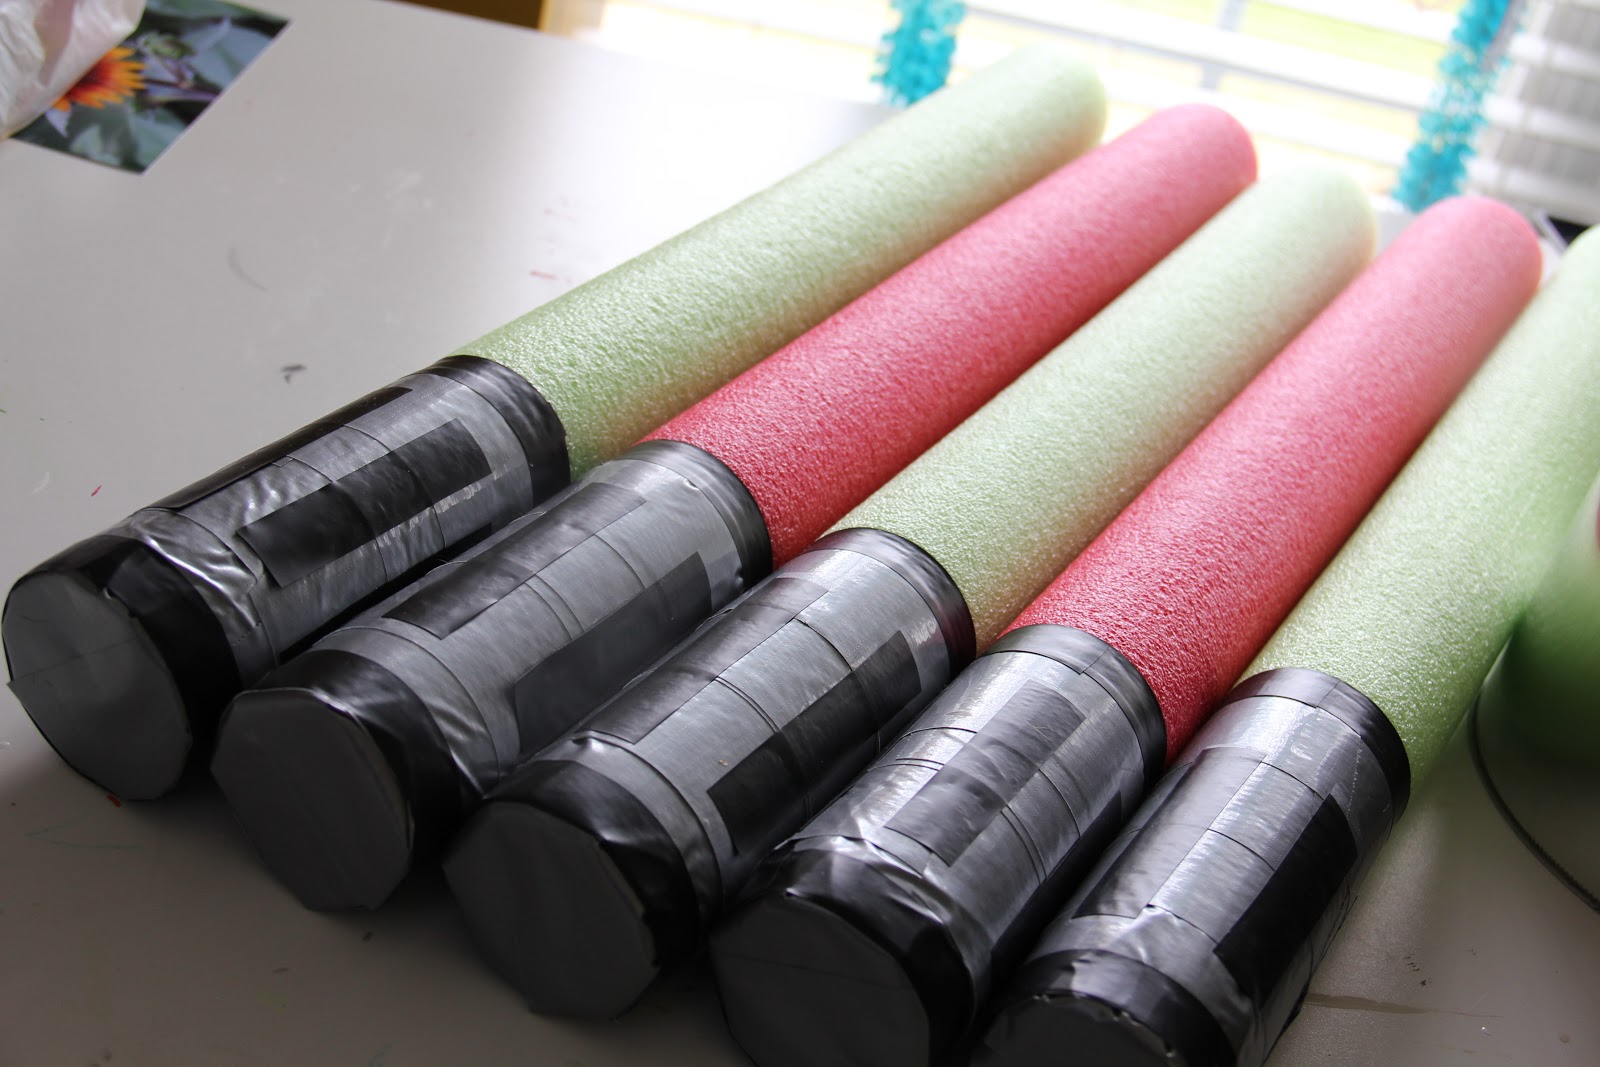
When I saw this idea, I knew I had to execute it. Granted we were entering the fall season and pool noodles would be just about gone. Somehow, I lucked into 6 pool noodles at the Dollar Tree just in the nick of time. When I went back for more, they were all gone.
We played a game with these jewels that could have gone on forever. Each kiddo got a balloon and they had to see how long they could keep it up in the air. Strict instructions were given that these bad boys were not to be used to hit others. I'm proud to say that there were no injuries from this part of the celebration!


 I knew that I wanted to make these finger puppets when I saw them on Pinterest. Lots of cutting and an anxious little boy ready to get his hands on them. The next morning, he said that I need to make more ewoks and storm troopers so he can have an army of each. I agree, but it will have to wait for a while! This momma is tired!

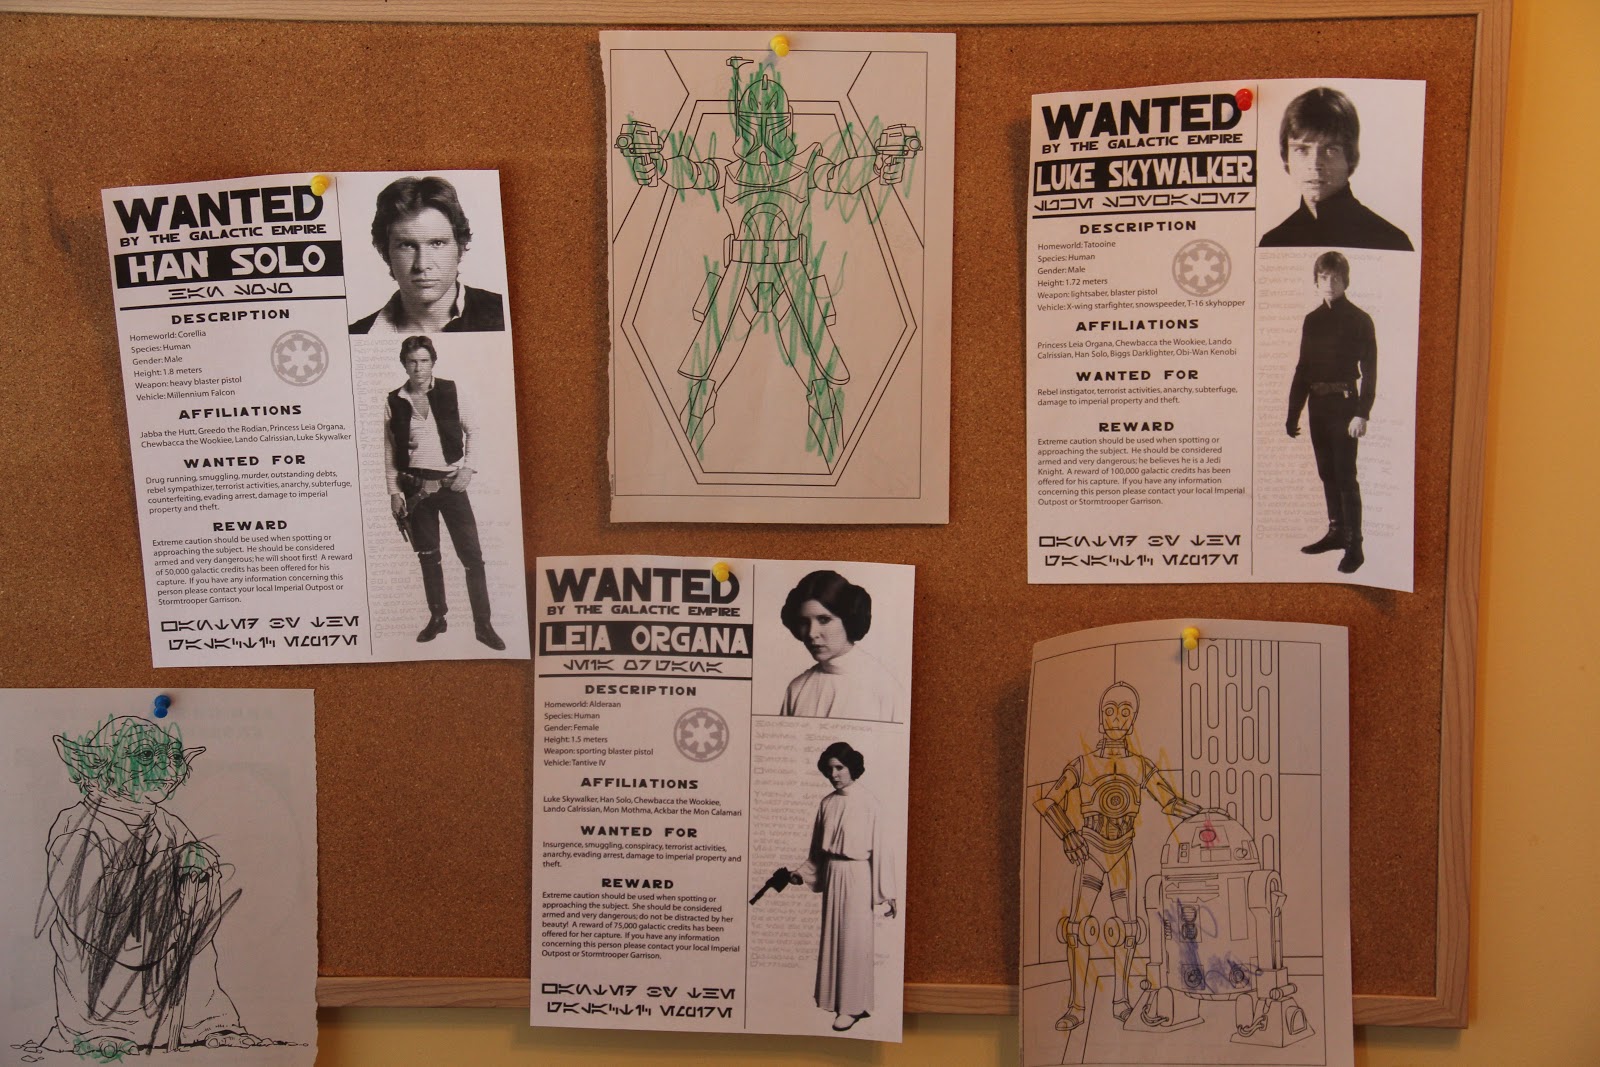
This is where my son helped with decorating. Next to the cake table, we posted these "wanted posters" that I found online and he wanted to display some of his artwork as well.

The kids table. Black tablecloth, stars cut out of Star Wars wrapping paper and silver wrapping paper, napkin light sabers, Star Wars crepe paper (found at Party City) and Darth Vader/Storm Trooper rings ordered online.
 These light saber napkin rings were a big hit. I found the original idea here. I didn't have much ink in my printer at the time so I improvised. Using the same duct tape and electrical tape I used for the pool noodles, I made the napkin ring holders. Again, really easy. I covered a piece of card stock with the duct tape then cut out rows. On the rows, I then put several pieces of electrical tape to resemble the sabers I made with the pool noodles. Just wrap each around the napkin and silverware and voila!


I found the banner at Party City. I couldn't resist. It had all the characters on it and made my son very happy (which was the entire point anyway).

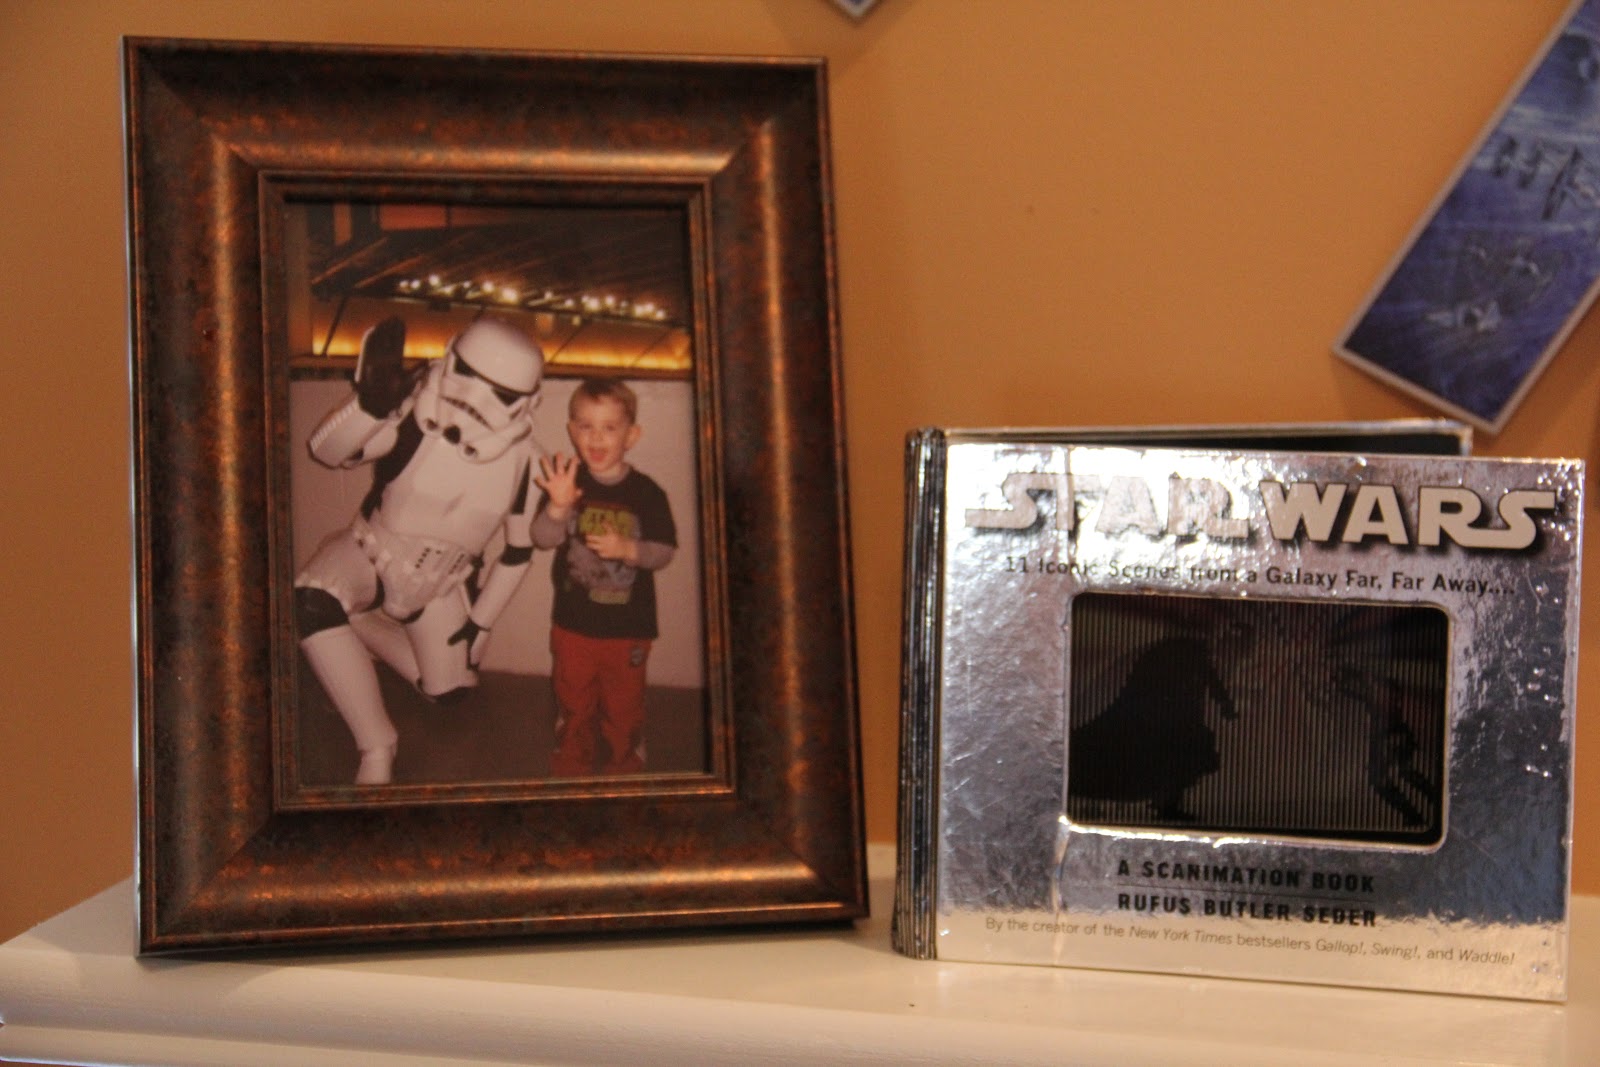
I displayed pictures of my son on the mantle. This was him as a Jedi Knight this Halloween.

This was a picture of him with a Storm Trooper we took a couple years ago at a local basketball game. Again, my son wanted to help decorate....so one of his Star Wars books made it to the mantle as well.

What's a party without some legos hanging around?
 I'm proud to say that I did have at least one idea of my own that I didn't get from Pinterest. I came up with this Star Wars wreath. You can read about it here.


At the last minute, I saw a piece of art that hangs in the dining room. I had the wrapping paper out so I decided to temporarily wrap the art up for the party. It just added a little something to the room.

I saw these cute stickers and knew that I had to use them somehow for the pinata.

 R2D2....probably the funnest thing I made. I saw lots of ideas on the internet for this little guy. I used a small trashcan for this project and lots of free handing. I was never able to find an exact template that I could use so I just went with the flow and made it up as I went along. I was very happy with the final product. It proudly sits in my son's room as I type!
I'll have one more post to share about the cake and other food goodies I made for the day.

Star Wars Wreath

My son celebrated his fifth birthday this past weekend. I spent a couple weeks putting everything together for his Star Wars party. This is one of the things I came up with. I always like to have something on the door welcoming our guests. I came up with this Star Wars wreath. I will tell you that in putting together this party, the Williams Sonoma Star Wars cookie cutters were a LIFE SAVER to me. I discovered I could do so much with them. I used them for this wreath, for my son's birthday cake, actual cookies for his preschool class and I'm sure somewhere else along the way.

I was reading one night about salt dough ornaments for Christmas. I suddenly thought....I could do that with the Star Wars cookie cutters and I was right. I went into the kitchen immediately and baked up a batch. Over the next week, I took some time (not a lot) in painting each of the ornaments. I found this wreath in the Halloween clarence isle and thought it would be just right for the occasion.

When I baked each ornament, I punched a hole in the top so I would be able to string them to the wreath. I figure I will give the ornaments to my son for his own special Christmas tree which will send him over the moon! Such a super-simple project to get done. Hope you enjoy it!


 Stay tuned for more from our Star Wars extravaganza!
Decorations
Cake and other food goodies