Sunday, July 14, 2013

Crate Coffee Table

I have so many little projects that I want to do once I move into our new home. I also have so many things that I want to try before we move. This is one of the projects that I was able to get finished (with a lot of help from my handy dad). Giving him little projects has been a win-win situation for all of us!

I had found this great little coffee table on Pinterest a while back and was waiting for the opportunity to work on it. Michaels had a great 40% off your entire purchase sale a couple weeks ago that I jumped on. Buying all the crates at one time was so much easier than buying them one at a time, making multiple stops here and there. Again, I'm not great about taking step-by-step pictures because my dad moves so fast. here are the ones I was able to capture. It was really pretty simple to put together.


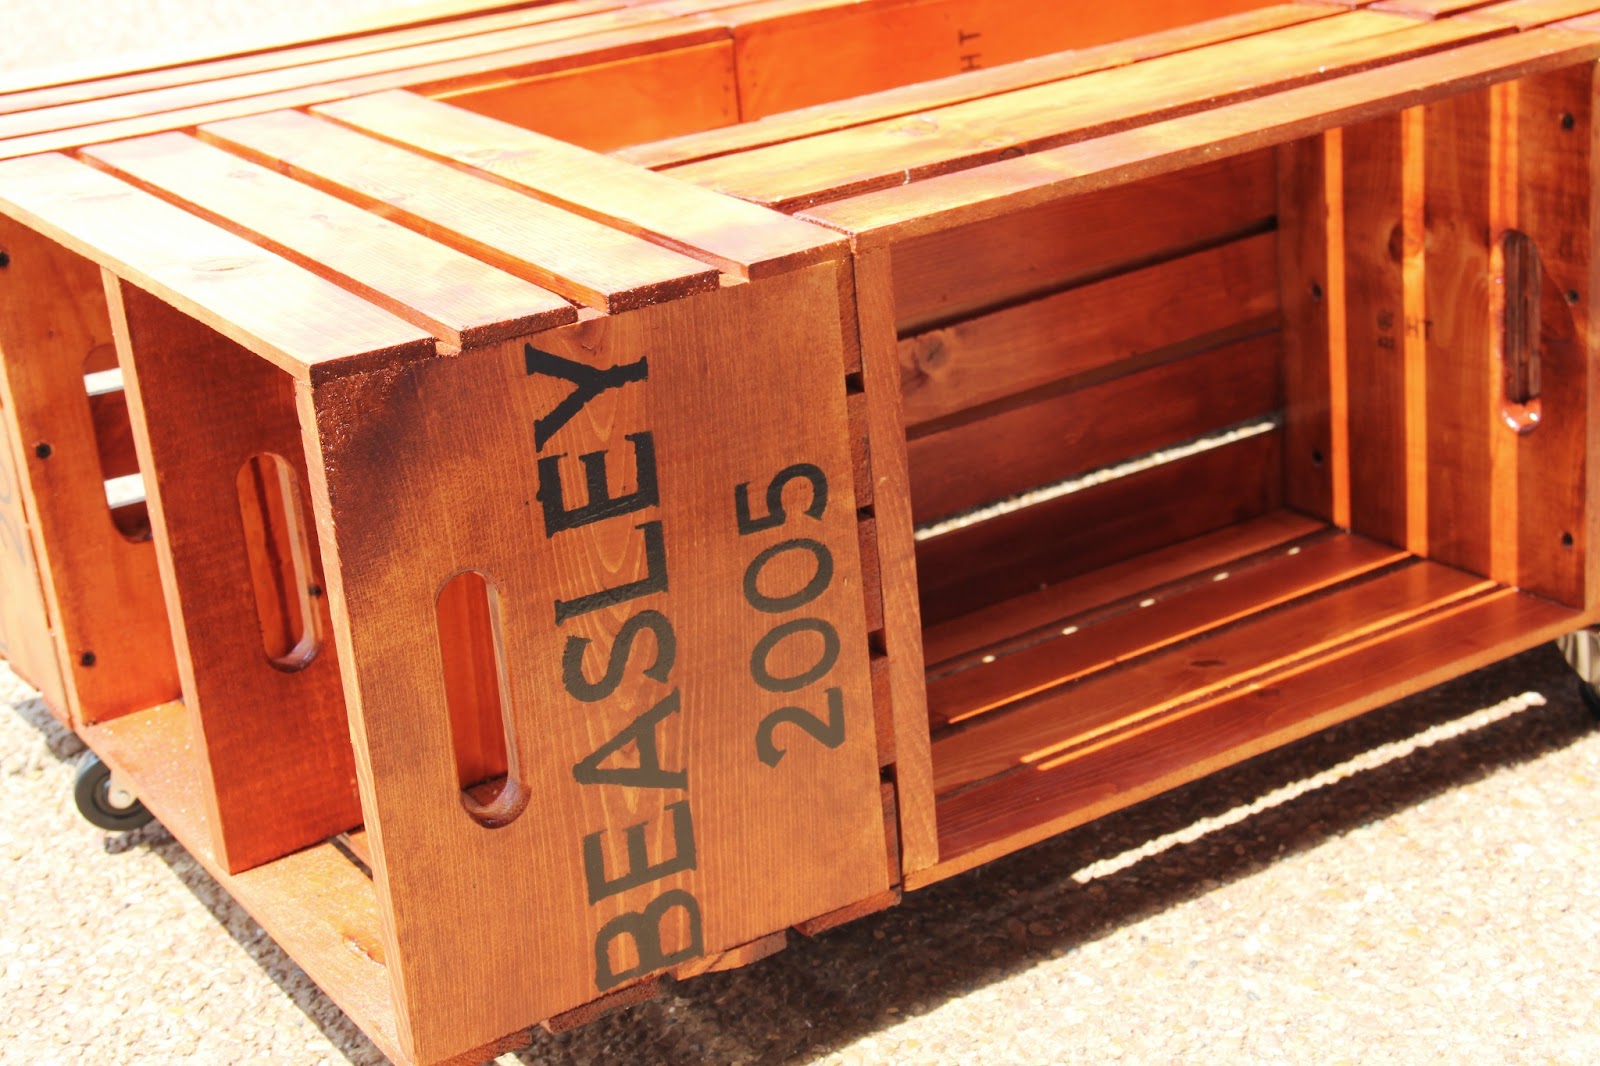
I was just going to stain the crates as-is, but at the last minute I decided to add our last name and the year we were married  on the end of each crate to add a little interest. Using my trusty Silhouette, I made a stencil and used black craft paint that I had on hand.
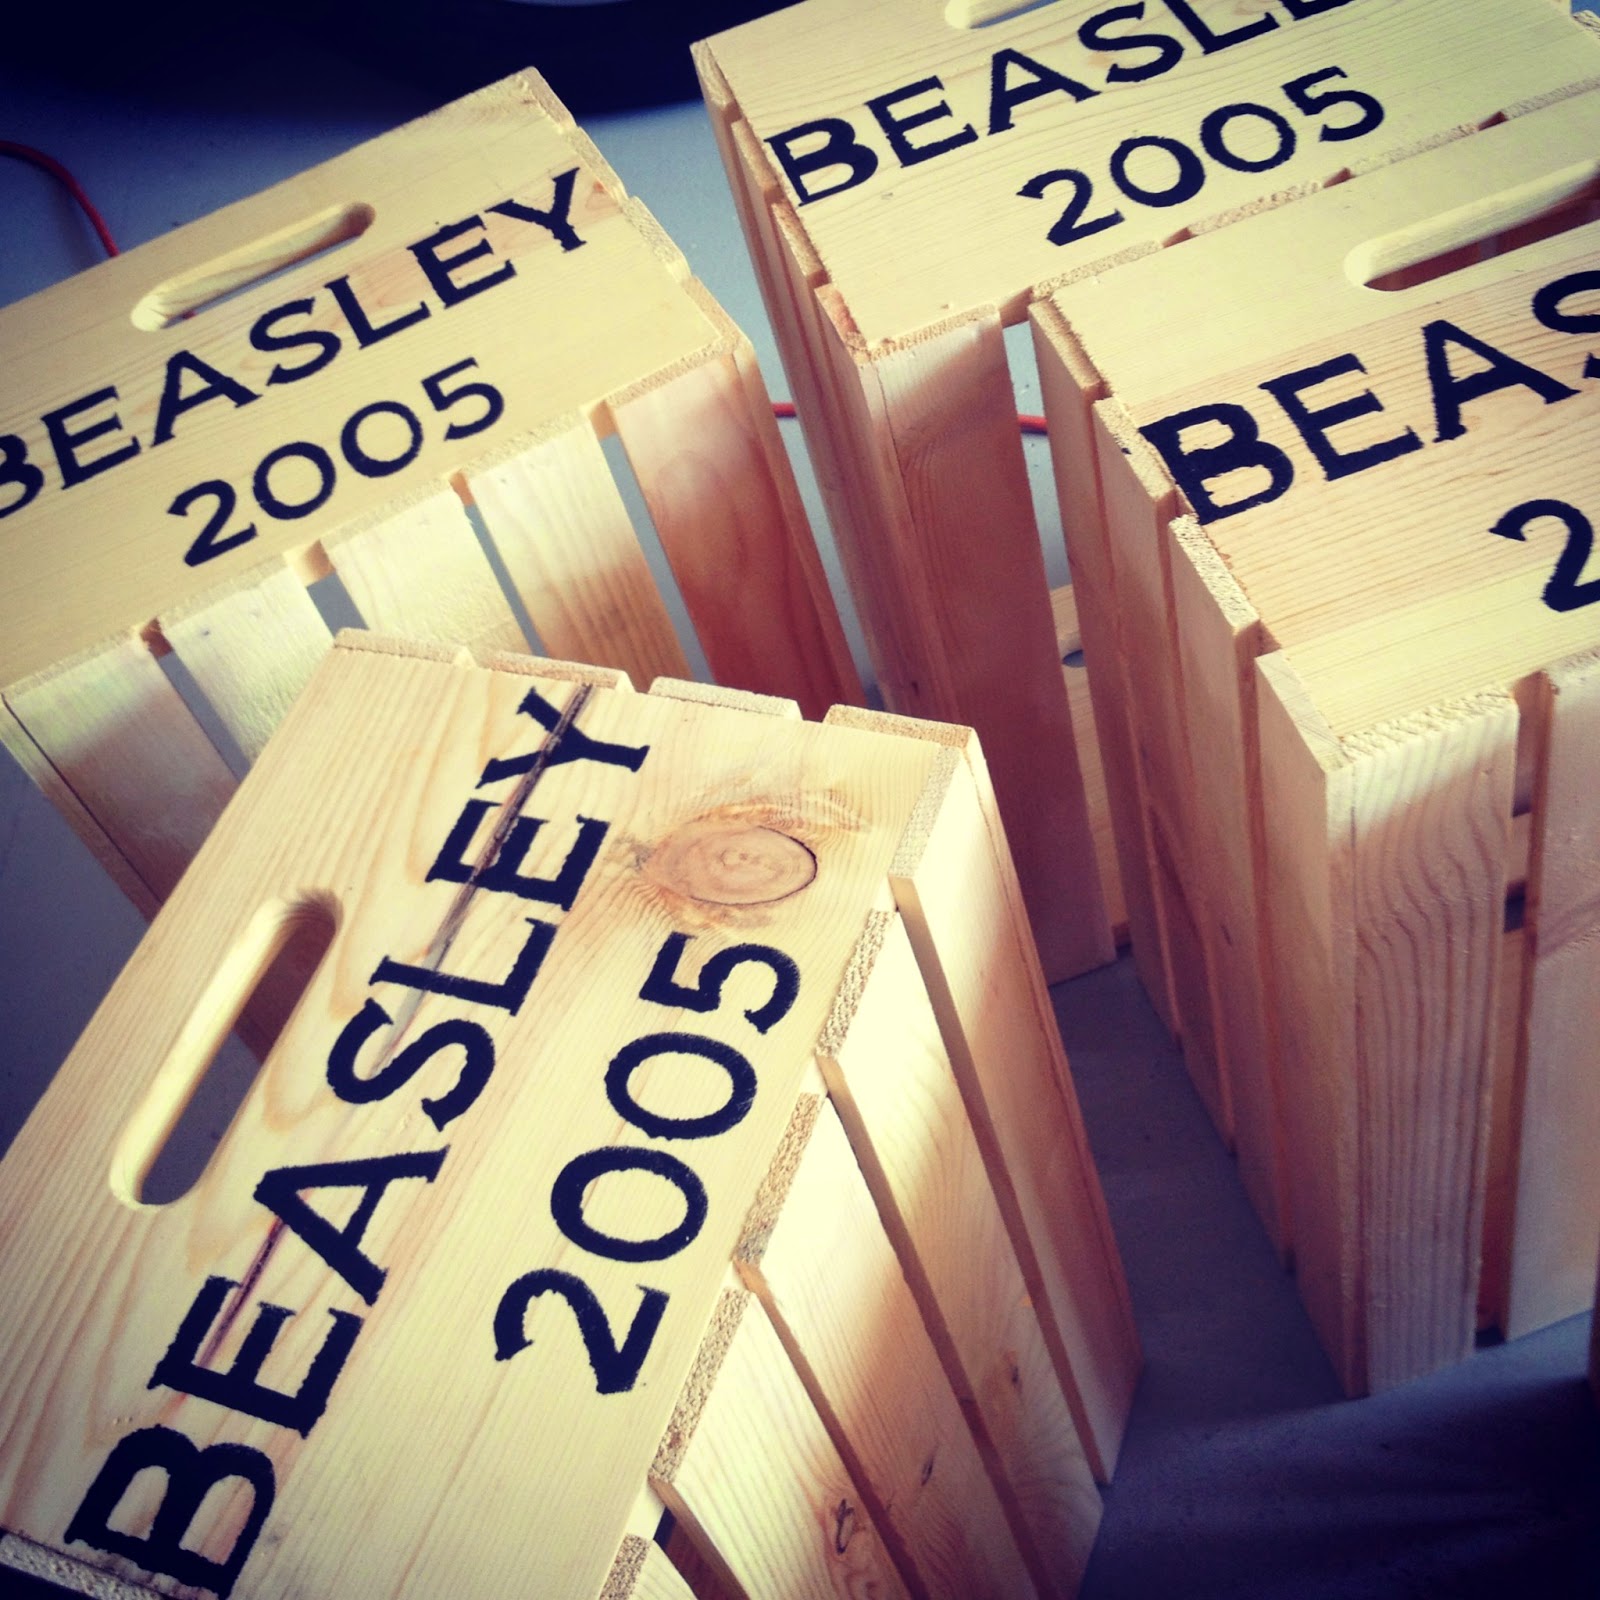
I originally bought only four crates to make the square table that I had seen in the Pinterest posting. My husband thought a longer table would look better in our living room along our couch. I went out and bought two more to see how it would look all put together. This was what we came up with. We both decided it would be good and we could proceed from here. 

The next step was to stain all the crates. We had an electric paint sprayer on hand so dad sprayed each crate and it was my job to make sure everything got wiped down and fully covered.

After staining, we put them in an "assembly line" and put two coats of polyurethane on each crate. This was probably the most time consuming part of the project due to the dry time between coats.

Once everything was dry, we put everything together. First, we used a pin-nailer and later for stability, we used the screw gun and put it all together for the long haul.

My sons are inspecting what will become the middle of the table (filling the massive hole where I know remote controls and a myriad of toys would end up eventually).

 I even took a turn with the nail gun.

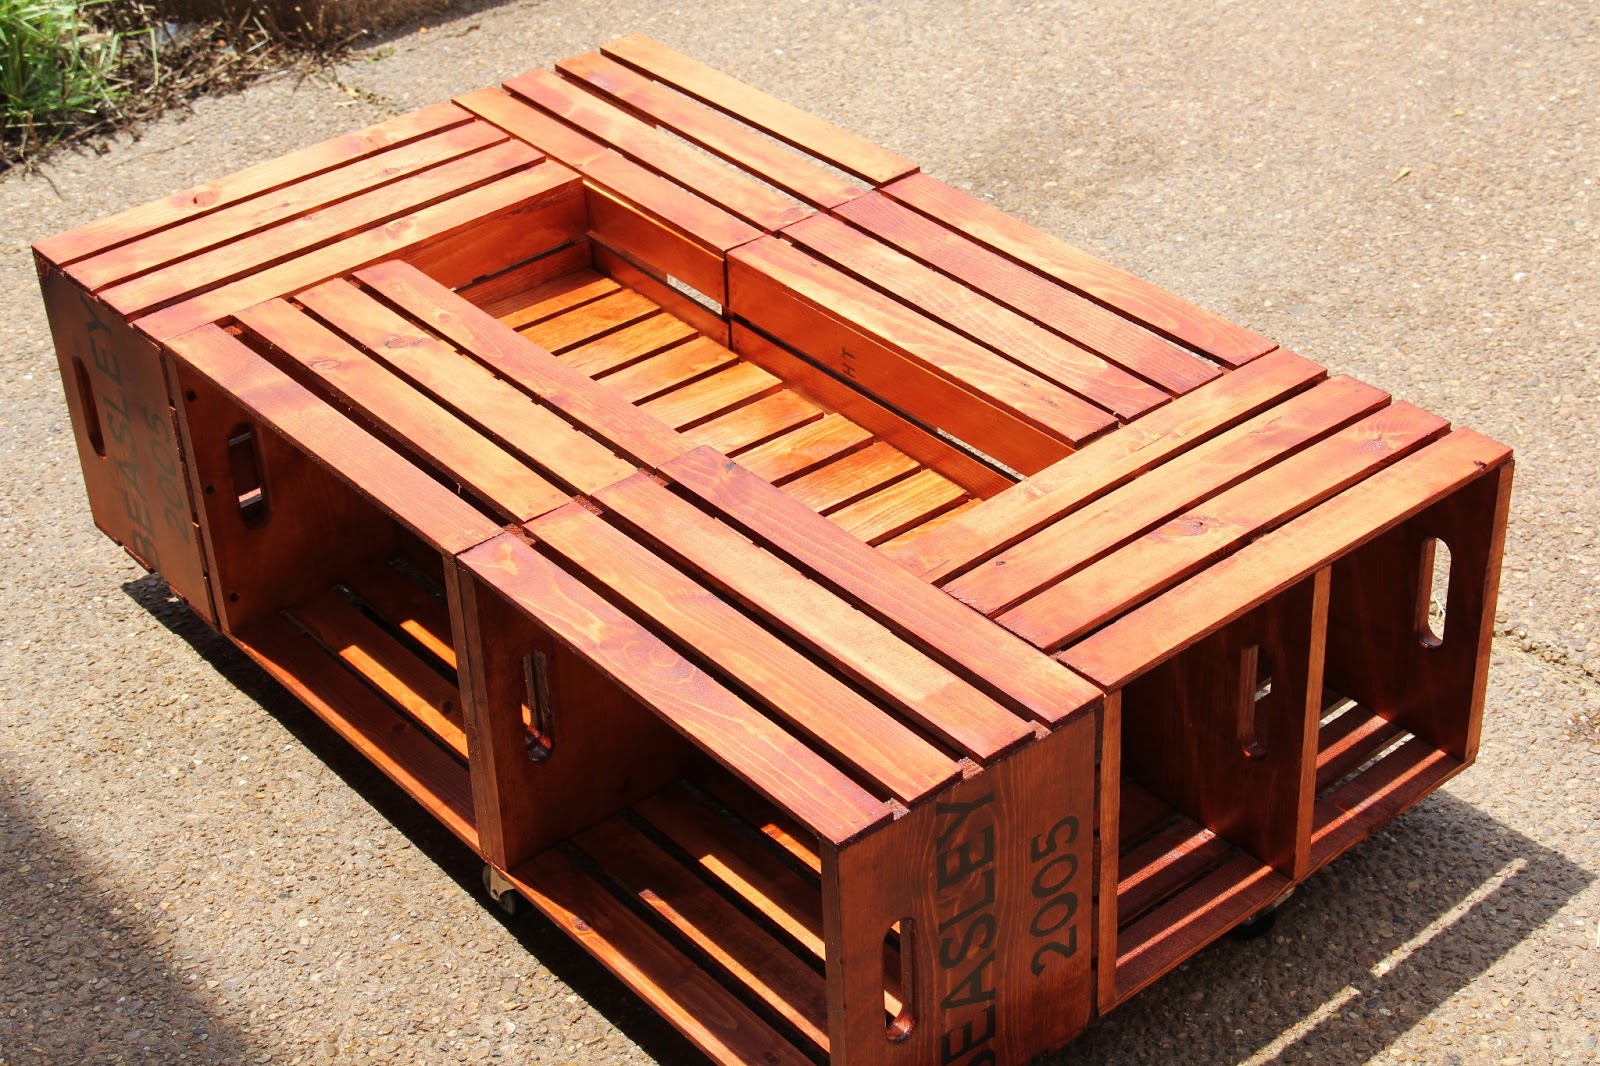
Our finished coffee table. I'm so happy with the way it turned out. We put five casters on the bottom of the table as well so we will be able to move it around easier.

Friday, July 5, 2013

Phone Restoration

My grandmother had this old phone hanging in her dining room as decoration since I was a little girl. Several years ago, when my husband and I were first married I asked her on a whim if I could have it for our house. She said yes. It never got hung in our house and just sat in a box waiting and waiting. When we sold said house, I brought the phone with me in hopes of restoring it so I would DEFINITELY hang it in our new house when it is finished being built.

I need to learn to take more before pictures of my projects. Once we decide to do something, the project takes off quickly and normally finishes  quick too.

My dad and I decided to see if the black paint would come off the phone and we longed to see what was underneath. Therefore, my one "before picture" has the nice wood "stripe" down the side. 

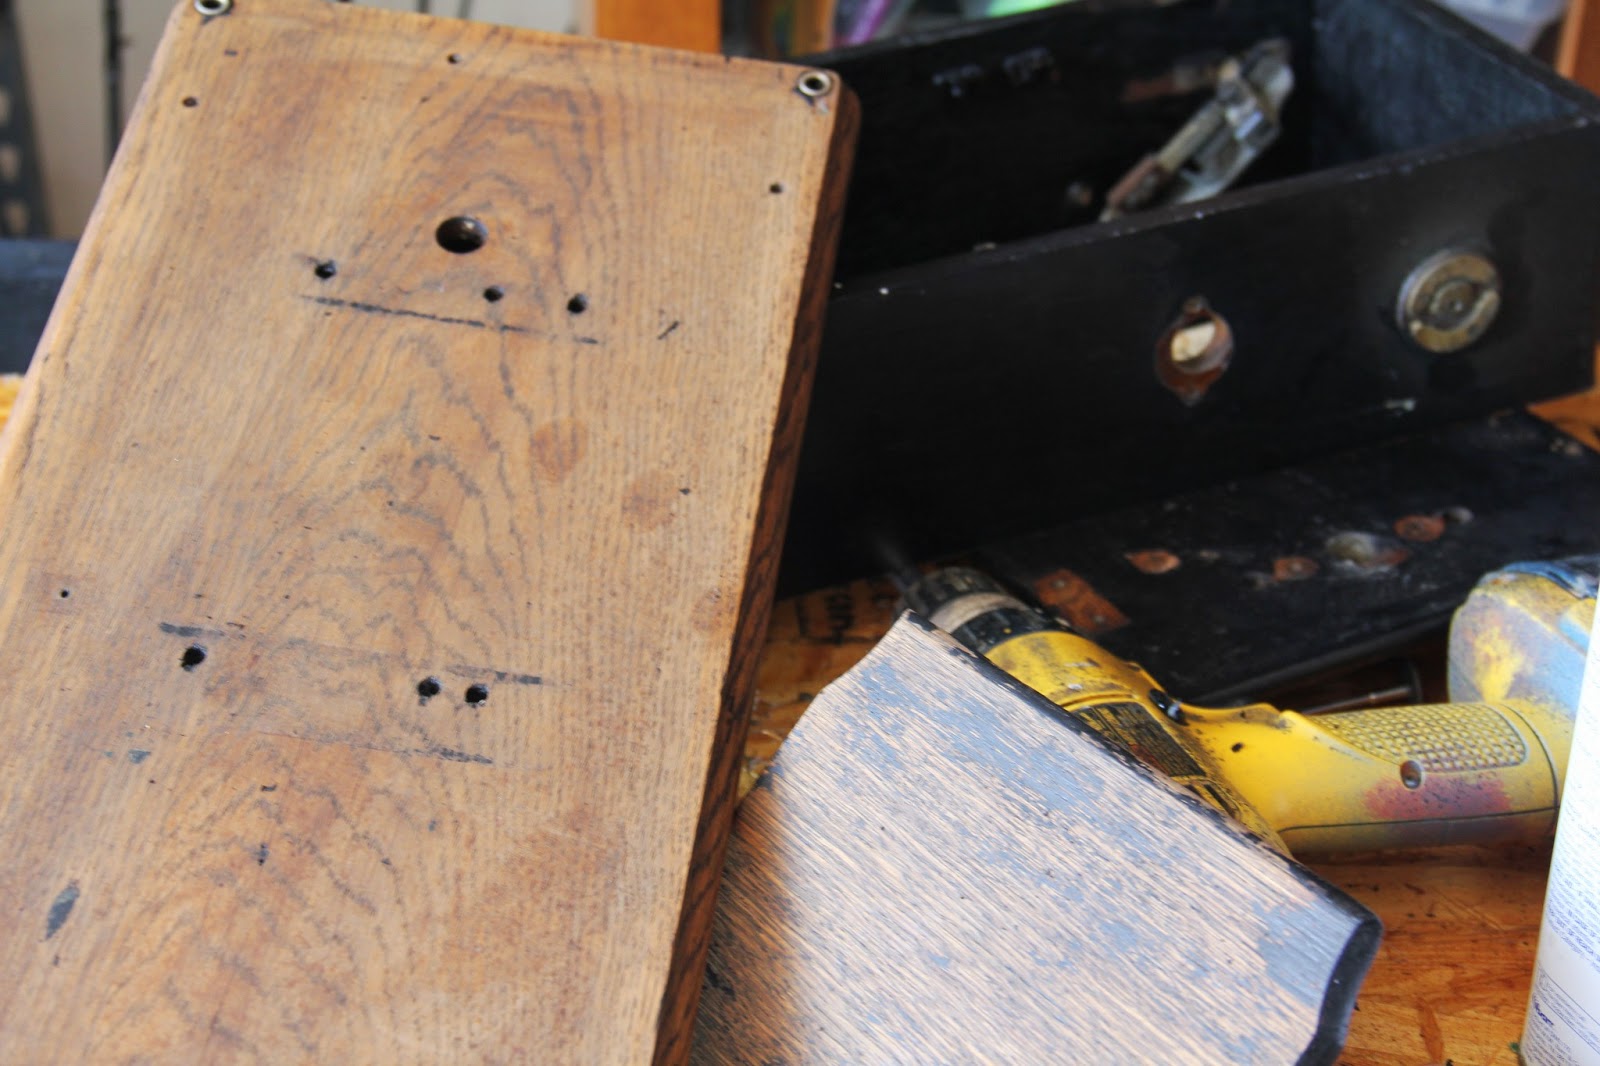
Dad took apart the phone for me. I was in charge of putting all the parts and screws in a safe place for later.
This was still inside the phone. I took tons of pictures of this because I was pretty certain that this part was not going to be able to be salvaged in the restoration process.

First step was lacquer thinner to get the black paint off. It started off well. Later, I decided to go with an actual paint stripper and that worked much better.


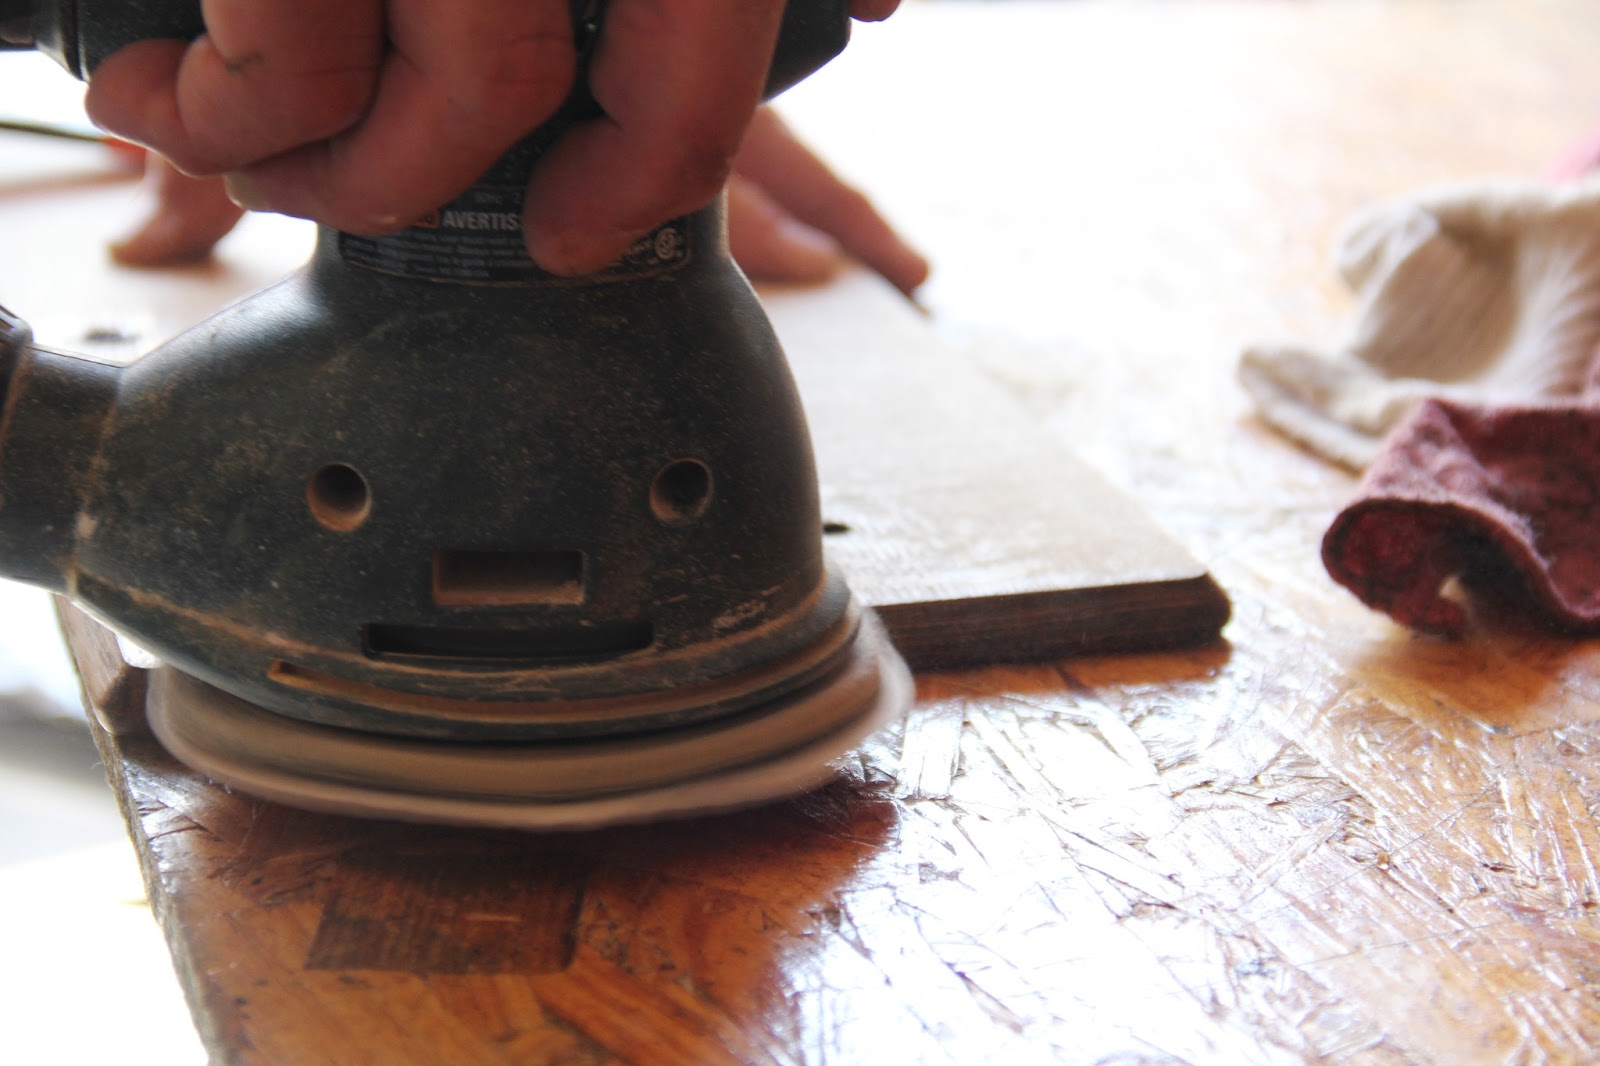
After all the paint was stripped, dad took the sander to the wood for me.

After the black paint had been stripped.

We decided it would be nice to stain the piece. I used the Gunstock stain for this project. I think it will go very nicely in our new home eventually.


I did about 3-4 coats of polyurethane all over the phone after all the staining was complete. 

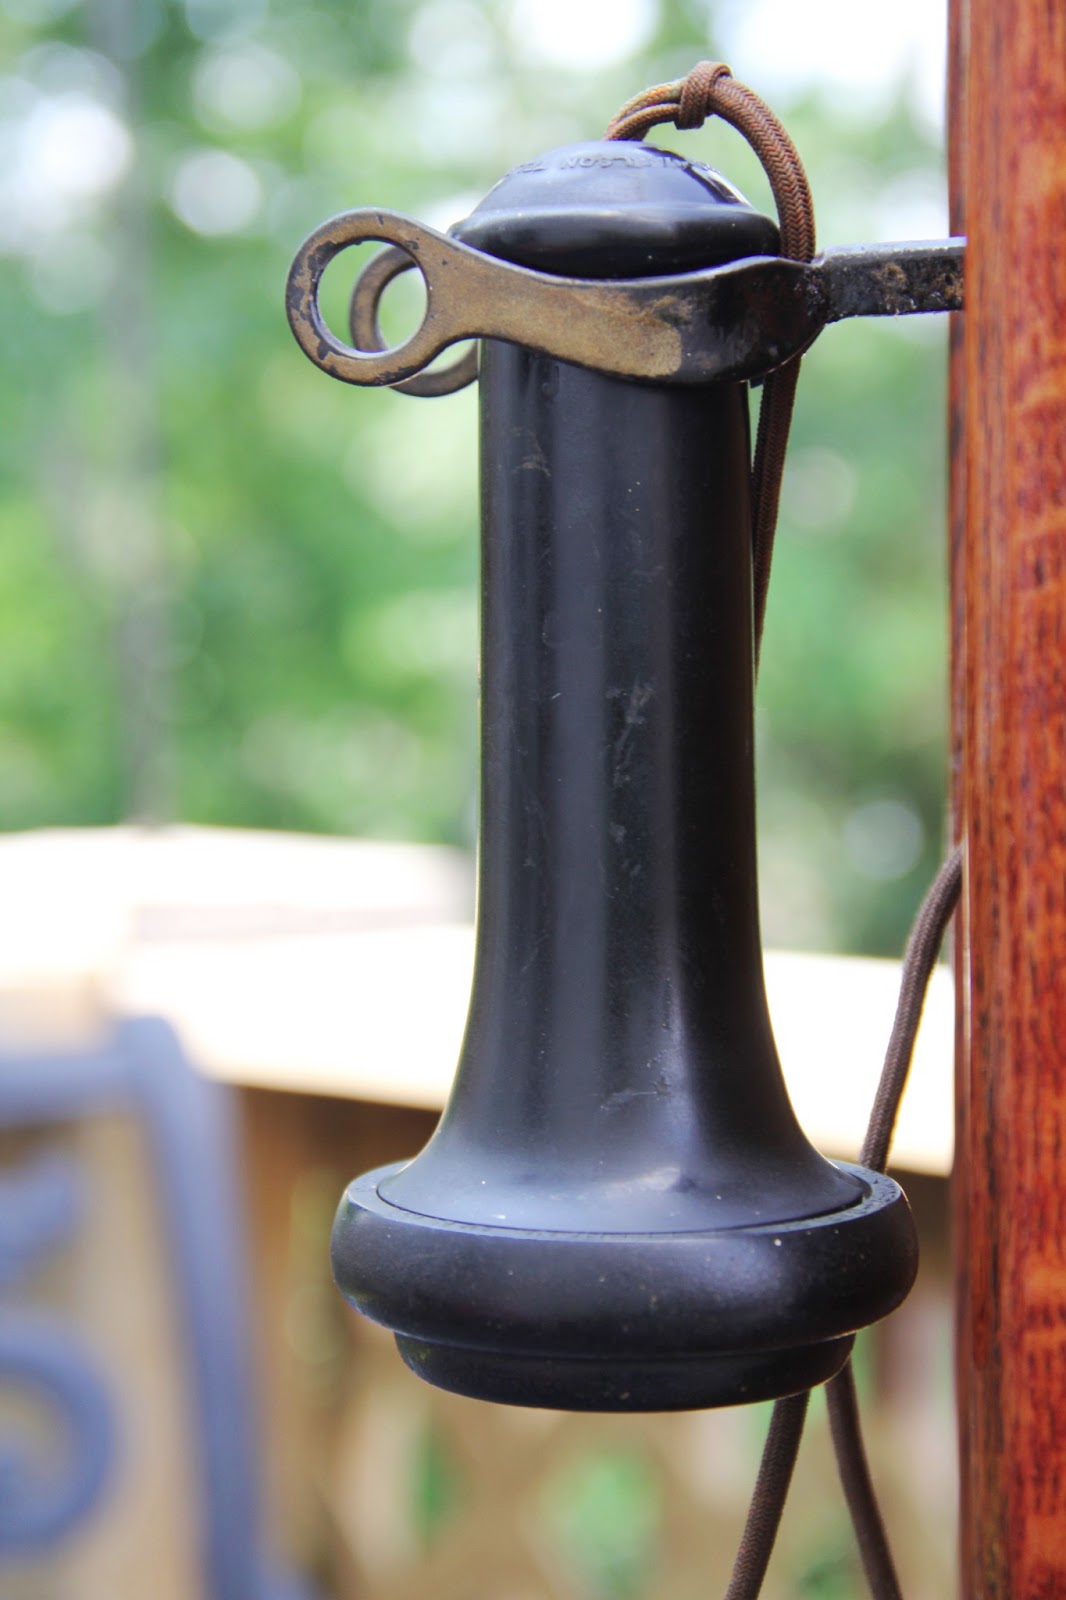
Here is the finished result. I am in love with it.

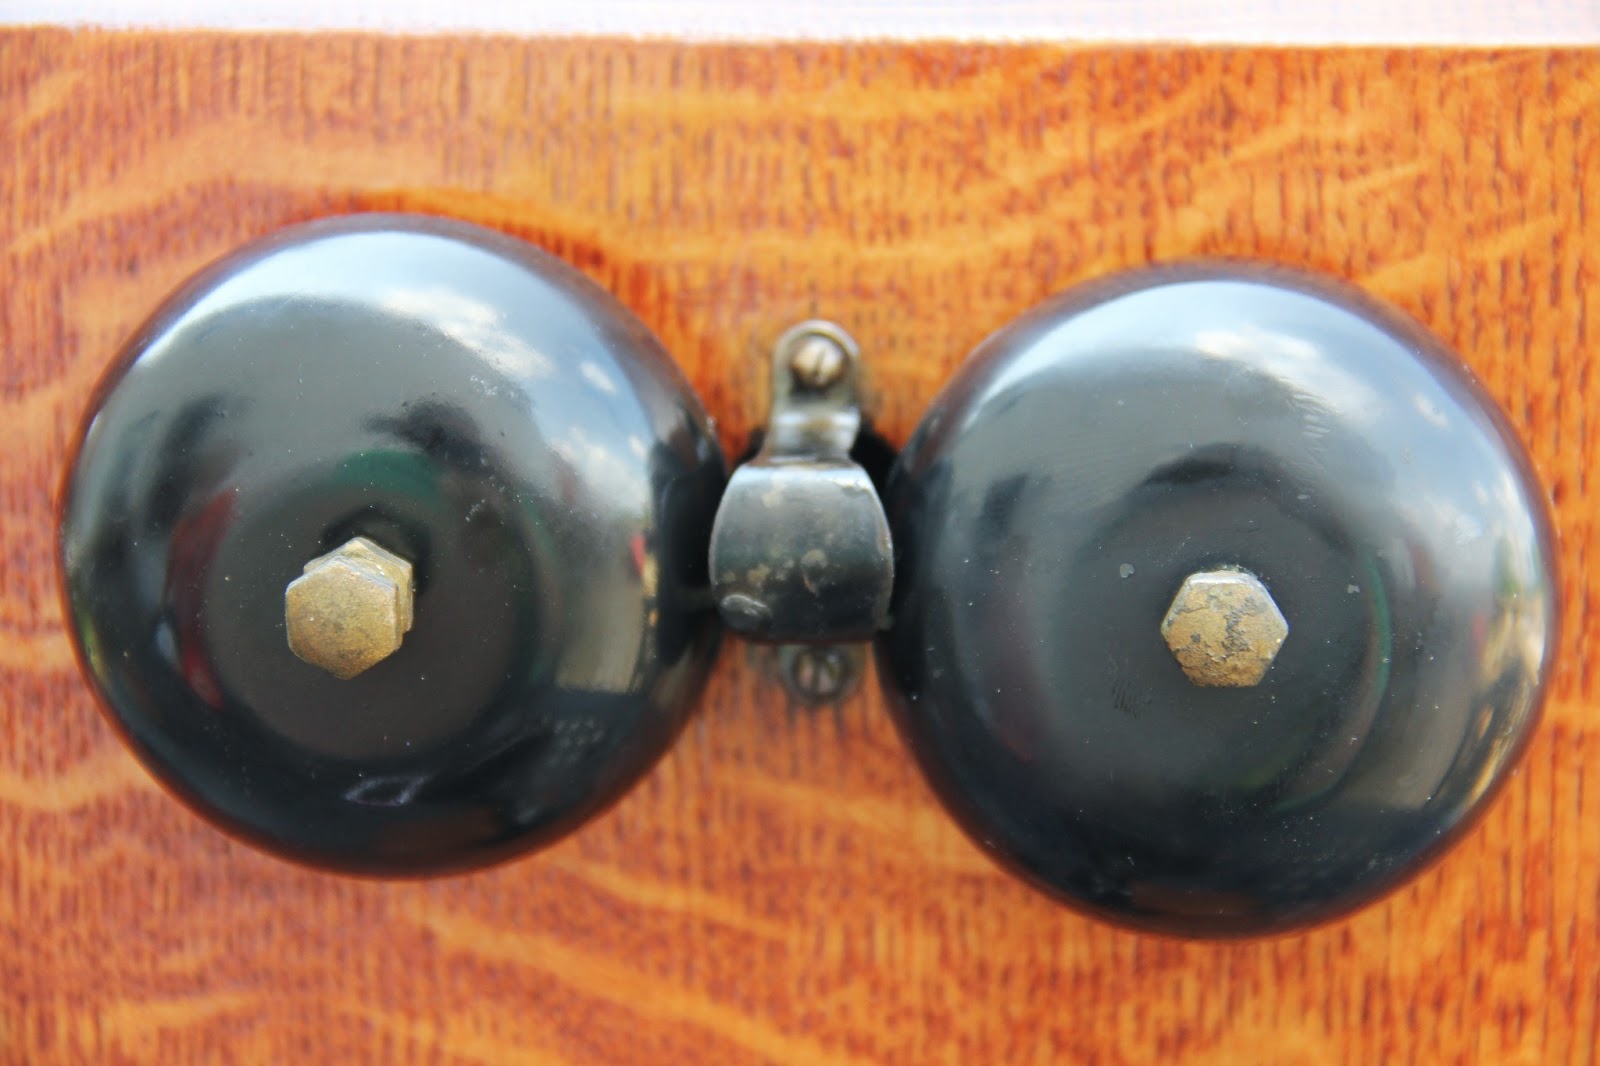
Dad shined up the bells the best he could for me.


I know EXACTLY where it will hang when we move to our house.
Now, I just have to store it once again till then.


Thursday, April 25, 2013

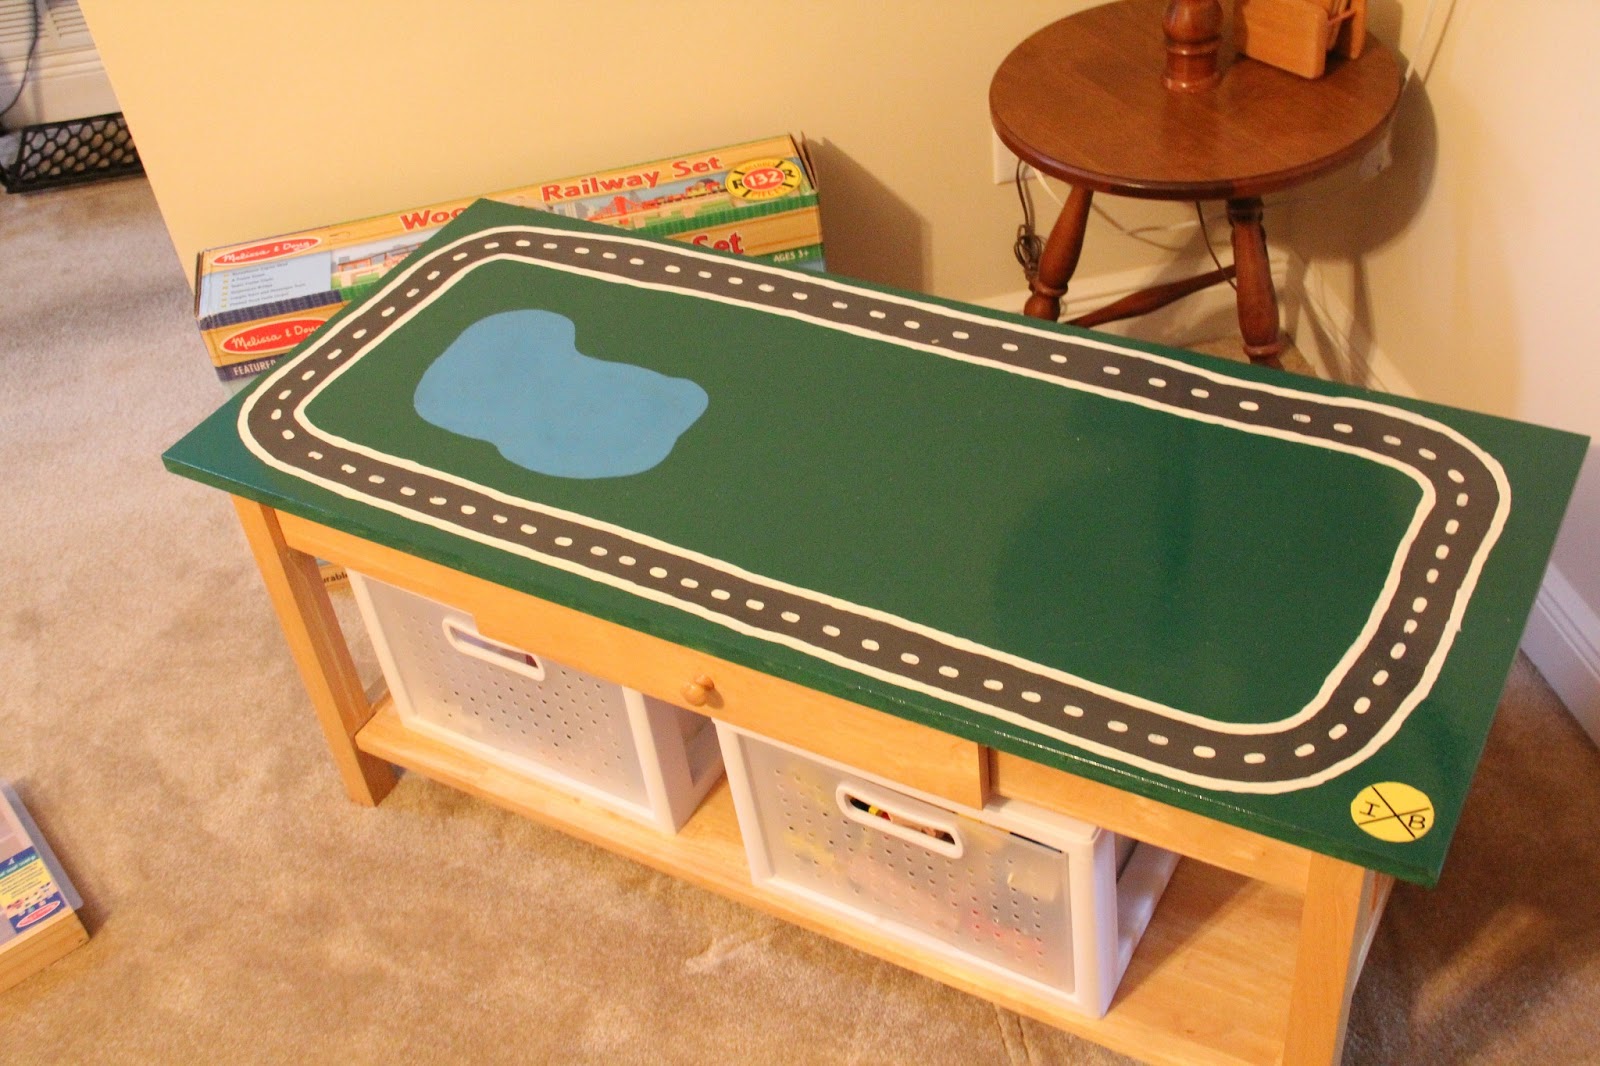
DIY Train Table

My two year old is OBSESSED with trains right now. I thought about scouring Craigs List for unused train tables that would fit the bill. Last month we moved and in the process I saw my coffee table that I've had for many years. I thought this table would be ideal for a table that may or may not be a hit for a two year old.
 
 First coat. I figured out that the foam brush wasn't cutting it very well and switched over to an actual paint roller. It gave a MUCH better look in the end.

My five year old wanted to help so much. I gave him the task of painting the lake for his brother's gift.

This is what it looked like before lines were added to the street and the rail road sign finished. I also added about 5 or 6 coats of polyurethane to the top to try to protect the surface a little bit.

I love the finished product. Instead of the round railroad street sign that normally has an "RR" on it, I put my son's initials on the sign to personalize it a little bit.

The finished product.


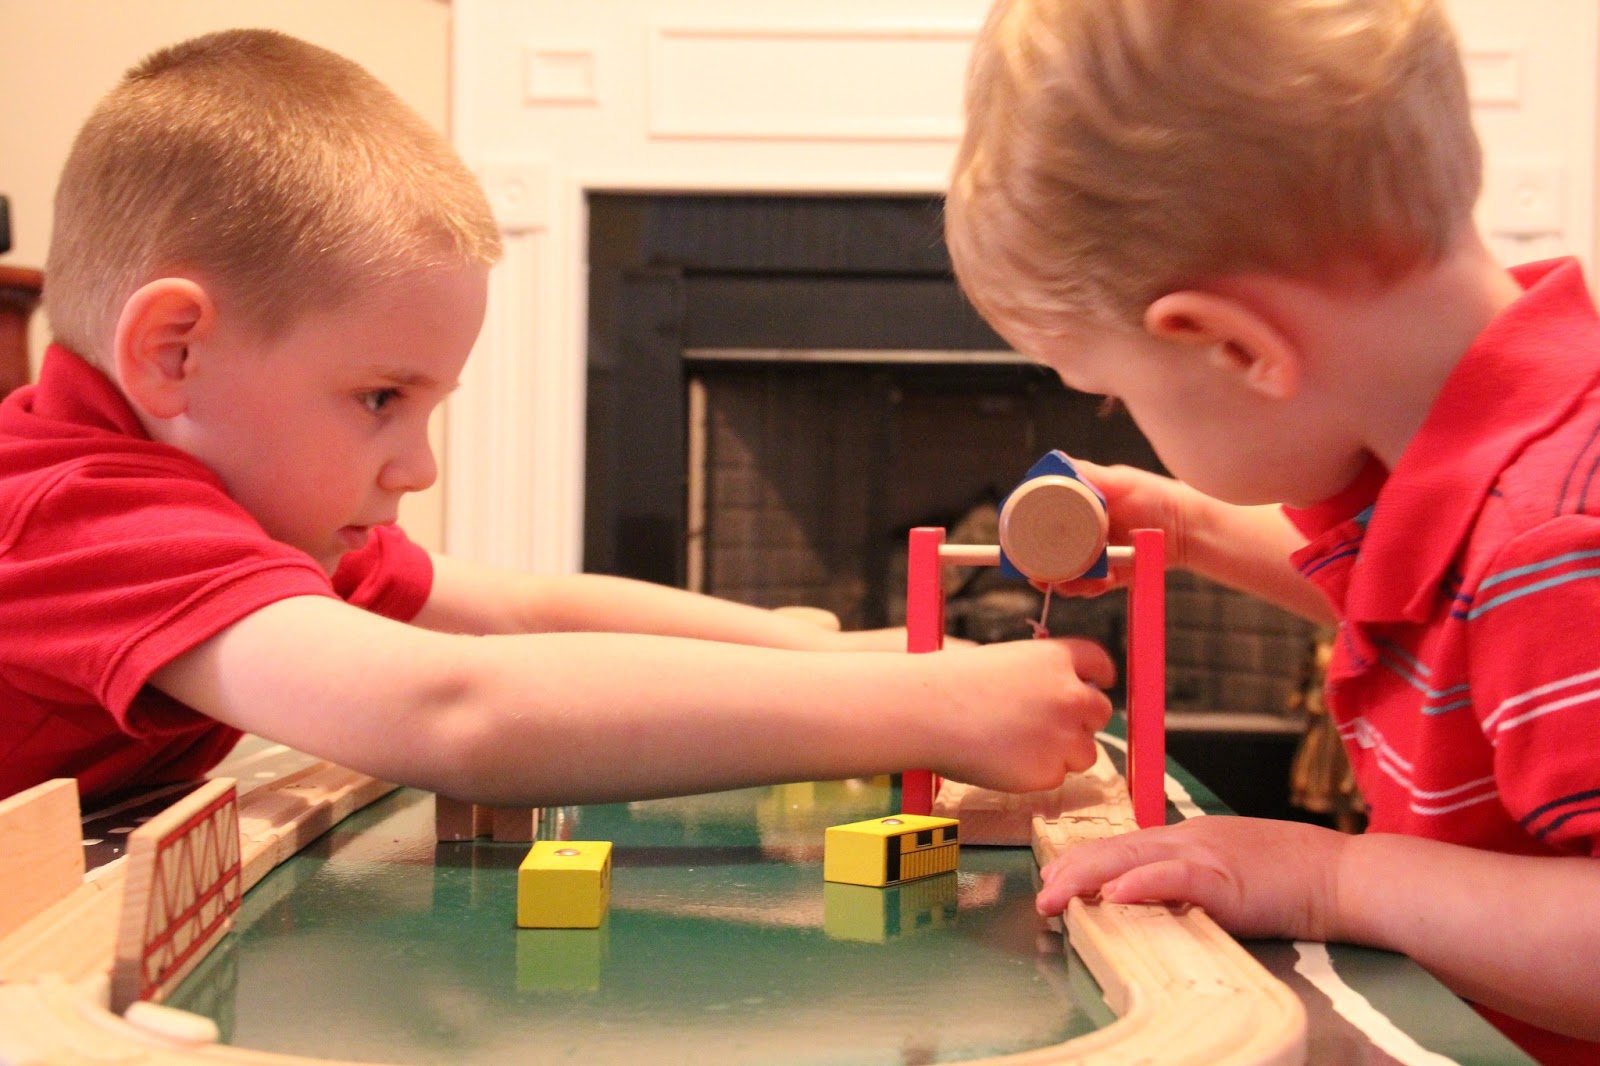
Both the boys enjoying the table. They can't get enough of it! I'm happy to say that the table will be around for a while and used daily.

Train Cake Fail

My youngest son turned two this week and I had GRAND plans to make him a train cake. I have a really cool cake pan that is in the shape of the various train cars and engine. I tried to make a cake using this pan once before (several years ago) and it was a fail at that time. I figured that since I have some clue of what I'm doing with cakes/decorating these days, I would not have the same experience. Not so much I'm afraid.

First of all, I apparently filled the cake pan too full and this is what I found in the bottom of the oven. 
Cake was all over the place. What a mess.


 The idea is that you let the cake cool in the pan for at least 10 minutes and invert it and the cake will pop right out.


 That really didn't happen for me. Cake stuck everywhere. It looked like there would not be a train cake after all.

Plan B went into effect. Looking in the pantry, I found everything I needed for Rice Krispie treats. I cleaned out the cake pan and greased it well and went to work stuffing sticky Rice Krispies in the pan and praying that the end result would look something like train cars. In the end, it wasn't what I originally envisioned, but that is okay. It turned out just fine for my little one and he loved it!

I died coconut flakes green for the grass and piped chocolate pudding for the track. I used Life Savers, Fruit Roll Ups and other candies for decorating the actual train cars.


Tuesday, January 29, 2013

Counting Down...

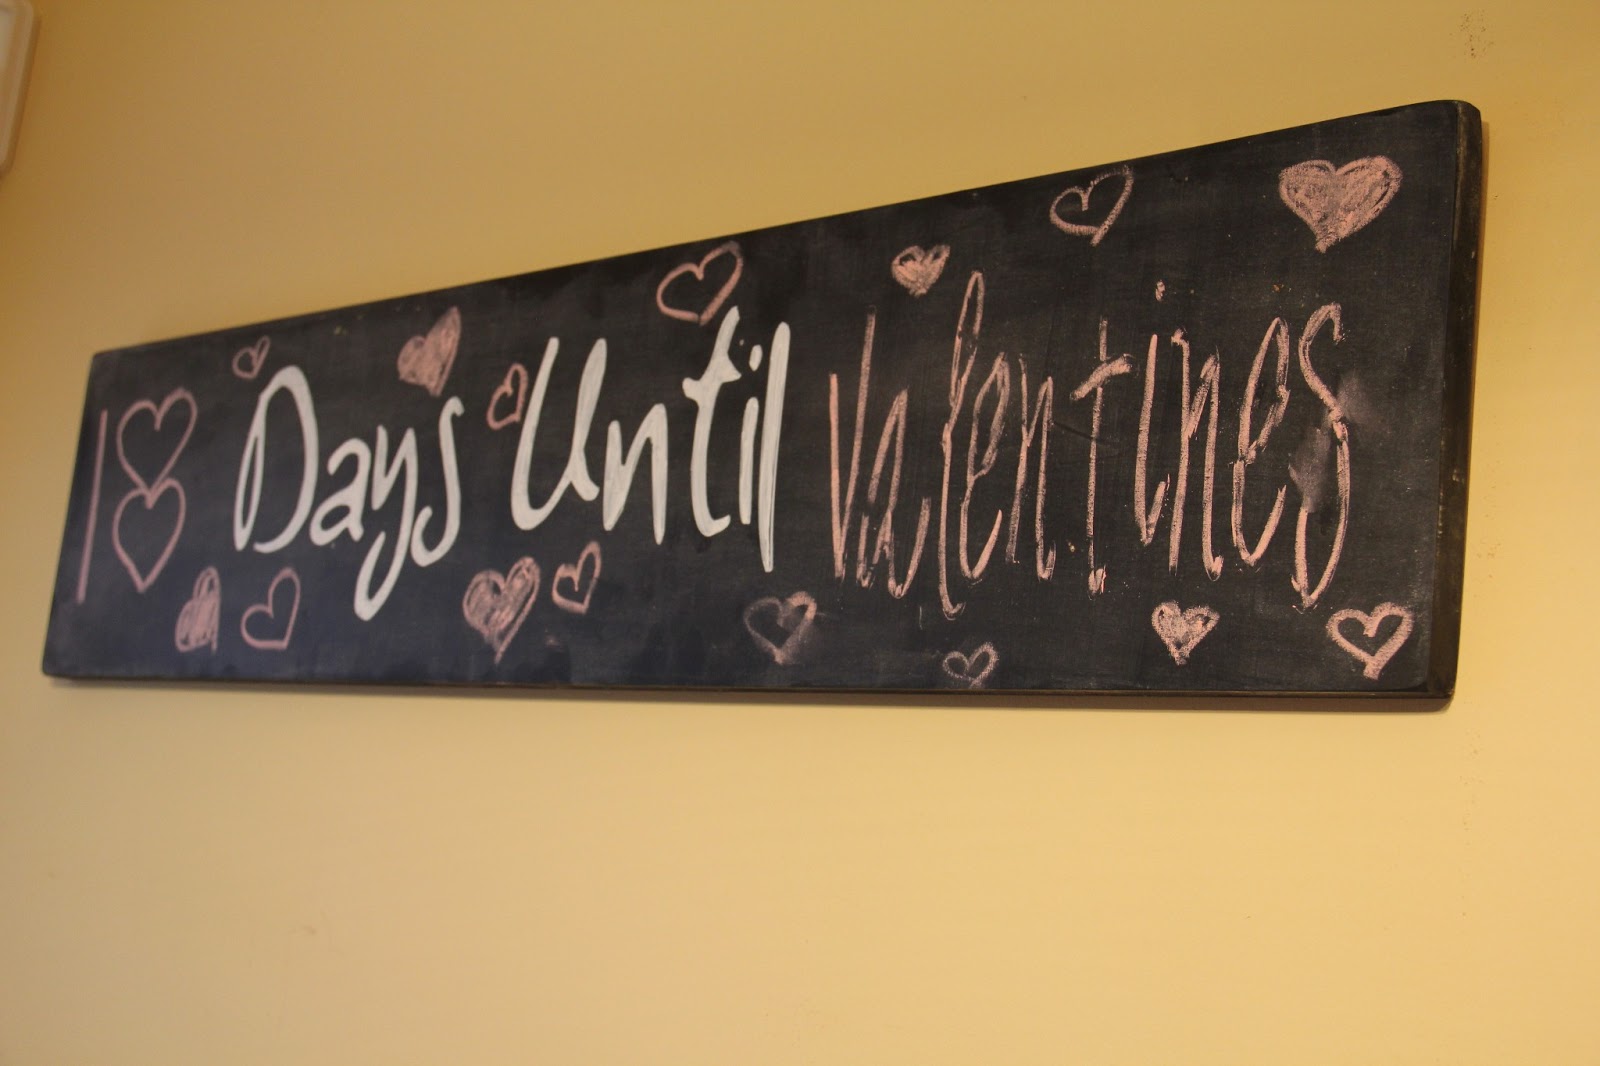
I love counting down toward an important event/holiday/etc. Now that I have a kid that knows his numbers, I thought a universal countdown sign would be fun to have hanging in our house. I have gone through about 3 different versions of this sign and think I have finally made it the way I like it. I have a feeling that my husband is tired of me asking him to sand the sign so I can start from scratch every time!

It was so simple. We had a piece of scrap MDF in the garage that I asked my sweet husband to cut down to a certain size for me. I painted it with chalkboard paint so I can easily change out the "days" and the "event" we are focusing on at the time.

This was my first version. I thought it would be a good idea to use pre cut letters for the "days until." I hot glued them down to the board (not realizing they were actually stickers with a backing on them). The stickers began to peel away from their backing leaving a less than desirable effect. Thus, the first re-sanding project to get all the remaining hot glue off the board.

Second version. I don't have any better shots of this somehow. I basically freehanded the "days until" on this sign. I didn't make the letters big enough for the sign and I thought the painting was a bit sloppy. It lasted through the Christmas holiday sitting on my mantle (every day wishing I had done it a little differently). Thus, the second re-sanding project to begin so I could start from scratch in 2013.

Third (and hopefully final) attempt. For Christmas, I got a Silhouette. I've enjoyed playing around with it so far. I haven't had a chance to explore all the awesome possibilities yet. I cut a simple stencil for my "days until" script this time. I used a chalk marker to write the words on my sign. I'm pleased with the way this one has turned out. No re-sanding needed :-)

 After I got it the way I wanted, my husband installed the hardware on the back and it is now hanging on our wall in the eat-in kitchen nook. I love the way it looks and am excited to count down special dates in our family (most of all a vacation coming up in a few months!).


Monday, November 19, 2012

Star Wars Cake and Goodies

Sometimes, I just get tired of making cupcakes. I have these wonderful cookie cutters from Williams Sonoma and this was the time to use them! I made cookies for my son's preschool class. I was going to leave them undecorated but at the last minute decided to ice them. For no real prep time on these, I thought they turned out pretty good.


 For the party, this is the cake table. All we had was cake, cupcakes, punch and chocolate. 
What more could 4 and 5 year olds ask for??

I bought a Storm Trooper mold online to make the chocolates with.
I'm sure this will be reused for lots of things in the future!

Green "Yoda Soda" (lime sherbet and Sprite).

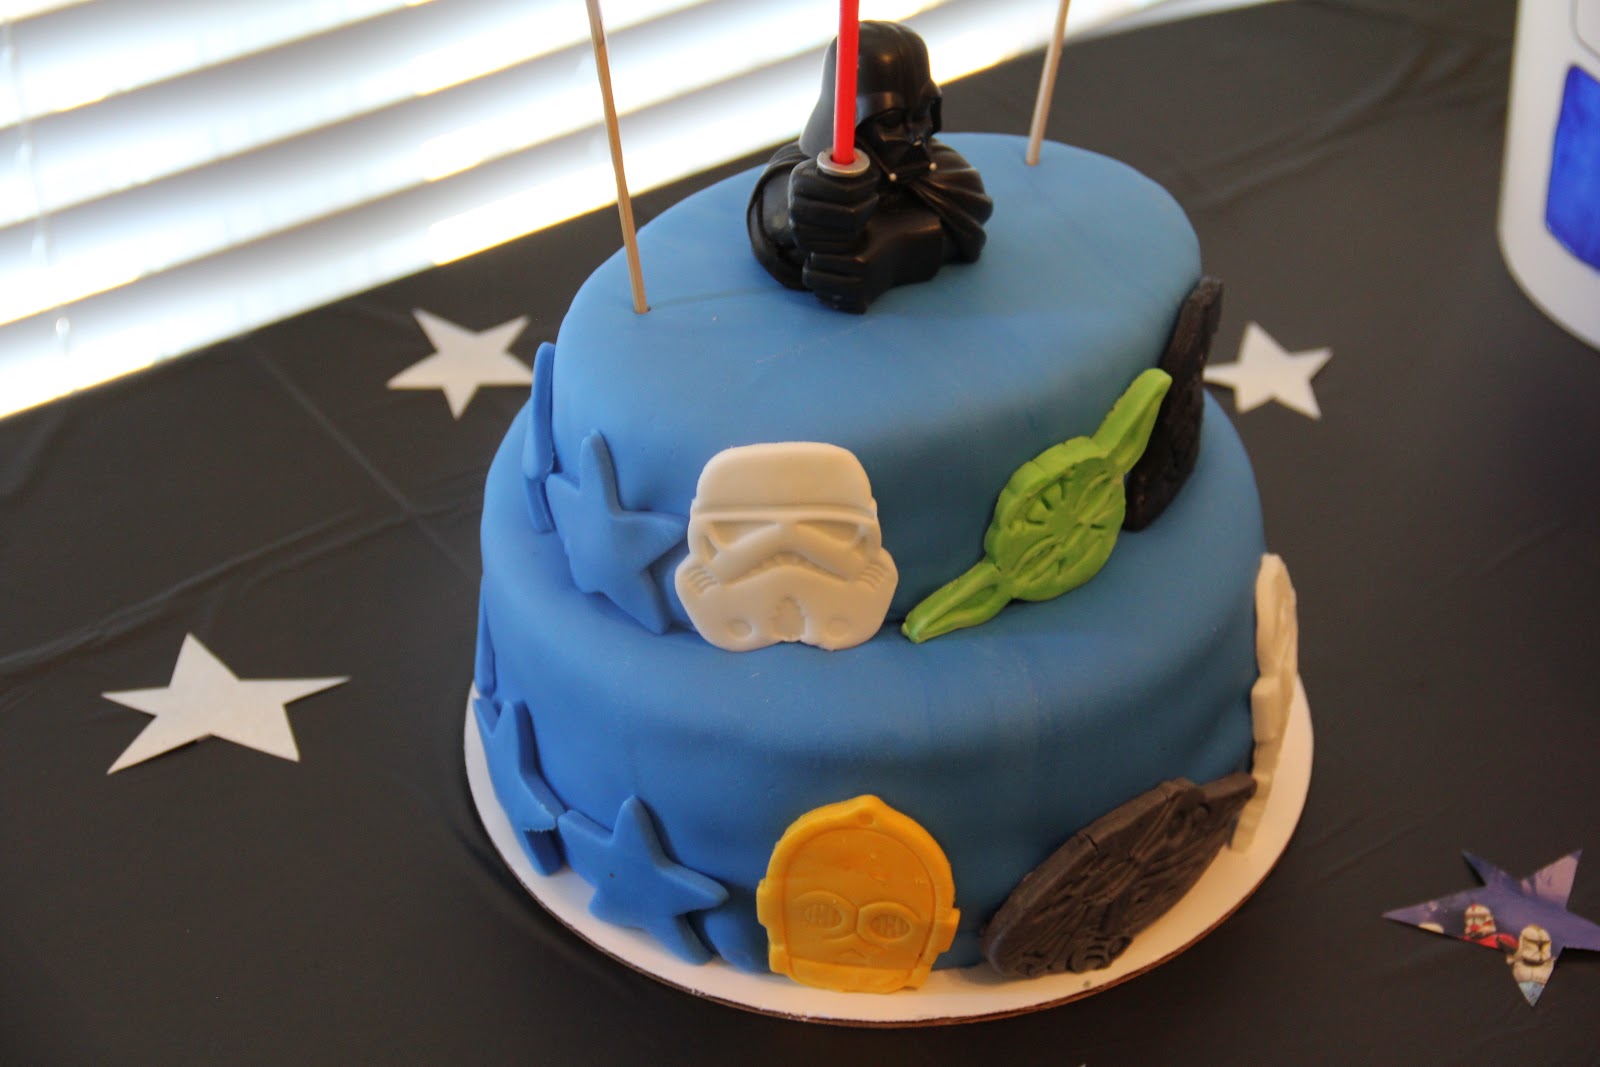
The cake I made. I used the cookie cutters for this too. It made things so much EASIER!


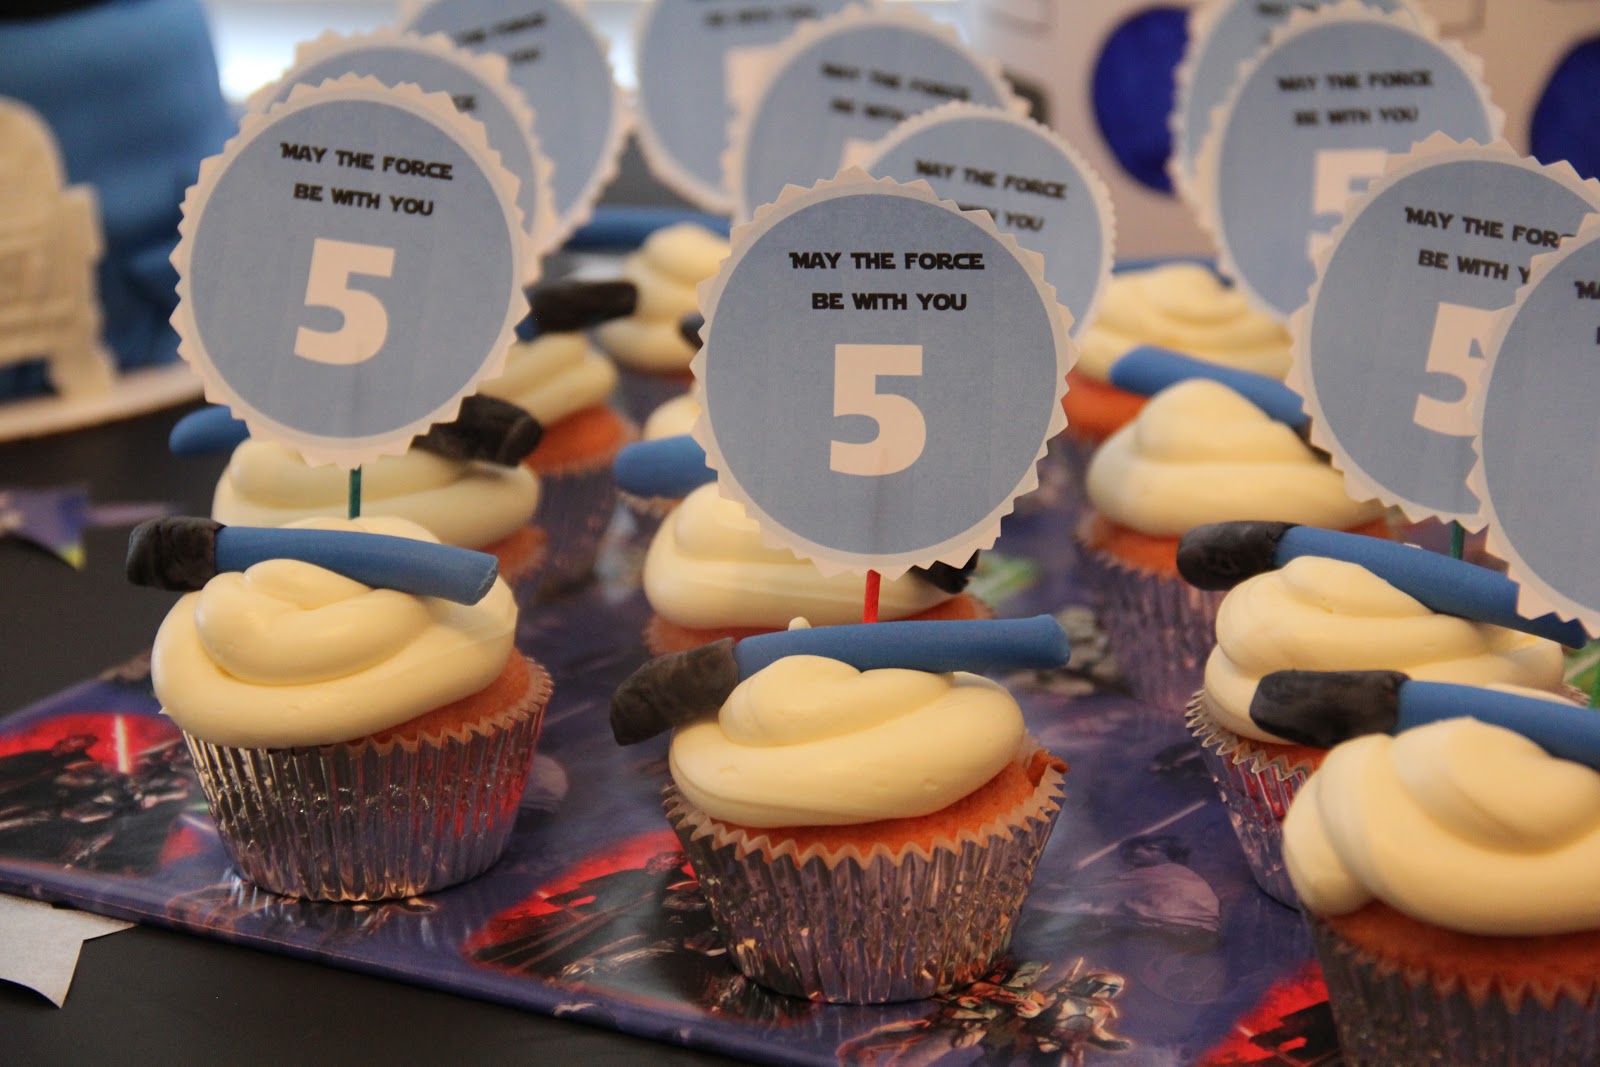
I decided (again at the last minute) that I should probably do cupcakes for the kiddos.
The whole fondant/cake thing doesn't always go over with them. So, the adults got cake and the kids got these.

I made blue light sabers and whipped up these cupcake toppers the morning of the party.
Here are my other posts about the Star Wars party....