Wednesday, November 7, 2012

Package Pals (What I Sent and Got)

In October, I participated in my first "crafty swap" with Jamie over at C.R.A.F.T. It was so much fun. I got paired up with a package pal and we sent each other some cool stuff after we got to know each other a little bit. Here's my recap of what I sent and what I got from my new pal Laura.

What I sent...

Laura likes to make jewelry, friendship bracelets with her daughter, the colors green and blue and sunflowers. This fall, I was at a pumpkin patch with my kiddos and took a picture of the sunflowers. That was the inspiration for the artwork. I found a cute quote about sunflowers and added that to the piece. I found some sunflower recipe cards, beads, thread and a stamp for her continued craftiness.

What I got...
I got some fabulous stuff from my new pal! I opened my package and just kept 
opening little things. It was great!


Halloween stuff that I can decorate with my kids.

A fabulous reversible bag for the Fall season. It is perfect for me!

A friendship bracelet (with my favorite colors).
I love to bake so she sent me some cupcake liners and colored sugar.
Maybe the best part....chocolate! :-)
I'm looking forward to the next swap in February already! Thanks for checking in!

Tuesday, October 30, 2012

Fall Art

I love the Fall and decorating for the season. A couple years ago, I went to one of those paint along places where they teach you step by step how to paint a "work of art." I happened to go and paint a "Halloween" or "Fall Pumpkin" picture. Of course, after that, I had to have more art to hang on the wall with my lone pumpkin. I've added to the collection last year and again this year. I really wanted to involve my family and document "us" somehow. Here is what we have done so far....

My first "Fall Pumpkin" piece of art that started everything.
 
Last year, we did this ghost print with our footprints. It is simply amazing that I got my
wonderful husband to cooperate. Arts and crafts aren't typically his "thing."

This year's creation was a pumpkin patch of sorts. I used the palm print of each of our
hands for the pumpkins. I think it turned out pretty cute.

I labeled all of our pumpkins so we would remember who is who in years to come! 

Tuesday, October 16, 2012

FAMILY Wall Display

I saw this idea on Pinterest way back. I have a blank wall that needed something on it and I thought this would be a great addition. I didn't have any two by fours laying around or any vinyl, so I went outside the box a little bit. I found some great wooden square tiles at Michaels and had a wood burning tool from a project a little while back. I thought I'd try my hand at wood burning our family names.

I did this particular project a few months back. It has been hanging on the wall for months. It has needed something else on the wall with it or for me to do something with the tiles. I finally figured it out (for now anyway).
I had to figure out how to arrange all our names on the wall so everything looked aesthetically pleasing. Lots of trial and error. I made a template from Excel with lots of boxes and then just started plugging in our names.
I used my Cricut machine to make a template for the letters. 
This was my first attempt. I had these tiles that I liked a lot. I had picked them up at a craft store a long time ago. When it was time to do the project, I went to the store to find more like the three I already had and no luck. I had to find something else that would work.
These are the wood tiles that I found. They were perfect for wood burning.

I used my template and traced the letters on each wood tile.

Got the wood burning tool hot and ready to go.


Finished tile. Repeat A LOT!

I'm not one for lots of holes in the wall so this is the method I went with for all my tiles. They have been hanging in the heavily travelled hallway (with a 4 year old and 17 month old being the primary travelers) for months now. I haven't had any of the tiles fall or pulled off the wall yet. I count that as a success.


Here's the finished product. On the off white wall, I felt that there needed to be some added color. I contemplated staining the tiles, adding photos or art work. In the end, I just let the tiles "live" in the hallway for a while till I figured something out.


The other day, I decided that I would add some artwork to the wall to see how it looked. I'm pleased with the added color and the fact that the art represents our family as well. I'll just do something else once Halloween is over.
The black and white piece are actually our foot prints made into ghosts that we did last year. The other piece is our "family pumpkin patch" made with all our palm prints that we did this year.

Friday, June 29, 2012

Watering "Can" for Little Ones

A few weeks ago, my mom and dad brought me one of the greatest/simplest/useful recycled projects I've seen in a while. I have a four year old that LOVES to help out around the house. This also includes watering our outside flowers. Sometimes it is just easier to do it all myself at the risk of him coming inside soaked and wet because he spilled the watering can all over himself and maybe got some on the flowers in the process. 

Here's what they did....it's super simple!

Buy a juice in a large container that has a wide mouth lid. This one is a 1.75L container.
Poke about four holes in the lid.

Fill the container with water and there you go!

So easy, even a four year old can do it (without getting very wet)!

Monday, May 28, 2012

Oh, the Places You'll Go!


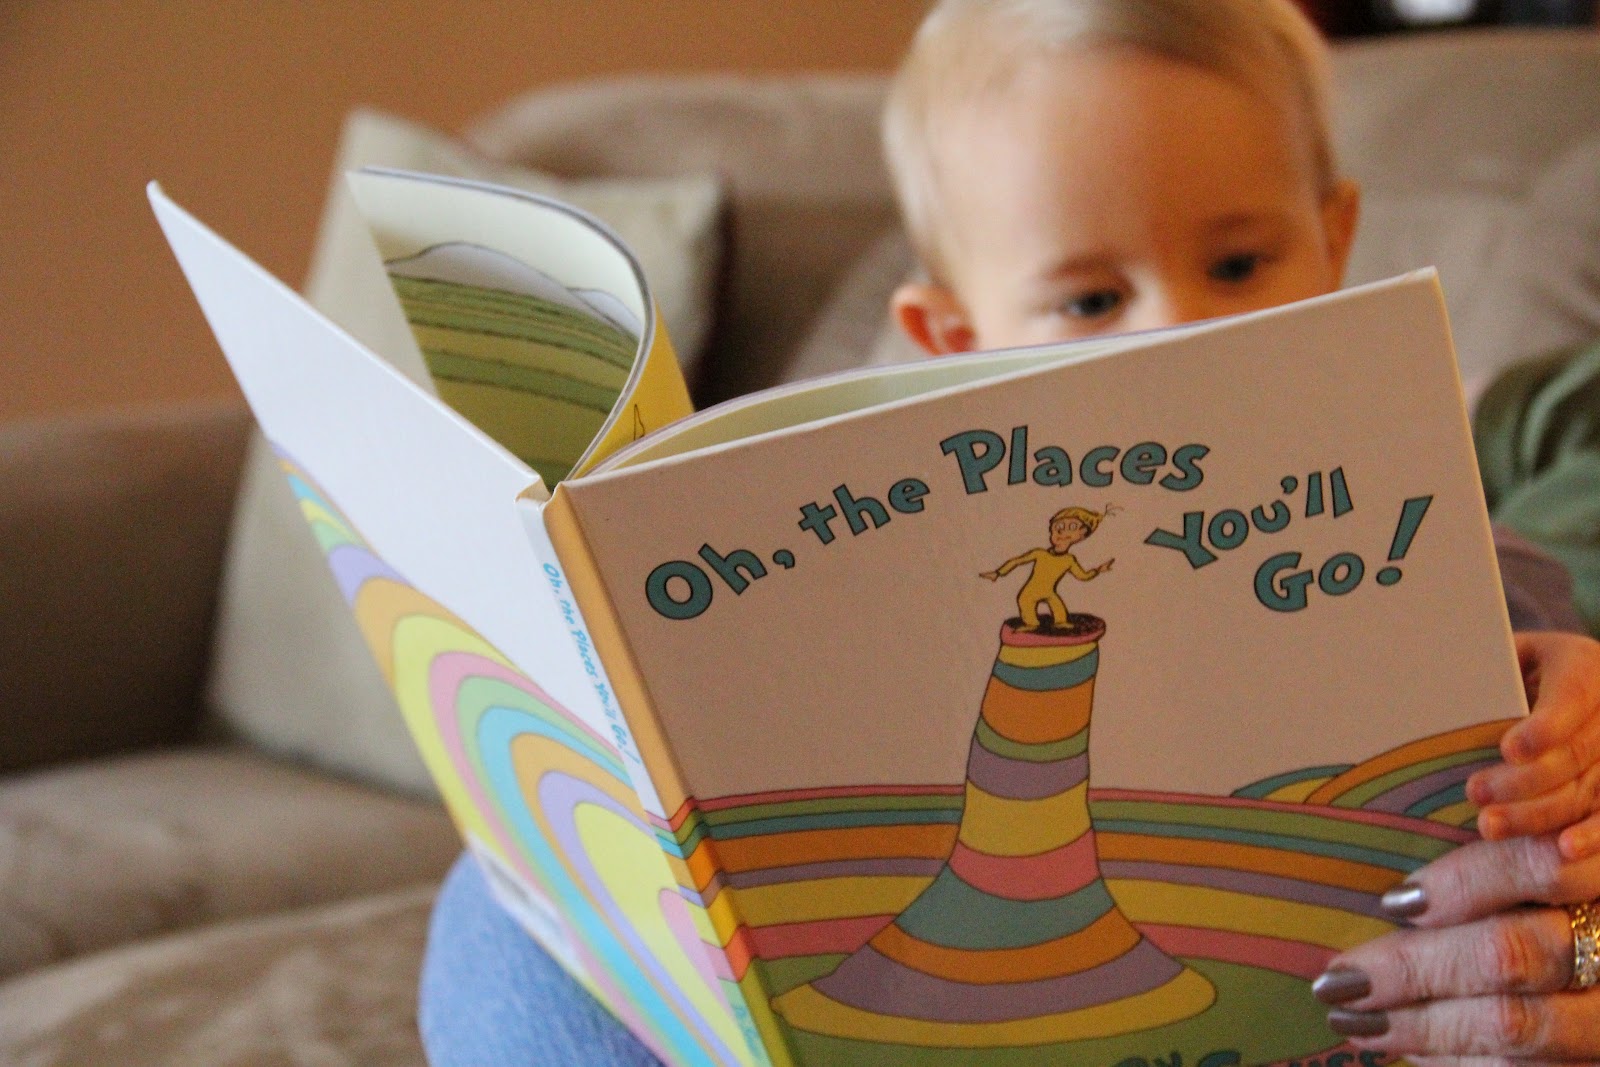
My son turned one back in April. It was a really low-key event, therefore not too many decorations went into the extravaganza this year. I did, however, make his cake. The theme I chose was from Dr. Seuss' "Oh, the Places You'll Go" book. When my first son was born, his 1st birthday theme was Dr. Seuss' "Green Eggs and Ham." I thought it only fitting that we did something along the same line for the youngest. Who knows, maybe when he graduates (way off into the future), we will do another one of these themed parties.

On his actual birthday, I made giant cupcakes. This picture doesn't really do the size of the cupcake justice.
It is sitting on a plate that I made especially for occasions like birthdays and other special events.
I got the idea from a friend of mine who had this tradition growing up in her family and it sounded
like it was right up my alley as well!
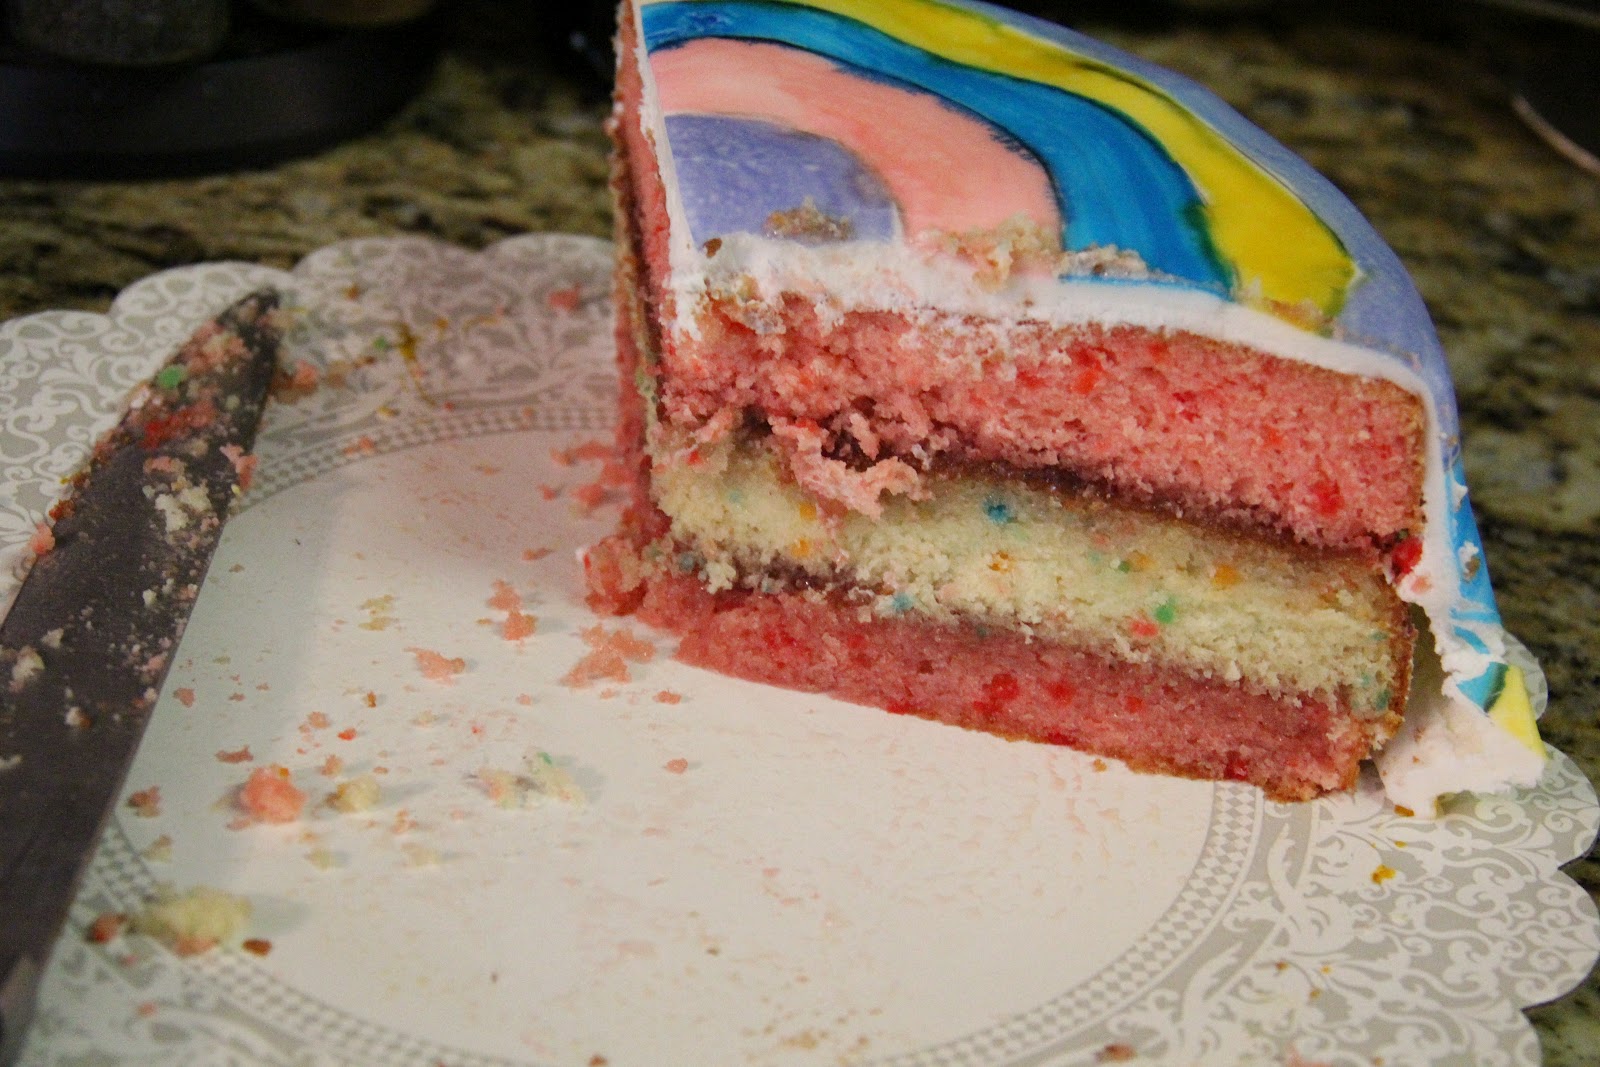
I made the birthday cake for him this year. I wasn't super happy with the way the cake turned out, but the concept still worked for what I was going for. I didn't count on the color dripping down the fondant the way it did every once in a while. Lessons learned for next time around! I always seem to learn something about cake decorating with birthday party time rolls around (kind of an inopportune time if you ask me).
I ordered a couple extra books from Amazon that were not in the best shape (so that meant I got a good price) and deconstructed them for decorating with for the party. This is actually from the jacket cover of the book. I cut out the pieces and just stuck them on the top of the cake.

I designed the cake based on the cover of the book. I made the bottom layer out of cake and covered it with fondant. I used a food marker to make my swirl outline and then painted the fondant from there. For the top of the cake, I actually used a floral styrofoam form. I didn't want to mess with trying to carve a cake and panic if it fell over, which, with my luck would have definitely happened. I just covered the styrofoam with fondant as well and followed the cake design.


As you can see, the cake was loved by all!

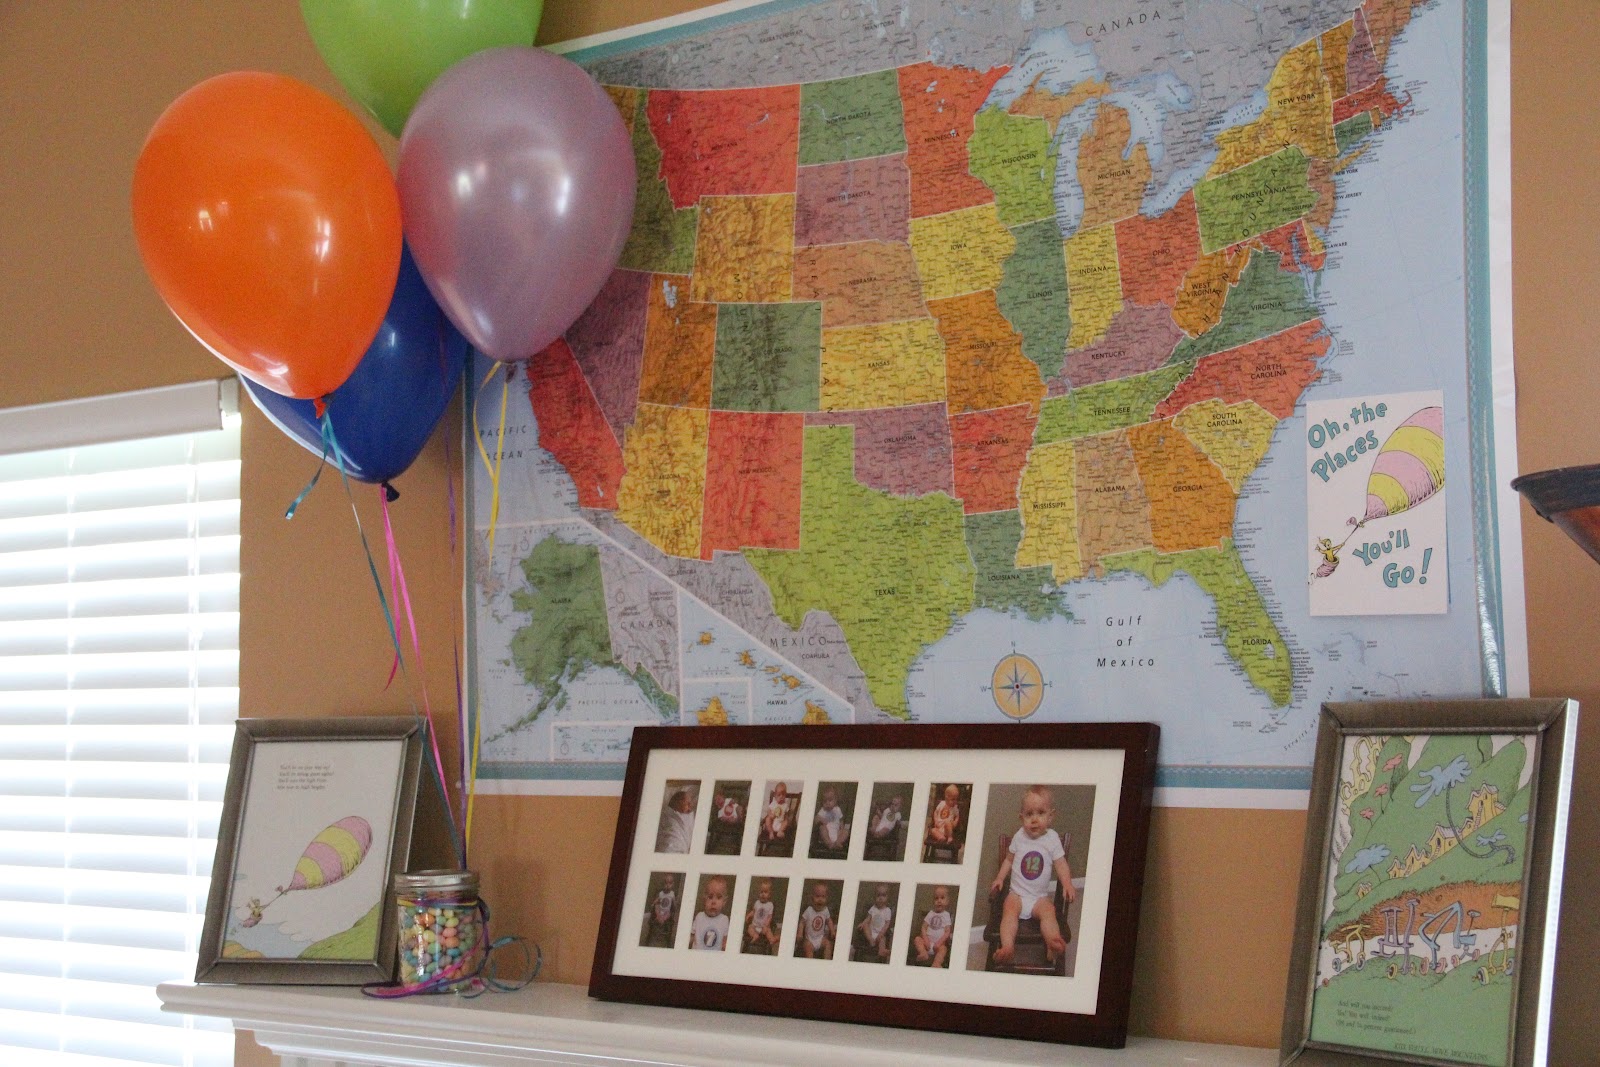
I had a grand idea to make a map using the pages of the actual book. Cutting each state out from the page and piecing it all together. I soon decided I was NOT up for that particular challenge given the fact that I wanted to have a big map. I opted for a purchase at the store instead. I have other uses for the map in the near future anyway.

Each month, I took a picture of my son in a rocking chair to see how much he had grown from month to month. I put all the pictures in the frame above to give everyone an idea of how big he has grown. It was fun to put this part together to reminisce myself. The picture now hangs in his bedroom (I love projects that serve dual purposes!)

The mantle above the fireplace, some balloons, pages from the book framed, the map and collage of his pictures.

Farm to Table: Green Onions

Dateline: May 20
We were on vacation for a week. I just knew that our garden wouldn't survive the week away, but I was wrong. Everything seems healthy and still growing! Time to harvest some of the fruits (vegetables) of our labor. First up: onions (scallions, green onions....whatever you want to call them). My favorite use for these little guys is wilted lettuce salad. I have a feeling we will be eating that for a few weeks and that makes us very happy!


The lettuce should be ready soon.


Some kind of onion salad that my husband concocted. It was actually pretty good.


Our Little Urban Garden, Part 5

Dateline: April 28

Our little garden is coming along nicely! The onions and carrots are definitely growing at this point (April 28th). It was time to put the tomatoes in the ground (finally). We also planted some cantaloupe and potatoes. Sam has been next to his daddy the ENTIRE process.

Such a sweet moment. Sam decided to take a moment out and pray for our food out of the blue.


Tomato time (my favorite part of the garden).


Our lettuce is starting out, the onions are coming up and the peppers are growing (slowly).